THE 1963 THUNDERBIRD ITALIEN
Chapter 29 - ASSEMBLY
Copyright © Thomas Maruska 2008
All Rights Reserved
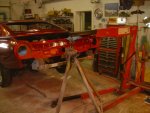
It won't be long and the Italien will be standing on her own four
wheels again.
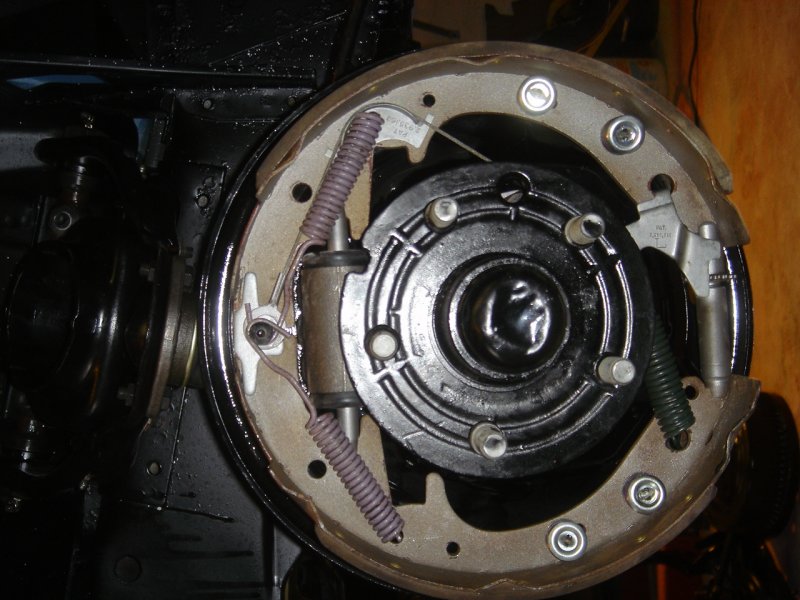
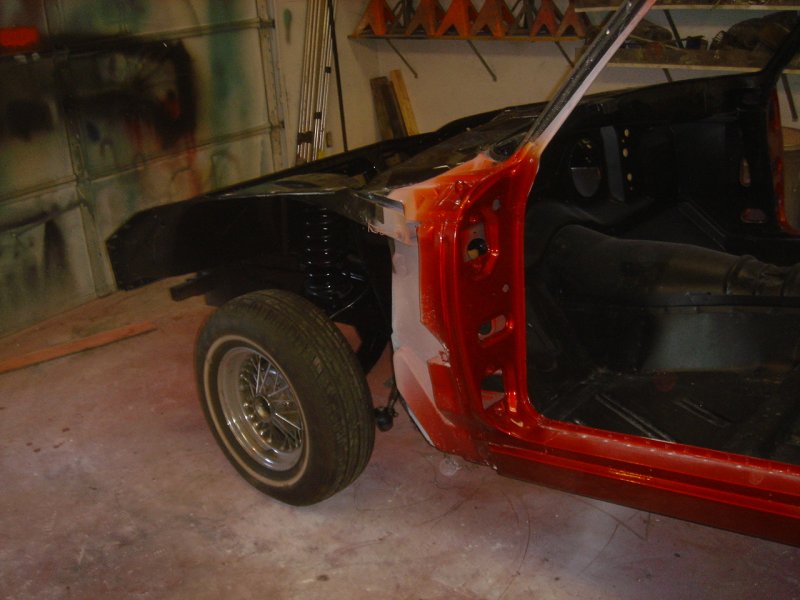
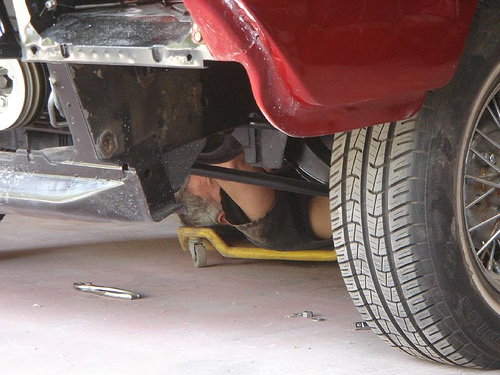
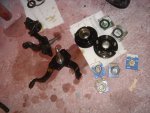
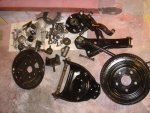
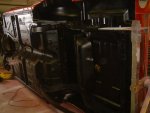
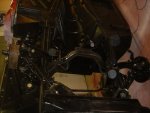
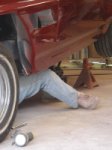
These two photo's on the left sho all the pieces that make up
the suspension and brakes on one front side
and the right photo is of course one rear brake assembled.

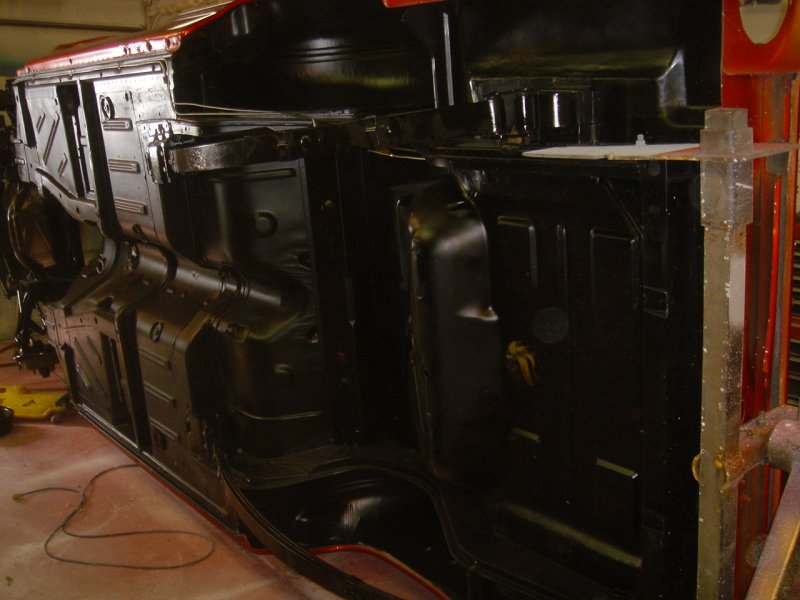
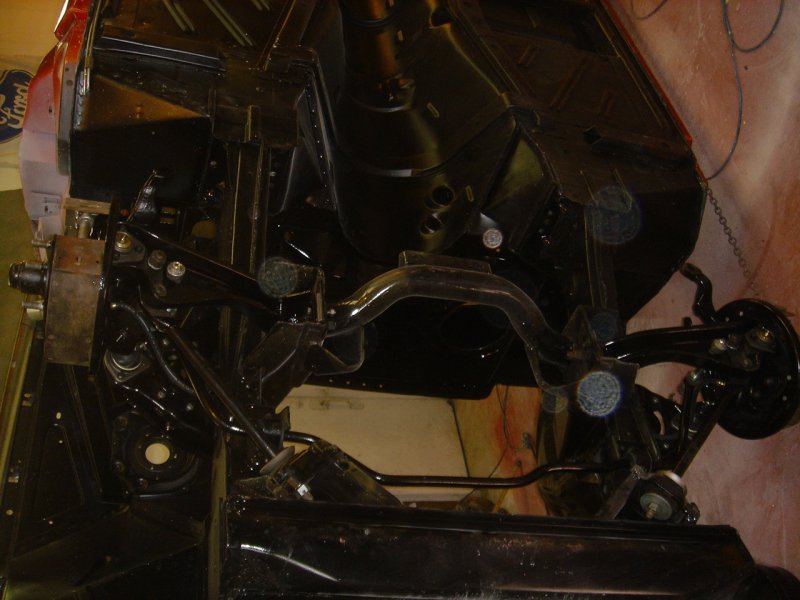
It's hard to see since everything is black but the leaf springs
are in place and the front is assembled except for the coil springs.
After this, I rotate the car upright and install the coils and then
lift the rear
axel assembly into place on top of the leaf springs. Then install
the wheels.
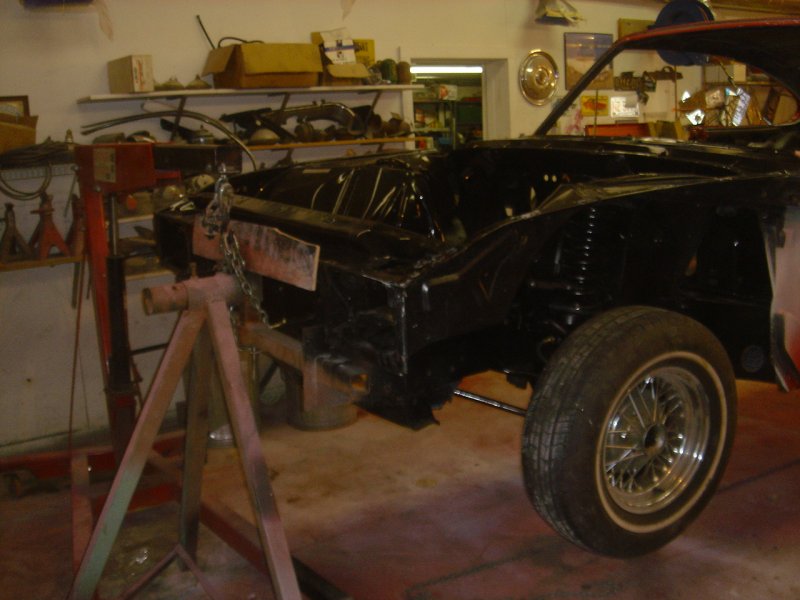
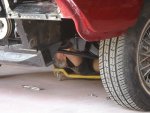
On the right, all four wheels are installed and the Italien is read to
lower back down.
The shop crane is fixed to the rotisserie bracket that is attached to
the front bumper mounts
with a chain and the front end is lowered to the floor.
Then the shop crane is fixed to the rear and the rear lowered.
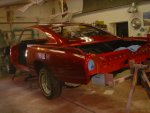

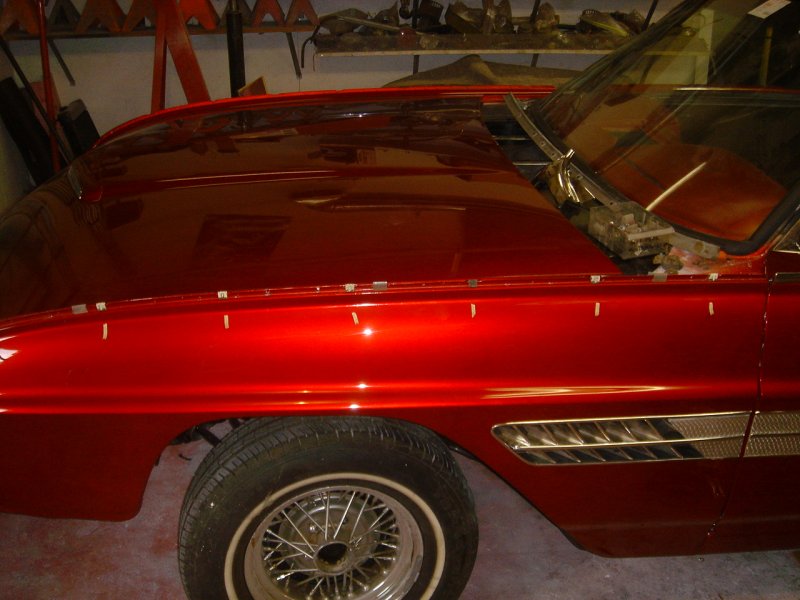
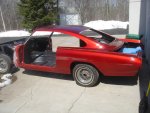
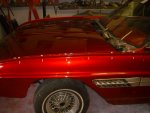
This is the first time I got to see how it looked in the daylight, and
I must say, I even impressed myself!
The paint is spectacular!
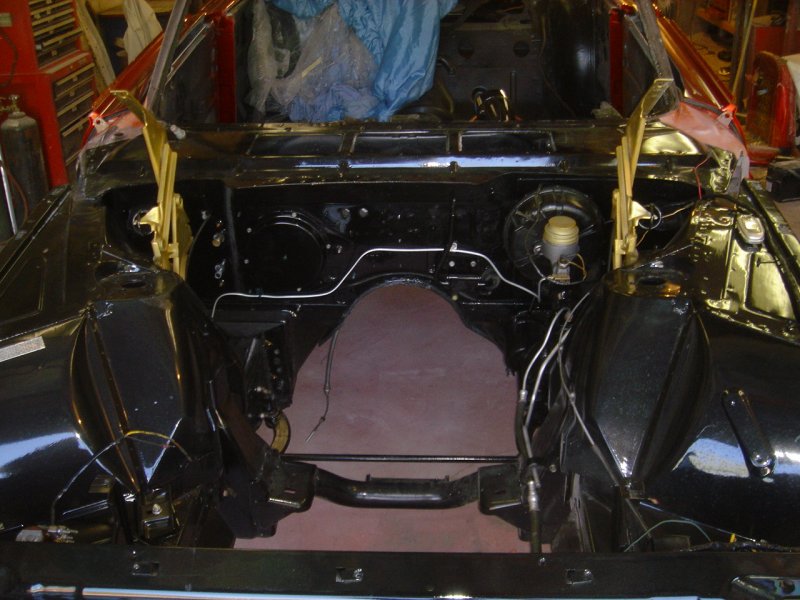
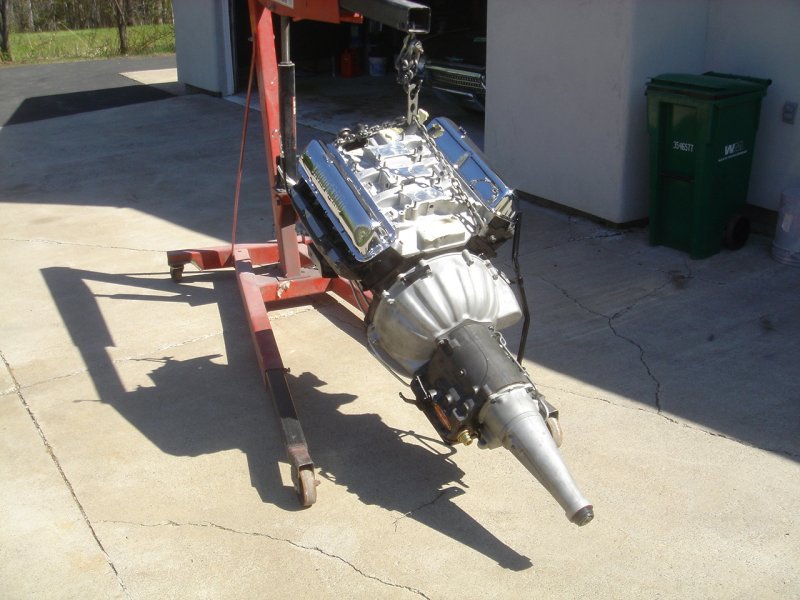
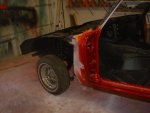
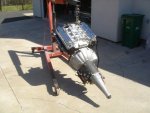
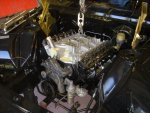
The engine bay is ready for the engine to be slipped back in place.
I raise the back of the car approximately 20 inches on jack stands
and with the engine tipped about 30 degrees it all slips
into place very easily. Once the bolts on the motor mounts are
resting in their
receivers, I use a transmission jack to raise the back of the tranny up
and install the support beneath.
Then continue with the rest of the connections.

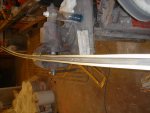
Here I am istalling the exhaust system.

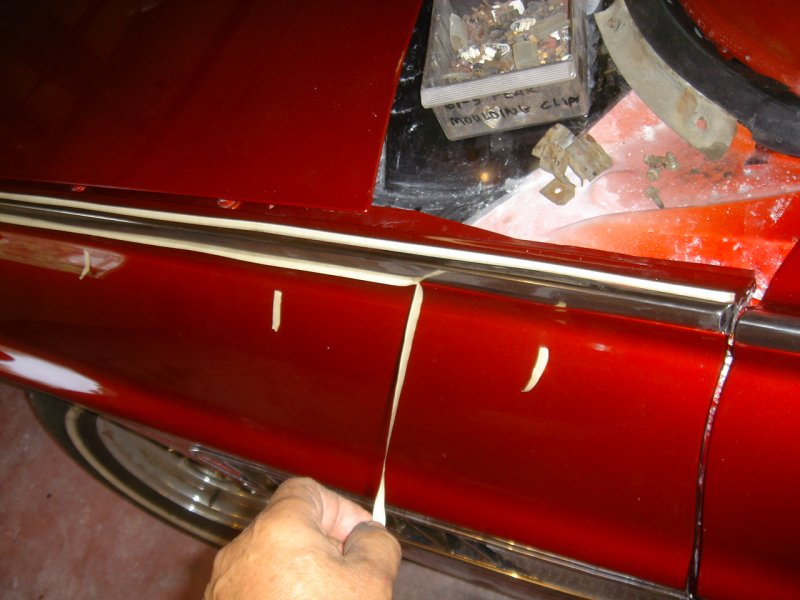
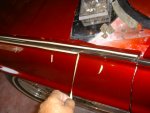
When I install the peak mouldings I
install the clips on the fenders, doors and quarters
first
and then mark each of their locations alongside with a piece of masking
tape.
The tape is so I know exactly where to stripe the peak moulding with
the rubber mallet to seat it.
Then I place masking tape on the underside of each edge of the peak
moulding
just far enough in so the take sticks and covers the edge of the bottom.
The tape will soften the impact when the moulding seats in place.
I've had the paint chip off when I've done this without the tape in the
past.
When the moulding is in place simply pull the tape out.
If it's stuck in places it ususlly works to push on the moulding
where the tape is stuck and you can get enough relief to get it out.
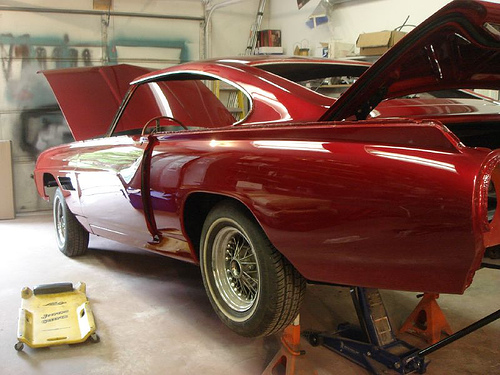
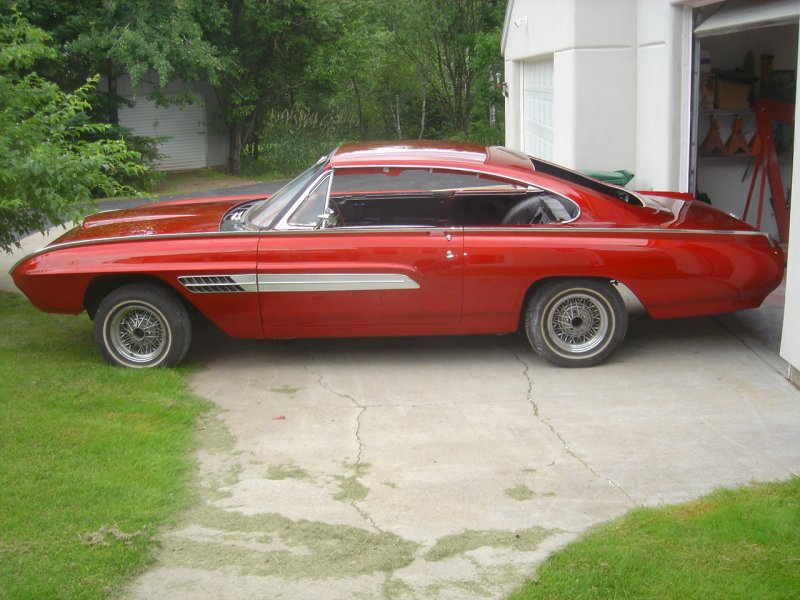
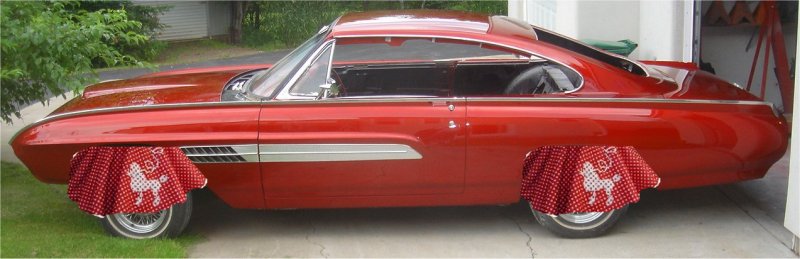
Atarting to look like a car again with the doors and fenders and some
trim in place.
When I first sent this photo to some friends, one of them remarked
"I can't wait to see it with the skirts back on"
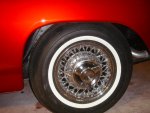
He knew it didn't have skirts because the rear wheel openings are
modified from
original and skirts wouldn't fit, he was just being cute...so....

I was cute too,
I put skirts not only on the back, but on the front as well,
POODLE SKIRTS!

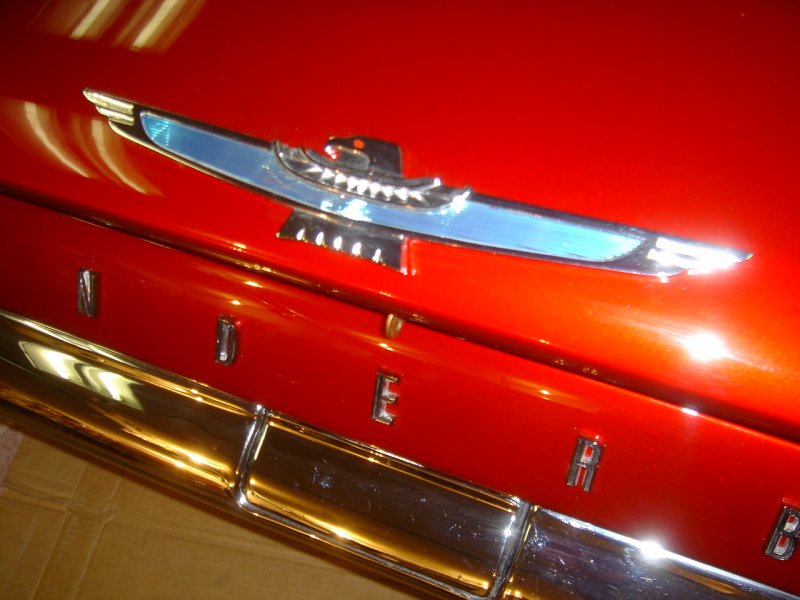
Here is the back end of the car together.
The bird emblem on the trunk is actually a hood bird from the production
'61-'63 Thunderbirds.
It had to be flattened somewhat as it is bent in the middle
to fit the 'peak' on the front of the hood.
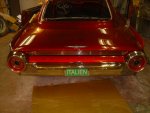
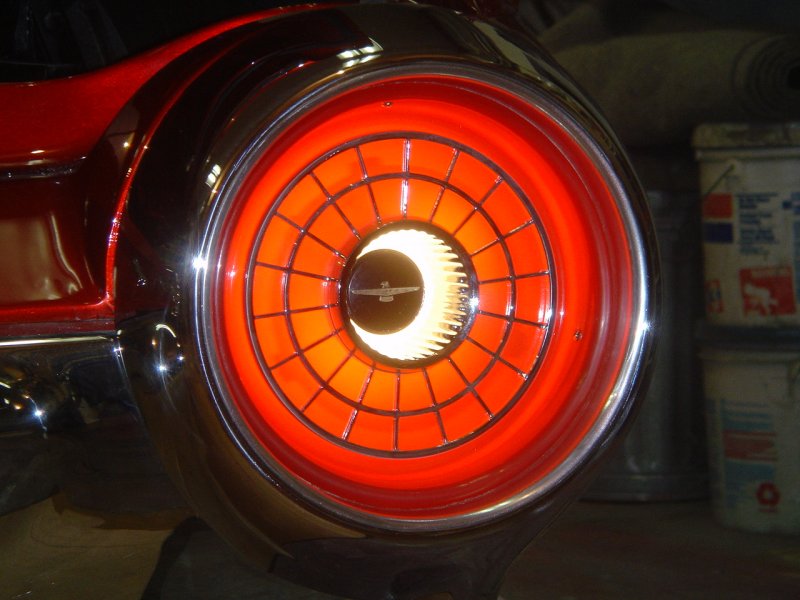
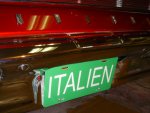
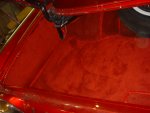
Here are the taillights, license plate and trunk interior

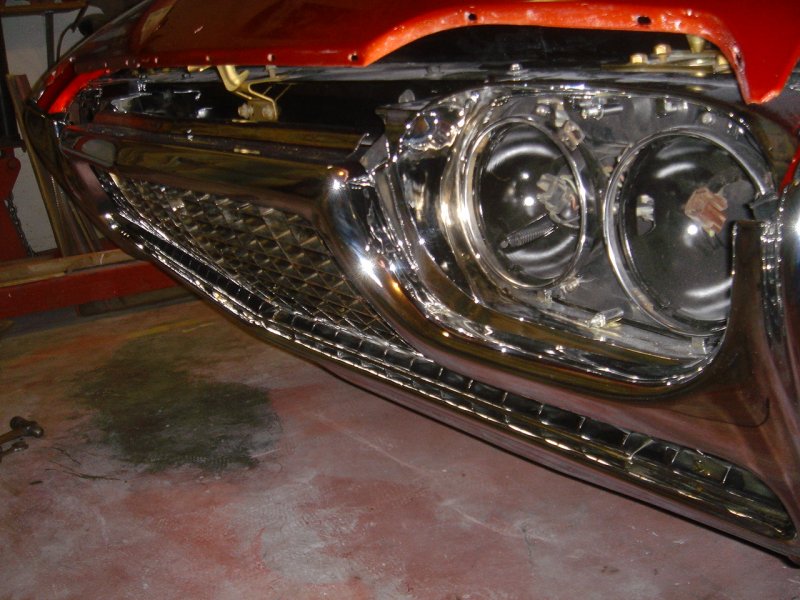
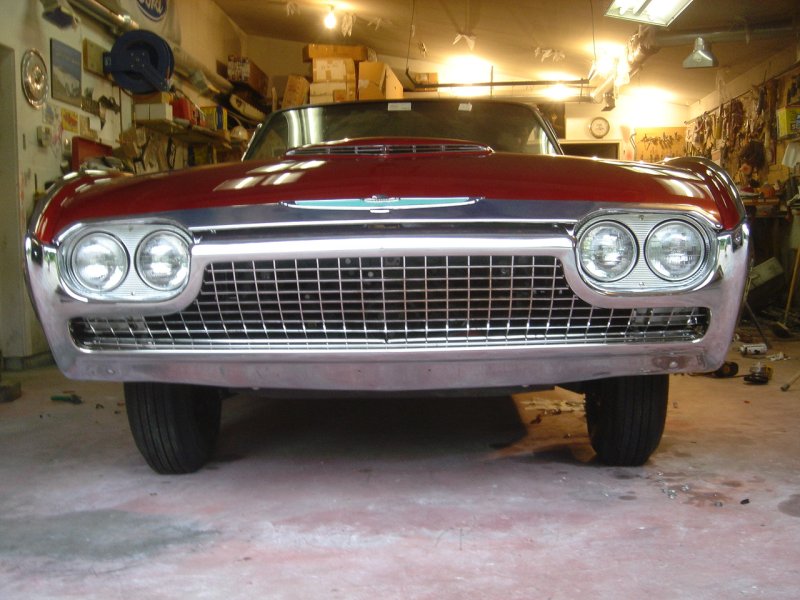
The front end of the car with the new hood nose trim chrome plated and
the custom
egg crate grill. Note the turn signals are hidden from view
behind the grill. You'll see them in later pictures when they're
lit up.
The grill is made from strips of brass 3/16" thick X 1 1/2" and the
pieces
are dovetailed at each intersection where they cross horizontally and
vertically and fit tightly together with only a couple
of brazed tacks in the center and at a couple of mounting brackets.

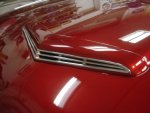

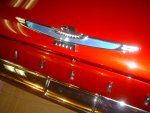
The correct 62 style spinner newly chromed and back
where it belongs
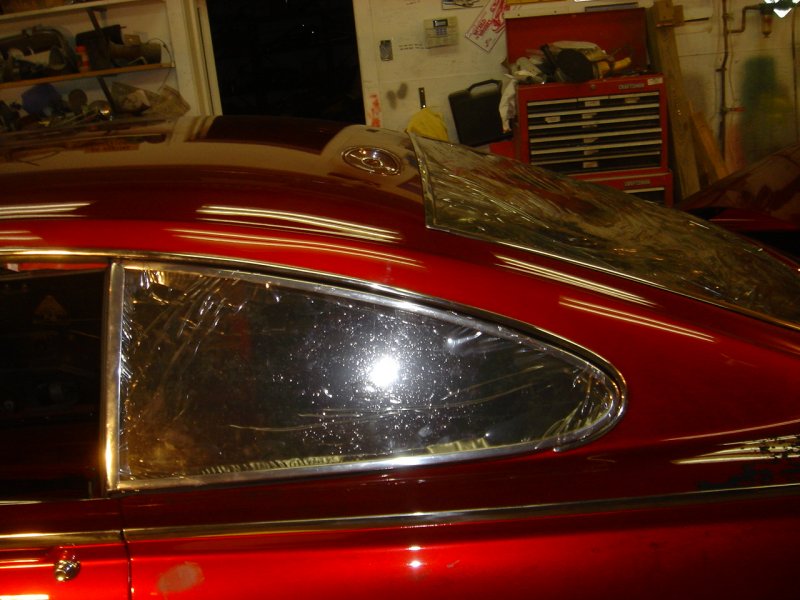
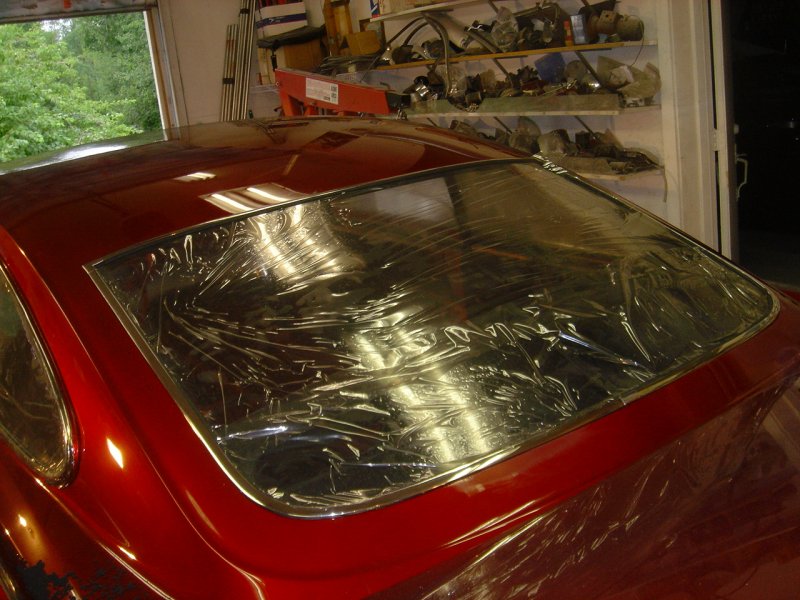
These are the new quarter windows and back window installed
They have a protective plastic on them
These windows are made from plexiglass and since they scratch easily
I left the covering on them until the assembly was complete.
They all have complex curvature and are not simply
flat so I had to have someone make them for me.
I brought the old windows down to MASTERGLAS in Lakeville MN
and Steve used the old windows as patterns to fashion the new ones
and he did a wonderful job for a very reasonable amount.


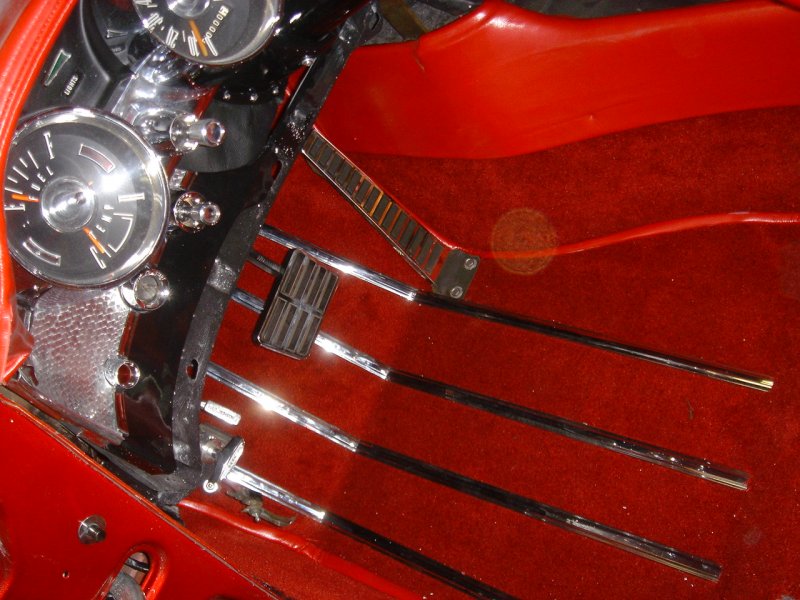
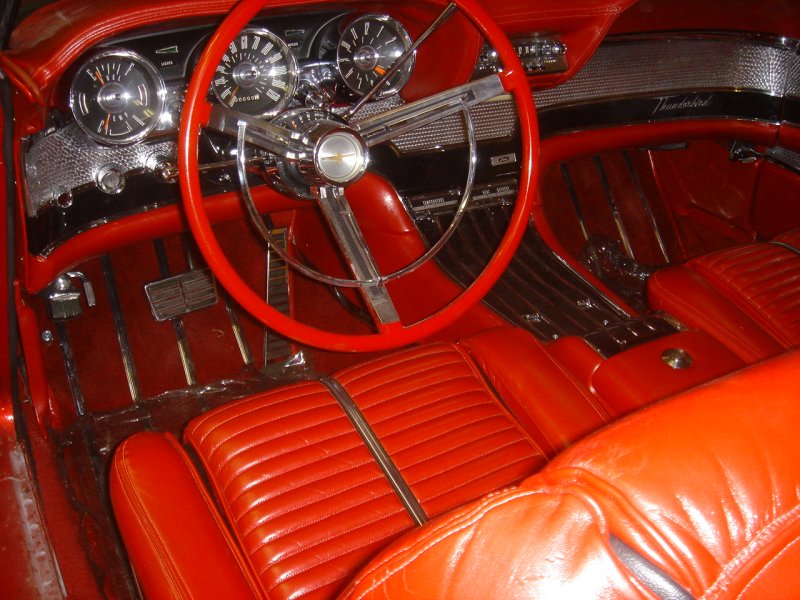
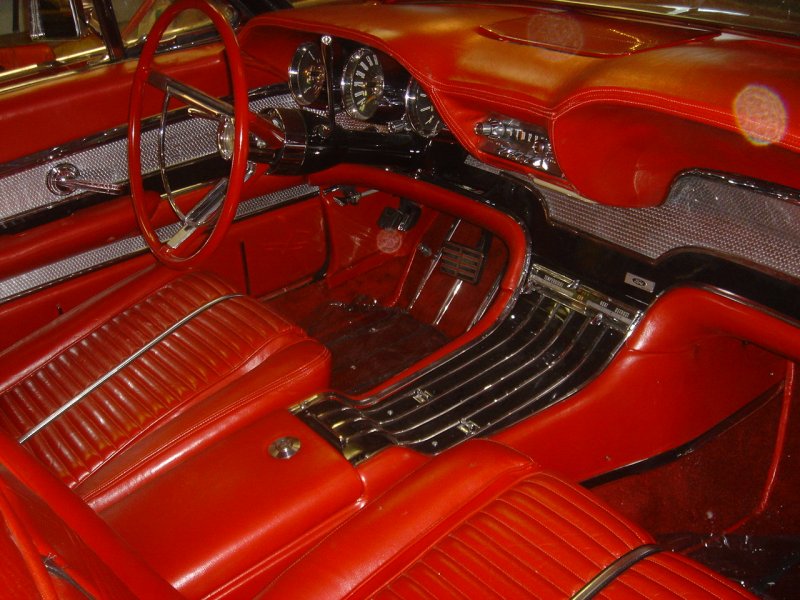
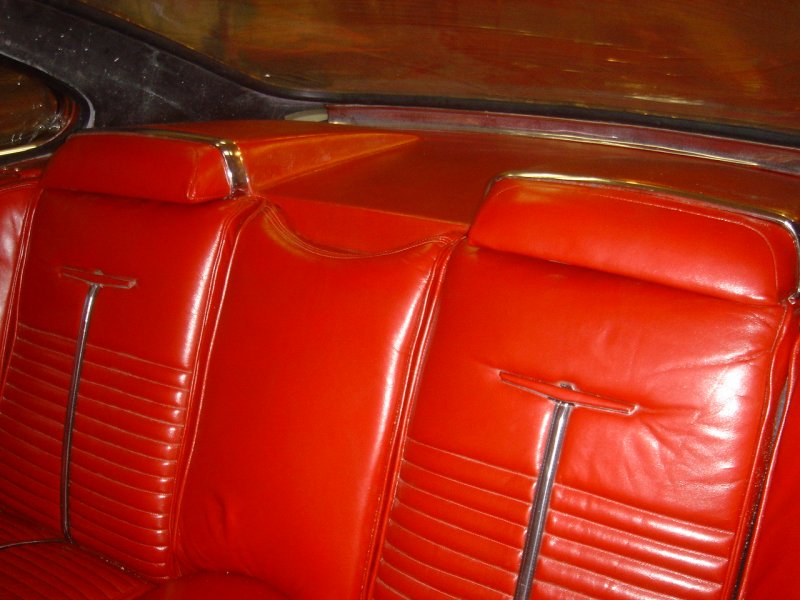
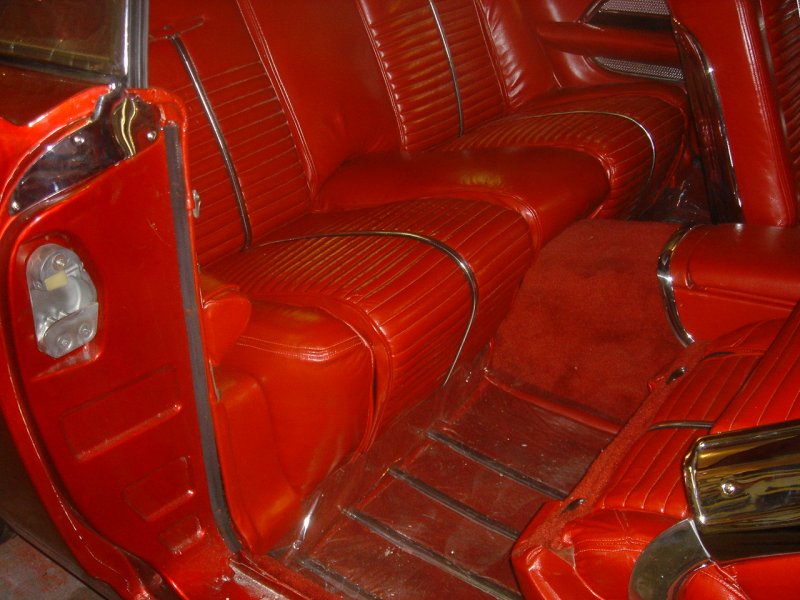
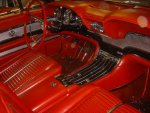
Another unique feature of the Italien is the brite rub strips on the
floors.
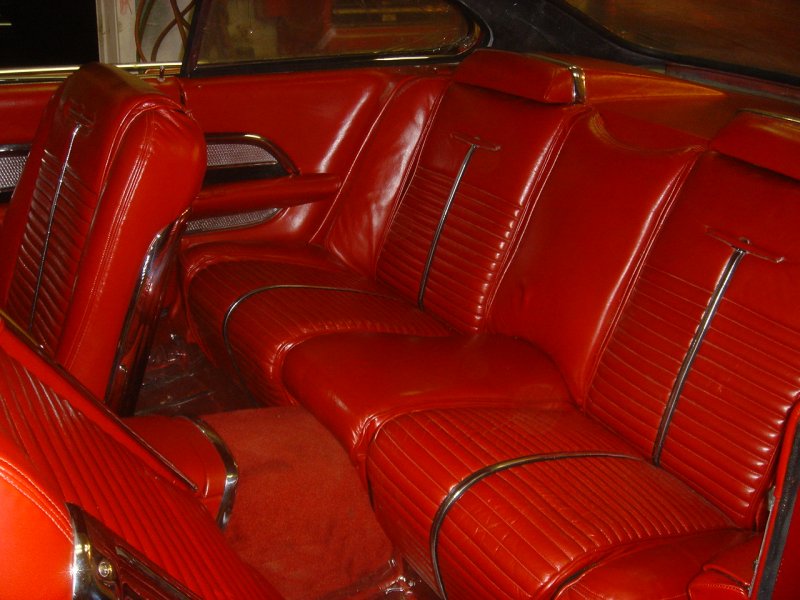
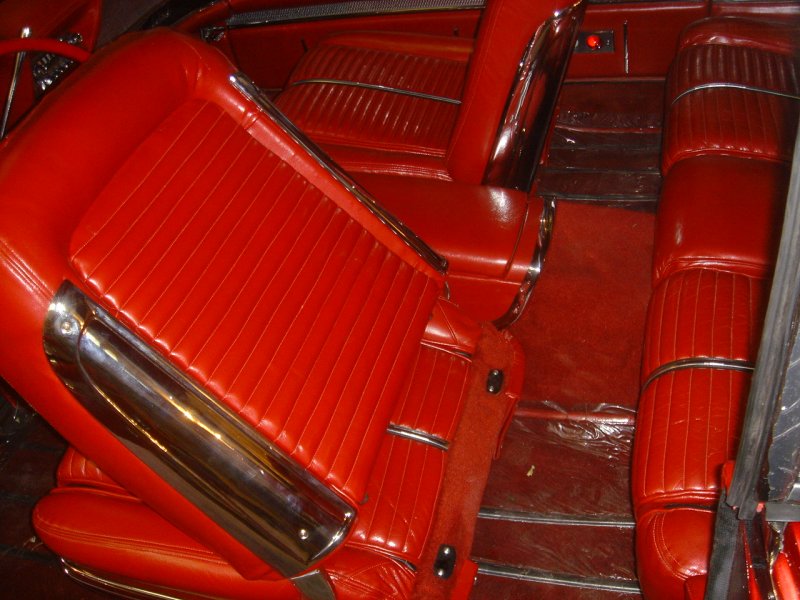
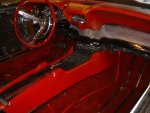
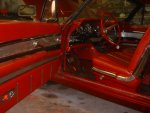
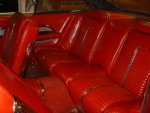
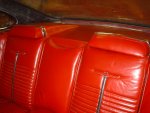
In this next group of photos you'll see the interior getting installed.

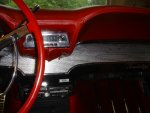
This interior is really flashy compared to the production Thunderbirds
of this era.
All the britework really sets it off nicely.


Back to Italien Index
Continue
with Chapter 30
Contact
Tom
Maruska
Back to
TOM MARUSKA CARS
DONE!