THE 1963 THUNDERBIRD ITALIEN
Chapter 19 - RESTORING THE TRI-POWER
Copyright © Thomas Maruska 2008
All Rights Reserved
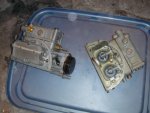
It's really hard to believe ho dirty this thing was.
I guess the Italien sat outside in a dirt alley
for years with the wind
kicking up the dust and depositing it on and in the Italien.
It
probably is a good thing
as people seeing it as they drove by
just
thought it was another deserted junker.
Little did they know they were
saving it for me to restore.
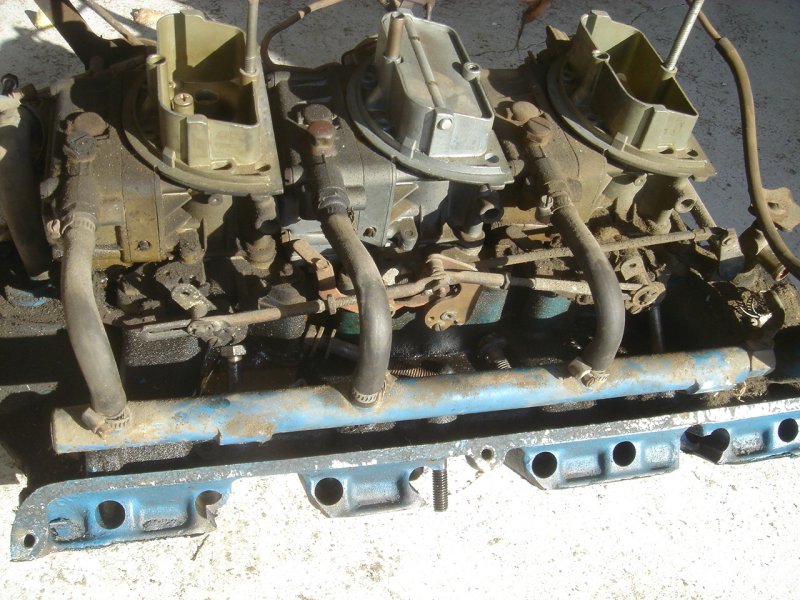
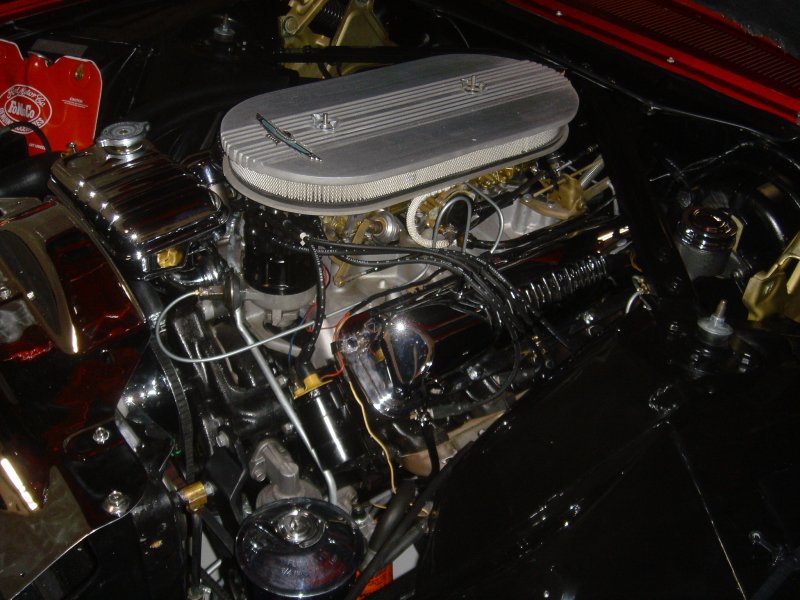
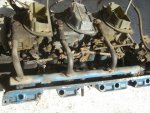
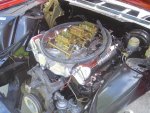
Here's another view of the engine before I took it apart

and a couple of the tri-power.
A couple things to note if you're comparing this to yours
is that this
is likely the first bulletbird tripower ever
as they weren't yet an
option when the Italien was built.
The primary differences are
that the long linkage rod
on the left is unique as well as the heater
hose shut off valve
on the front of the intake.
Production M code
cars had a tall "L" shaped hose fitting.
Other than that it's the
same.
You can get complete specifications and information
about 62-63
Thunderbird "M" code Tripowers
by clicking here: Tripower Specifications
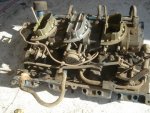
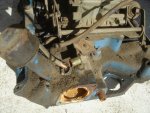
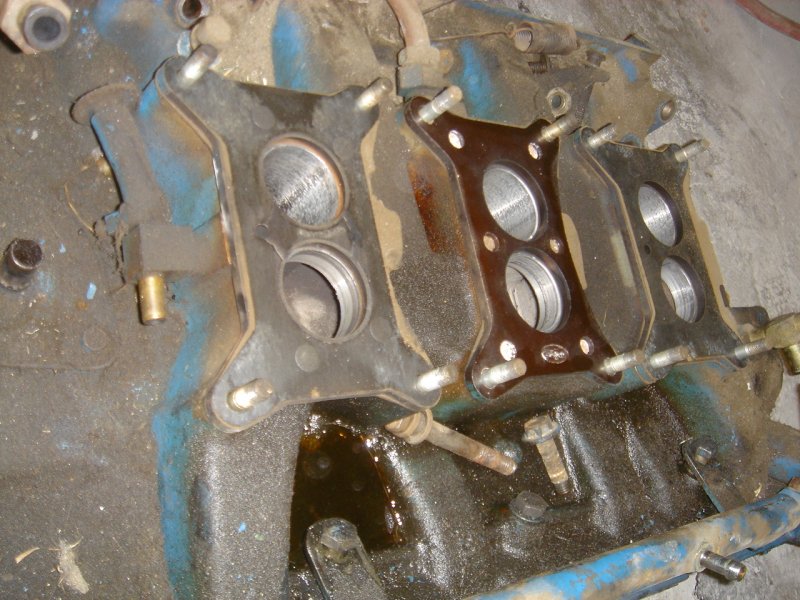
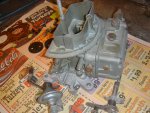
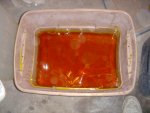
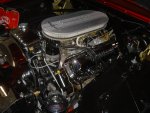
The Italien still had the original "bakelite" carb spacers in place

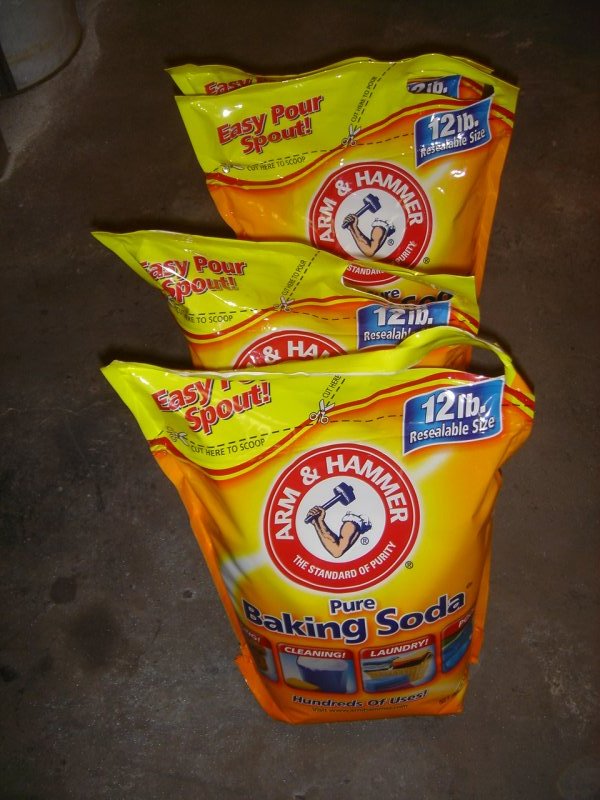
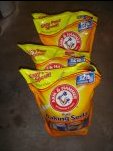
While researching Caswells electroplating equipment
for their gold
chromate "copy cad" system
I learned that baking soda works well as a
blasting media
for cleaning sensitive items like carburetors.
Unlike
sand or glass bead the baking soda won't plug small passages
because
when it gets wet it will disolve.
So off to Sams Club I went to get a couple large (25 lb) bags of Baking
Soda.
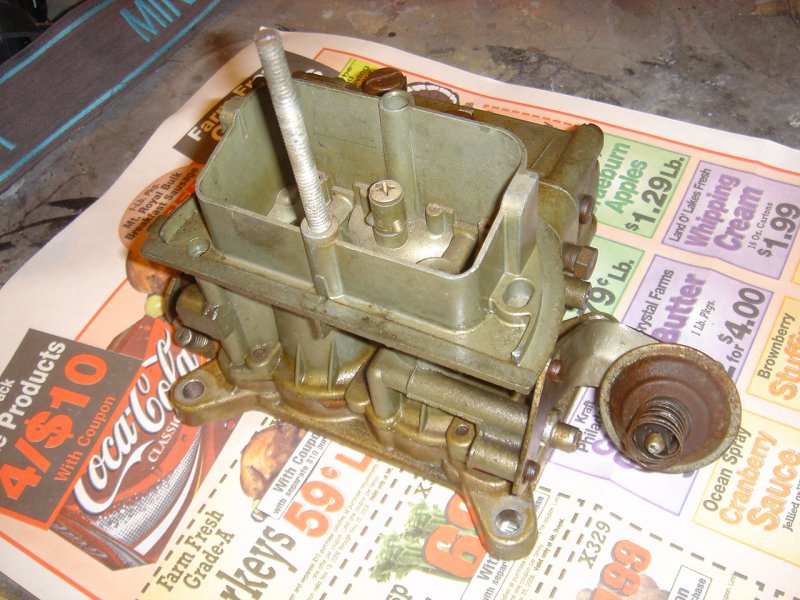
I brought it home and after removing the glass bead from my Skat-Blast
cabinet
I dumped in a couple bags of Soda and went to work cleaning the
carbs.
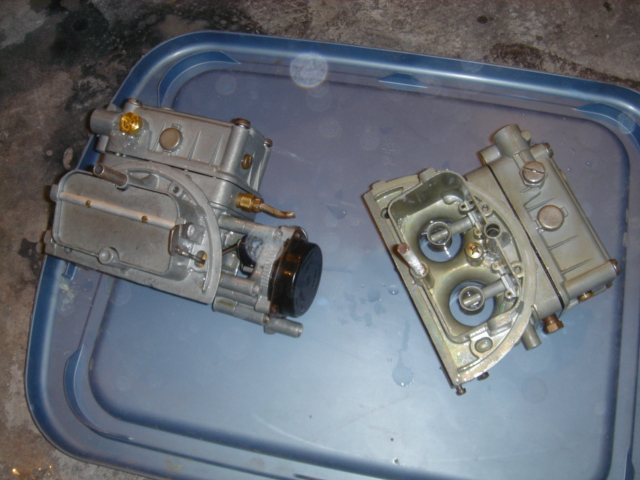
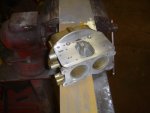
This is the front secondary carb before cleaning

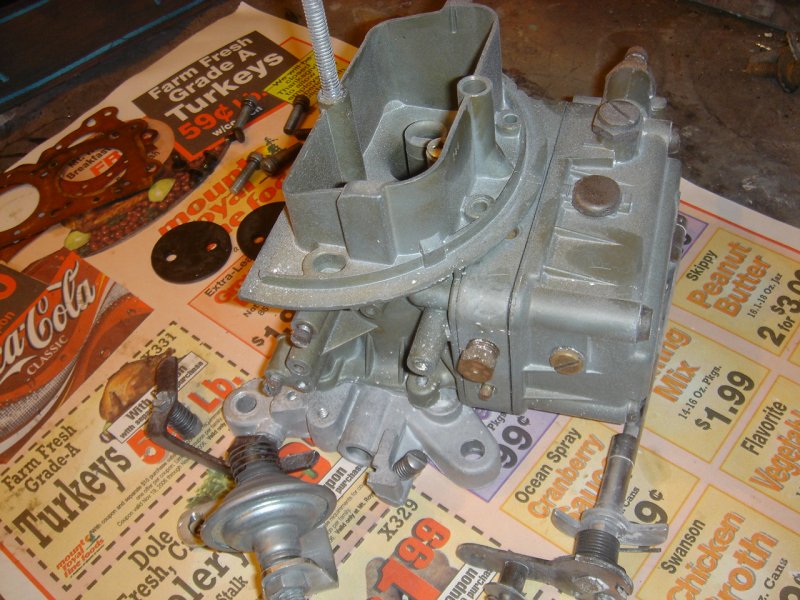
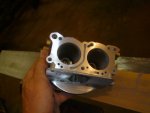
This is after Soda Blasting
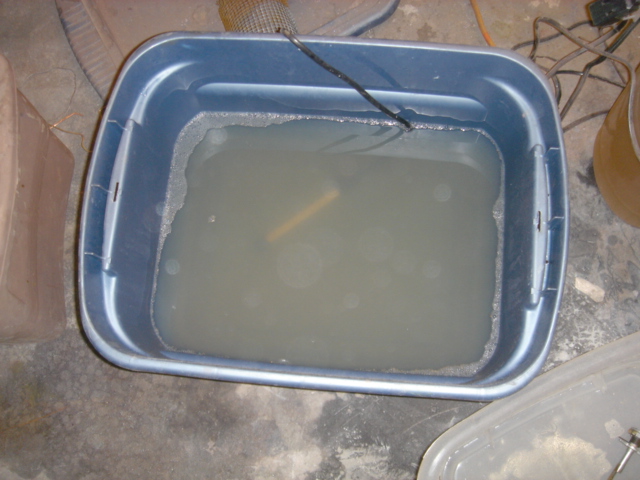
After the Soda Blasting and before the zinc plating
you must soak the part in a cleaning solution at 115 degrees for 15
minutes
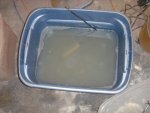
This is followed by rinsing the part in clean distilled
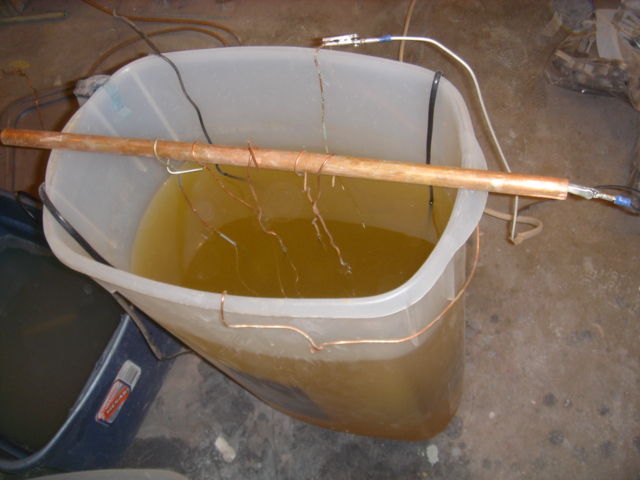
water and then suspending the part with copper wire
in the zinc plating tank for a period of time determined by the
surface area of the part.
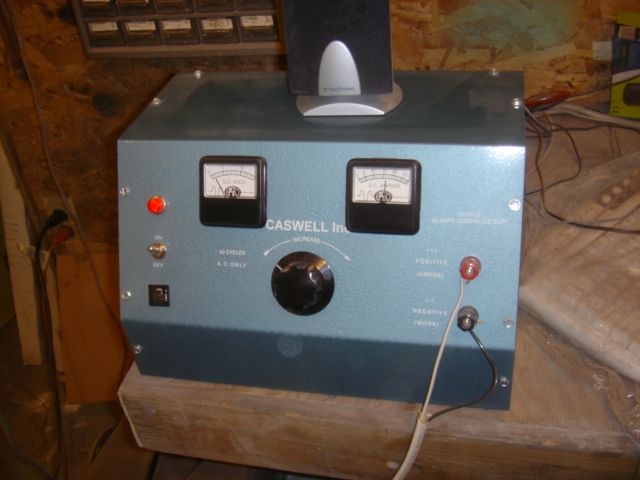
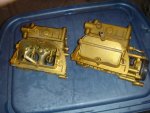
The Rectifier controls the current.

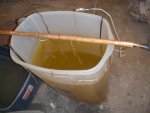
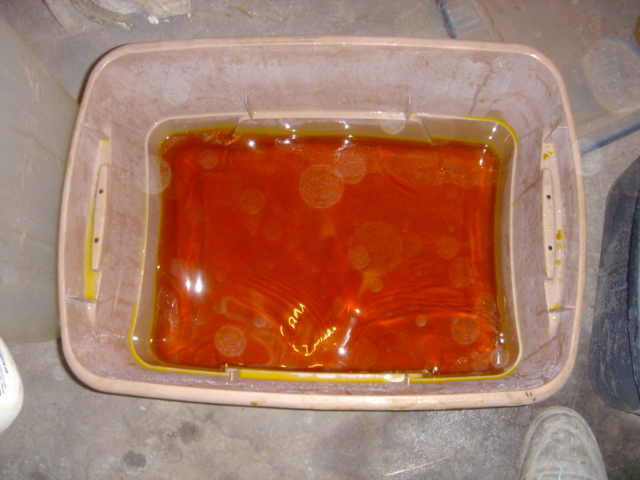
After the zinc plating is complete,
again rinse the part in clean distilled
water
allow it to dry
and then immerse it in the gold chromate coloring solution
until the coloration you desire is achieved
Once again rinse with clean distilled water and allow it to dry
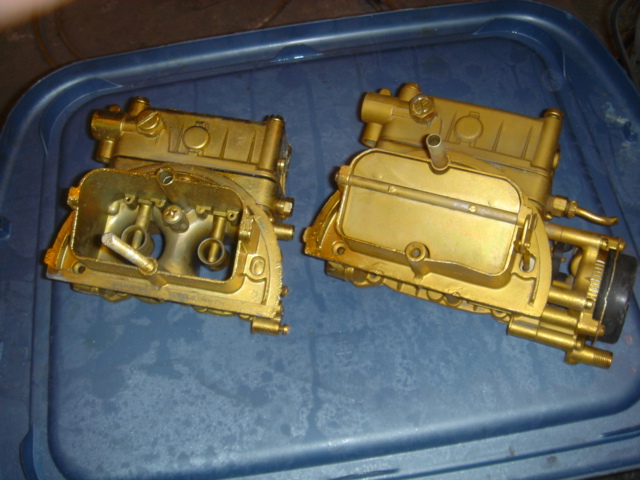
Here is the finished product.
Well not really finished as you still have to take them apart and
rebuild them
by replacing all the small interior parts and gaskets.
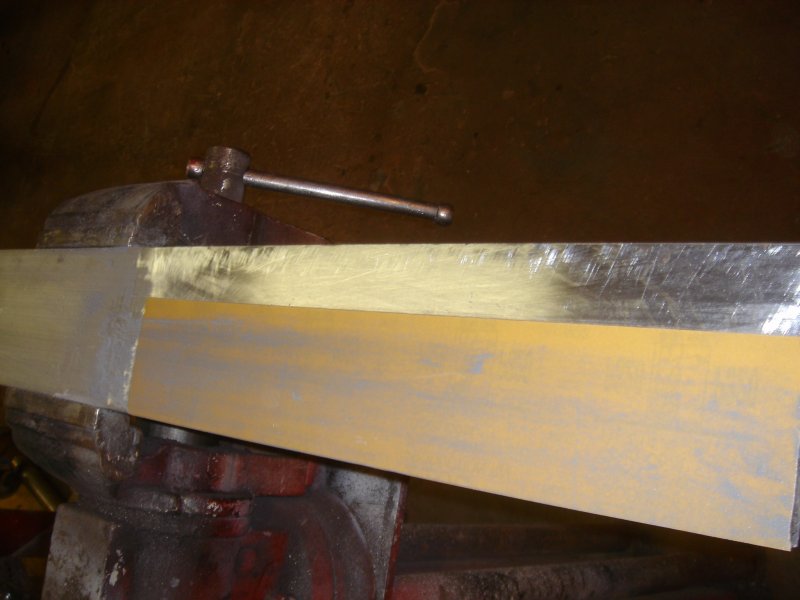
One thing critical on these Holley 2V carbs
is to make sure the mating surface are all flat and true.
I use a known flat piect of 1/2" X 4" aluminum
with sandpaper adhered to it to sand the carb mating surfaces flat.
I first use 180 grit paper
and when you can see that the surface is evenly sanded
switch to 280-320 grit and smooth it off a little more.
You'll be surprised at how warped your carbs are.

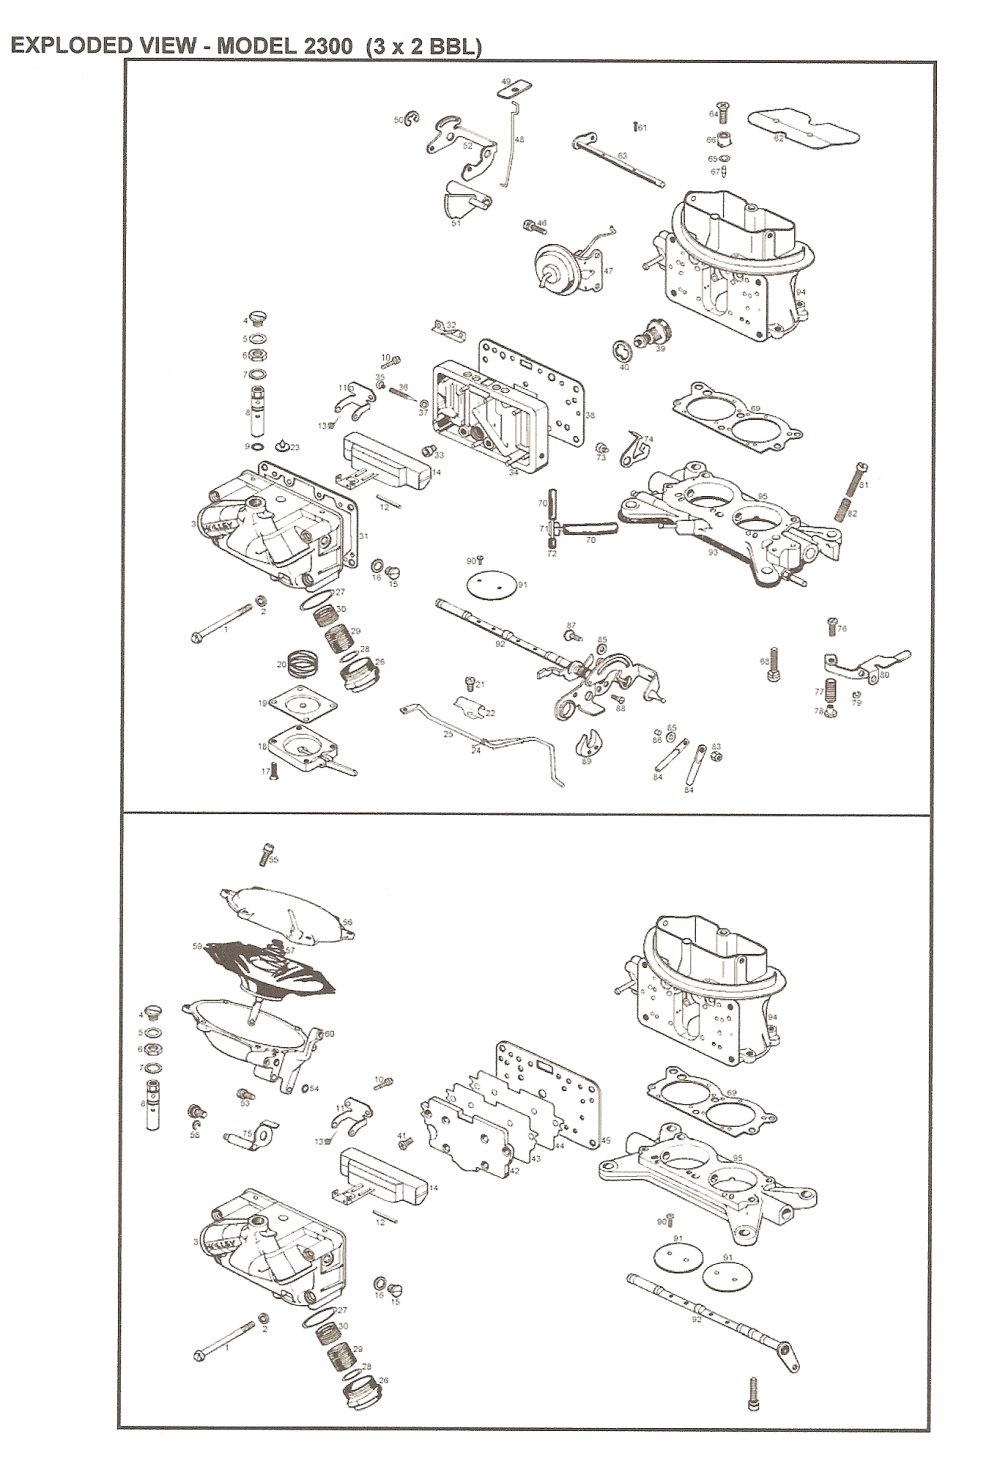
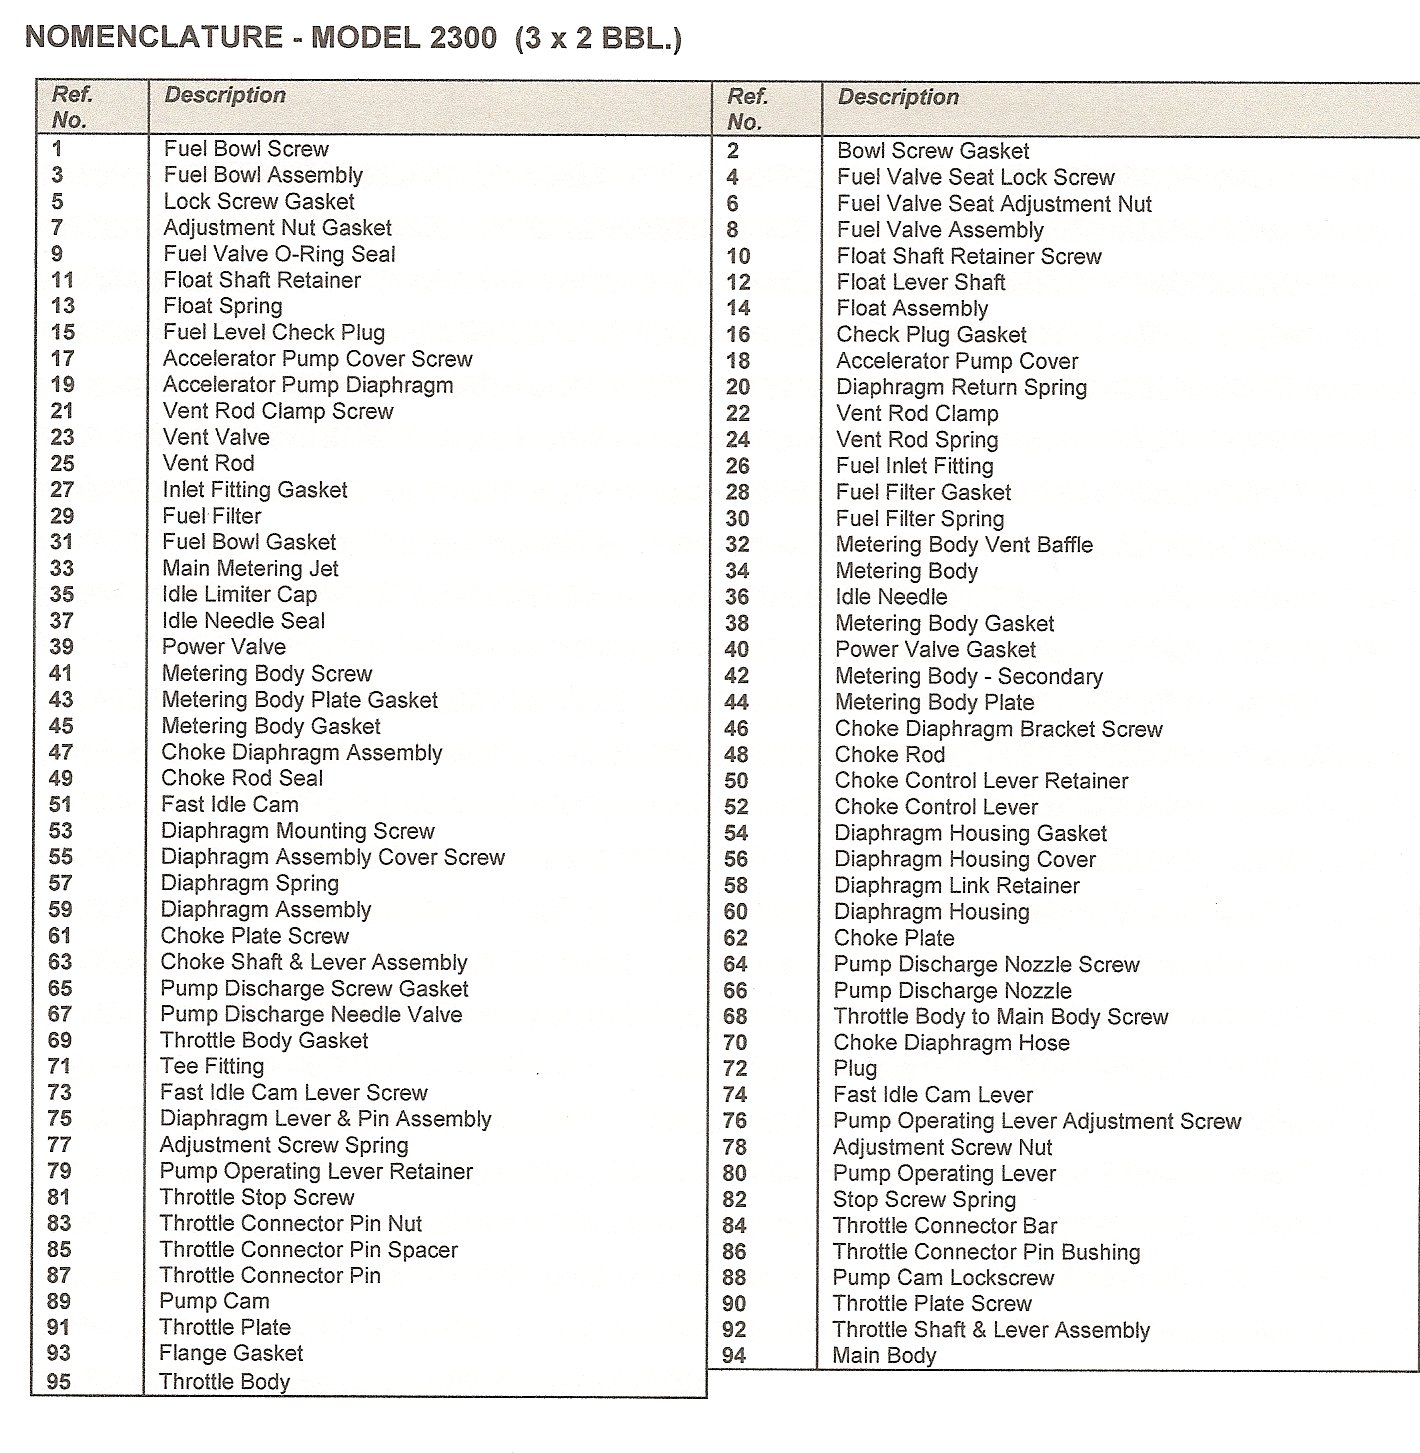
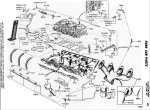
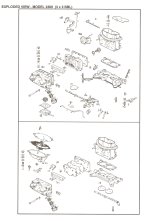
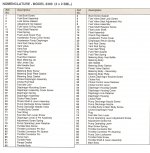
These are a couple diagrams of the Tbird tripower and a breakdown of
the Holley 2300 carbs.
Back to Italien Index
Continue
with Chapter 21
Contact
Tom
Maruska
Back to
TOM MARUSKA CARS
TAIL LIGHTS