The restoration of the
1956 Mercury XM TURNPIKE CRUISER Dream car
continues by putting THE FROSTING ON THE CAKE!

After the last update there wasn't a lot left to do except install the door and quarter panels,
the carpet and the seat belts and seats.
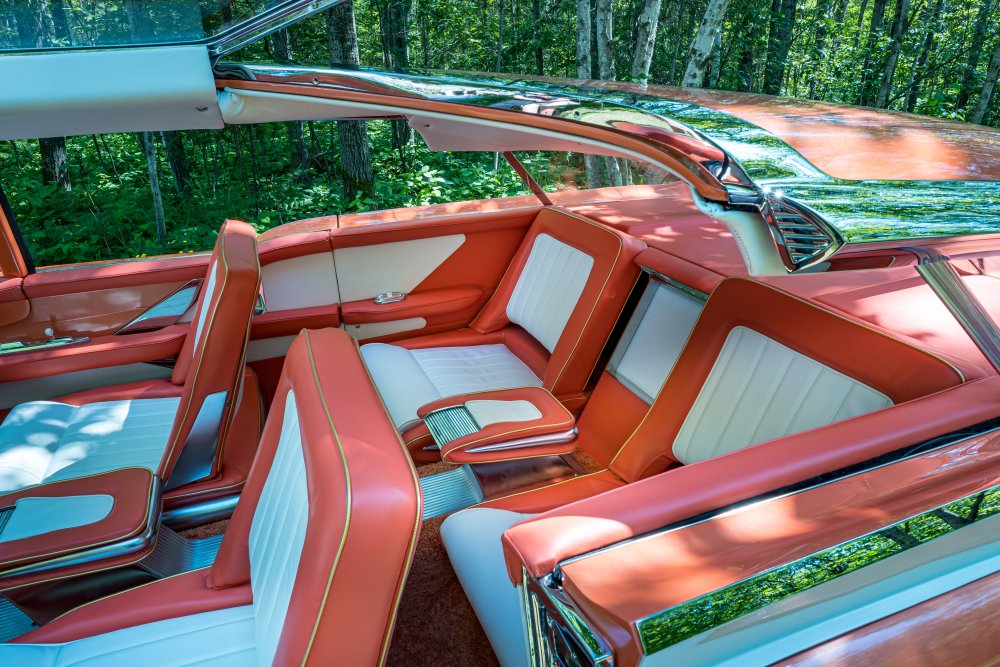
Once the interior was all together, I added all the fluids to the car,
Brake fluid, Oil, Transmission fluid, Antifreeze, rear end oil,
power steering fluid, windshield washer fluid and gas.
Now all I had to do was to see if it would run,
so I double checked that the number one cylinder was at top dead center
in firing position and that the rotor in the distributor
was pointing at the number one plug wire in the distributor cap.
Then I sprayed a little starting fluid in the carburetor and turned the key......
It fired immediately!
I had to spray a little starting fluid in the carburetor another time or two
until the fuel pump brought the gas into the carburetor and it started and ran.
With a small adjustment to the distributor to improve the timing
it starts and runs like it should.
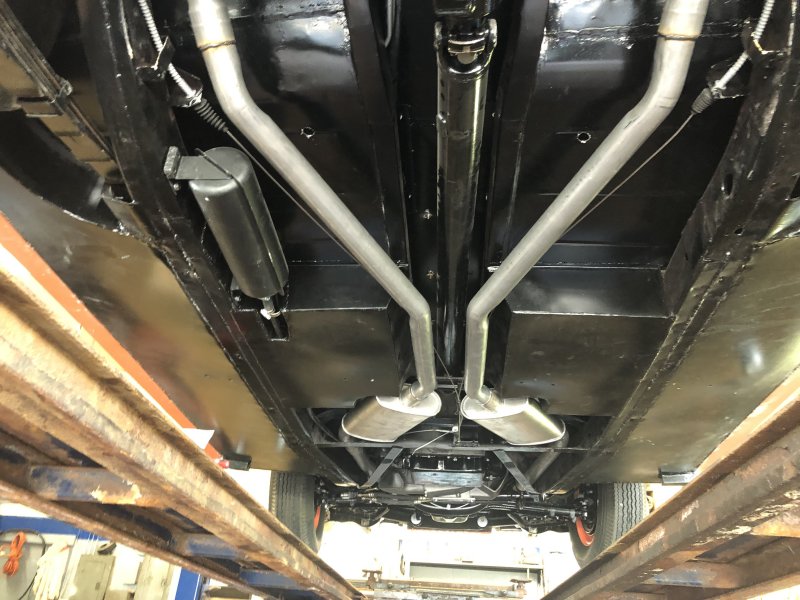
NEW EXHAUST
Last time I showed you the double exhaust outlet pipes
I made to connect to the outlets on the lower rear quarter panels.
Now that the car was running and driveable I trailered
it to a local exhaust shop to have the mufflers and exhaust pipes installed
connecting everything together under the car.
IT'S DONE!! IT'S DONE
With the exhaust completed the XM Turnpike Cruiser restoration
officially comes to a close.
It's been a long 3.5 years but I've enjoyed every minute of it.
(almost)
Over the years I've encountered a lot of people
who embark on restoration projects and disassemble a vehicle,
and in the process become overwhelmed with the amount of work it will entail,
and they give up and sell the car in pieces,
just like how I purchased the XMTC.
None of the parts or attaching hardware
is identified and often just tossed into coffee cans or lost.
If you want to restore a car,
the first thing you want to do before taking anything apart is take LOTS of pictures,
then as you're taking something apart take MORE PICTURES.
I use zip-lock bags labeled like “brake booster to firewall”
nuts or bolts and so on for the entire car.
Then when you get around to re-installing the brake booster
you can grab the bag with the correct hardware and either restore
it or use new hardware but you'll know exactly what you need.
AND if you quit the project you can pass the pictures
and baggies on to the next owner making his job a lot easier.
If you take one small part of the restoration
and finish that to the extent you can before
moving on to the next small part the project isn't so overwhelming
as is is when looking at it as a whole.
If I wouldn't have approached the XMTC
that way I never would have finished it.
If anyone has any questions related to this car
or restoration in general there is contact information
on my website and I answer all emails and will be happy to help if I can.

Be sure to check out my website www.tommaruskacars.us
for all the professional photos taken of the completed
1956 XM TURNPIKE CRUISER CONCEPT CAR.
Thanks again for your interest!
Back to the Restoration index
Back to main page