FABRICATING UNUSUAL BRAKE AND GAS PEDALS
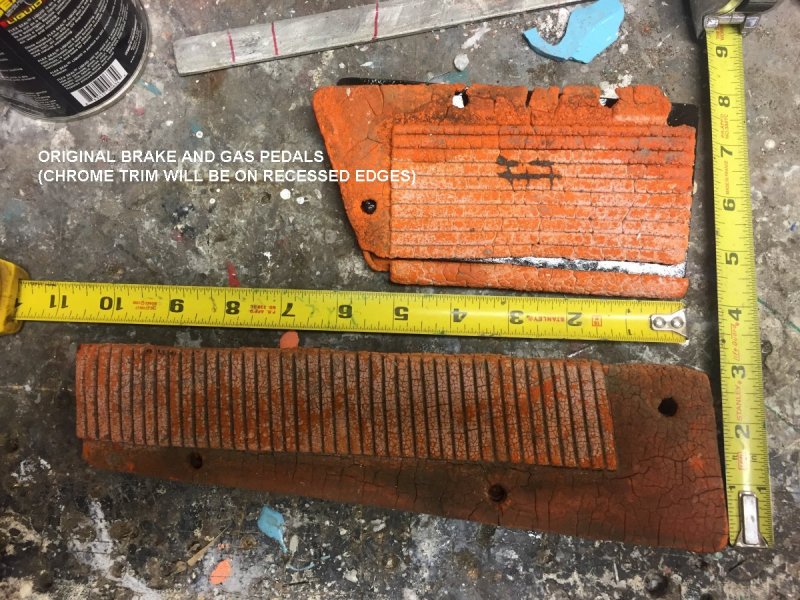
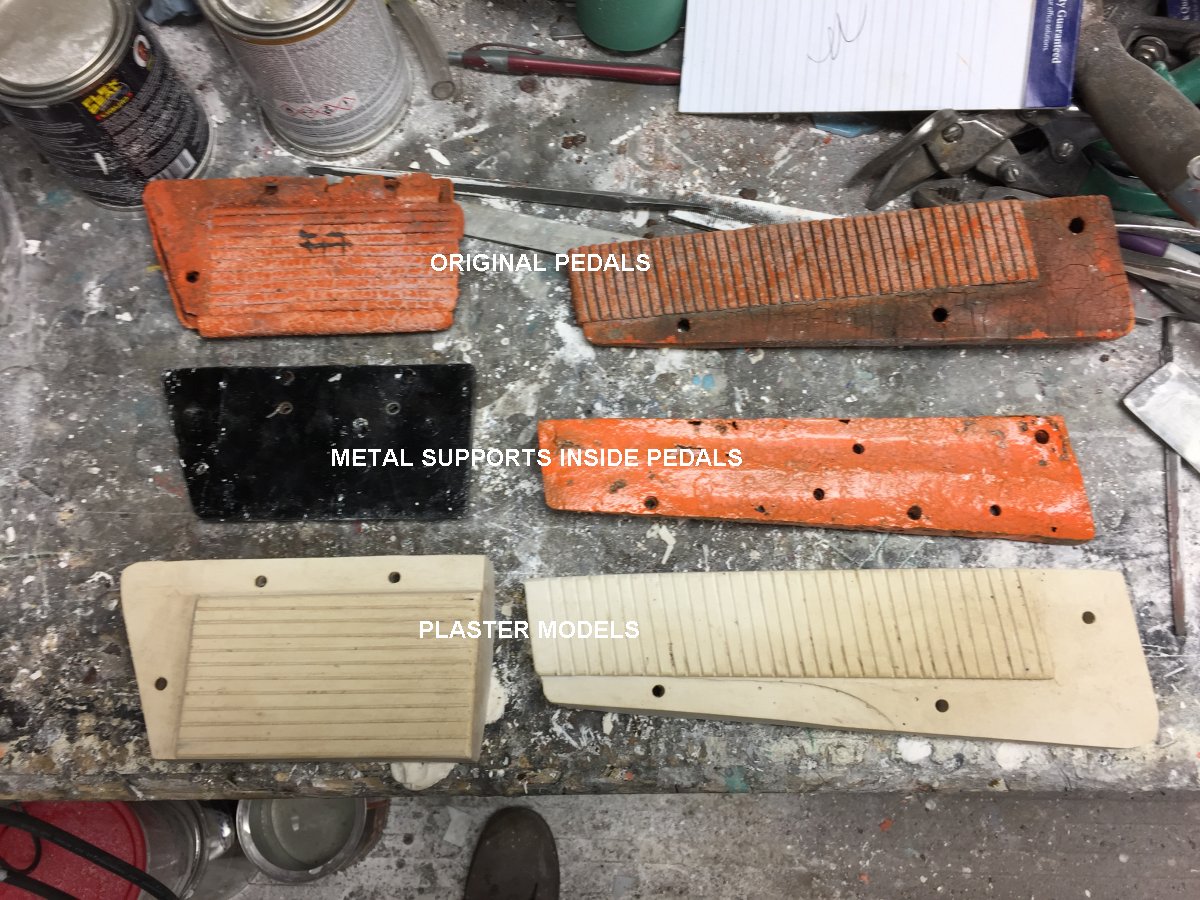
As you can see in the above picture the original brake and gas pedals
that match the color of the car need replacing
I started researching to find liquid rubber that could be tinted
and the first thing I came up with was the Flex Seal you've all seen on TV.
I found that it came in several colors most of which wouldn't work
for this purpose but the did also offer white. I purchased a pint can
of white Flex Seal and a can of orange spray paint and I mixed the two
together but by the time I got the color right I had way too much paint in
the mix and it wouldn't harden.
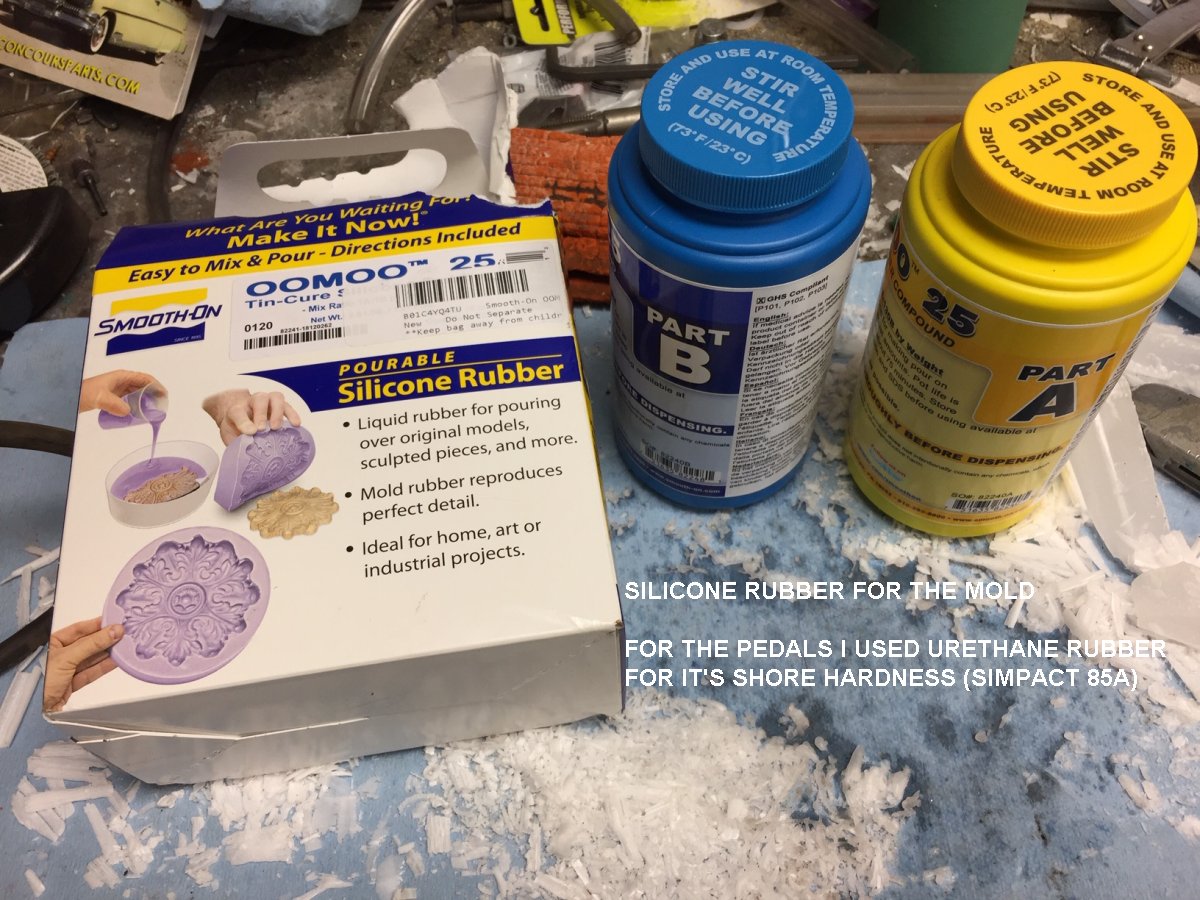
Then upon further research I found the Smooth-on website.
They offer several different products that come in 2 parts and they are
tintable with their many color options, orange being one of them.
I purchased the liquid silicone to make the mold with and the Liquid
Urethane to make tha actual pedals.
The Urethane has a much higher shore hardness, very similar to the hard
rubber brake pedals in cars so it was perfect for this application.
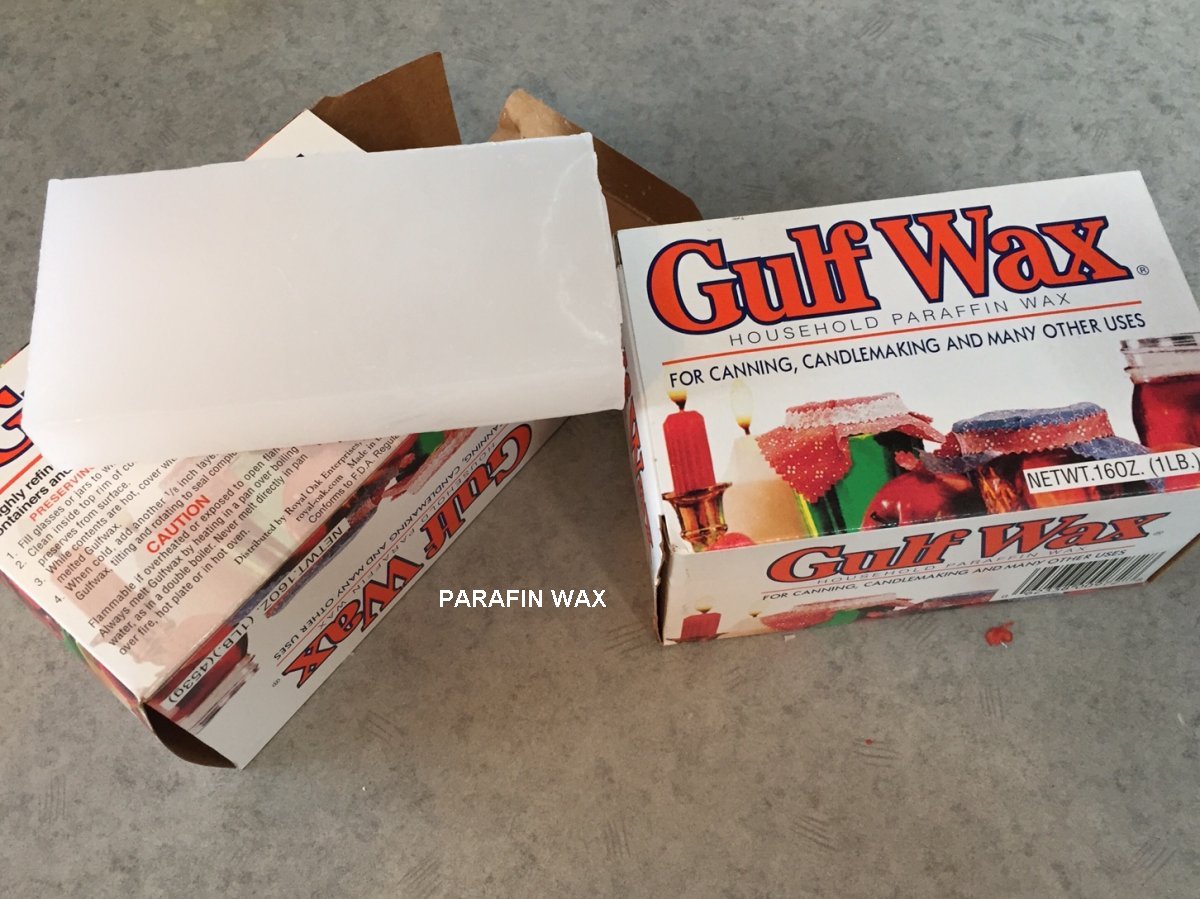
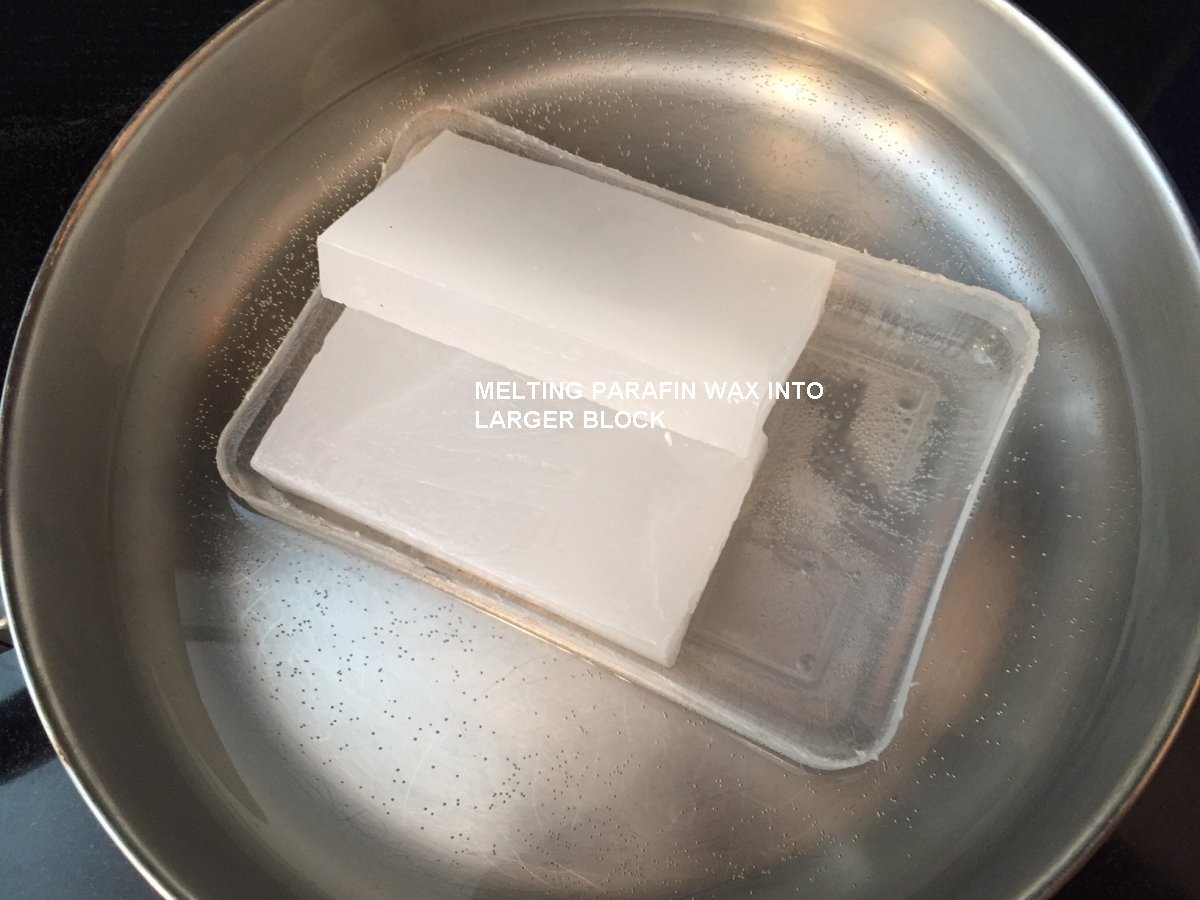
On my first attempt I got some parafin wax used for sealing food products when canning,
and melted a couple pieces together to make a block of wax approximately the sixe of the brake pedal.
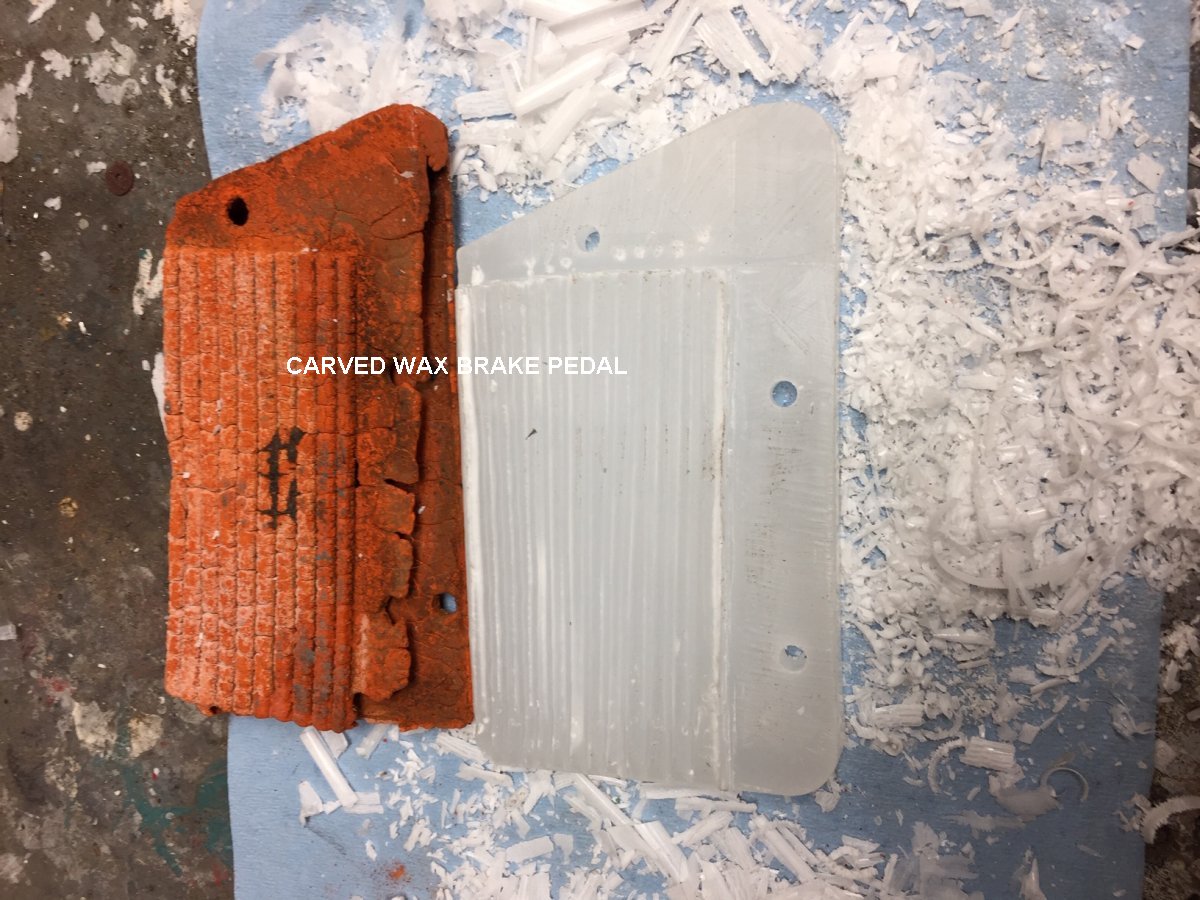
Then I carved the pattern and shape of the brake pedal into it and made a tin pan
slightly larger than the wax model, placed the model in the pan
and poured the Smooth-on liquid silicone over it to make a mold.
After that cured and I removed the wax model I sould see right away it wasn't satisfactory
as the wax is too soft and therefore hard to get a nice smooth finish so the mold looked rough inside.
Back to the drawing board.
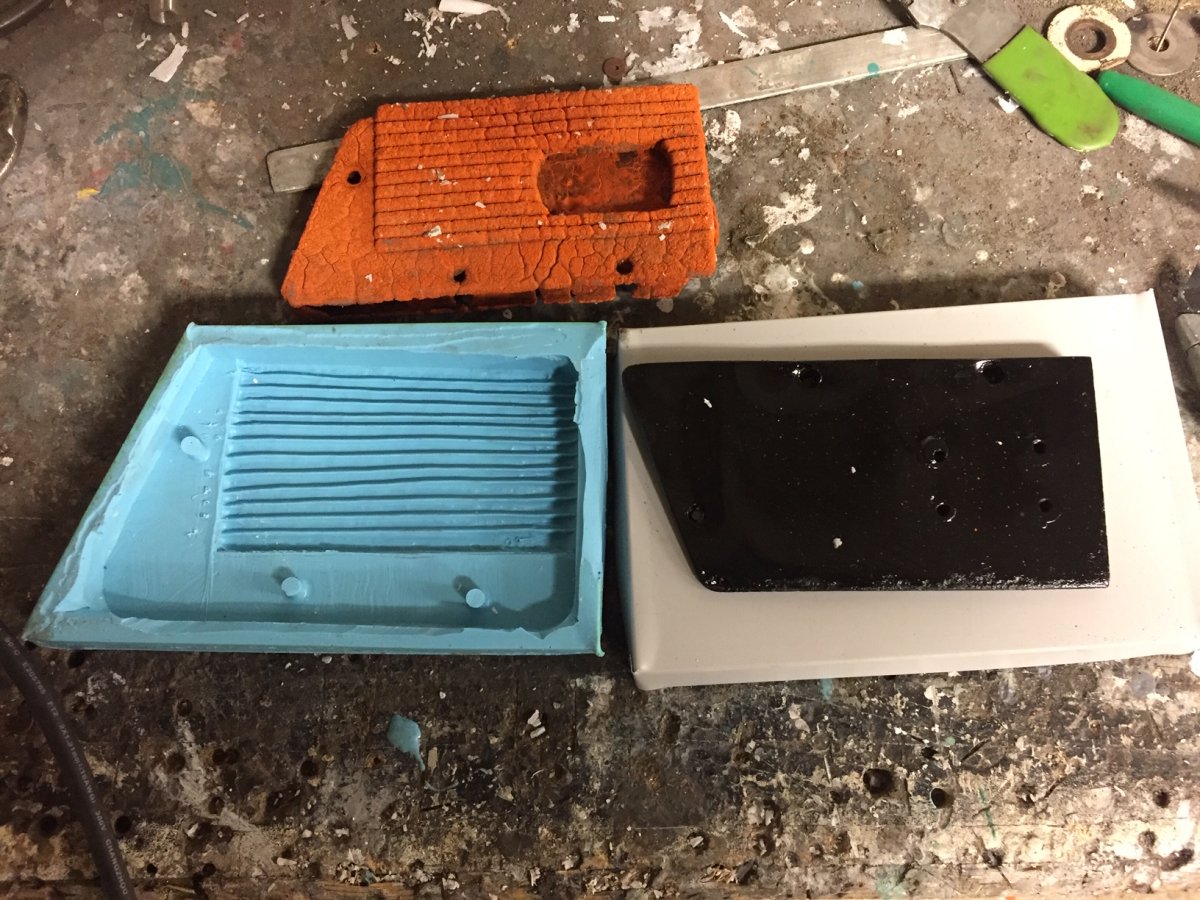
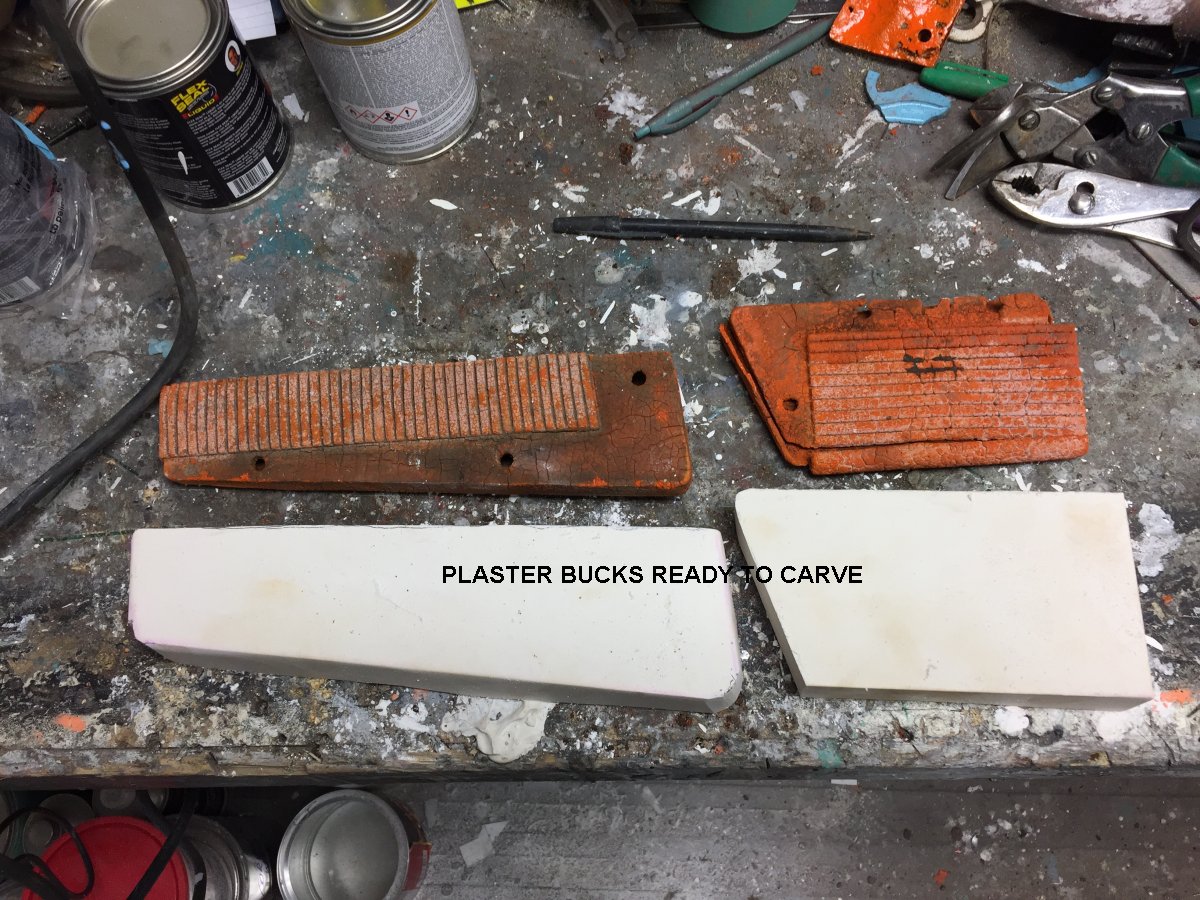
I whipped up a batch of Plaster of Paris and poured two blocks slightly larger than the gas and brake pedals.
When it set and I removed it from the forms I found it was pretty easy to carve the blocks
to the exact shape and size of the pedals and then I cut away the
recessed edge areas where the chrome trims will later be applied.
Next I marked the blocks where the grooves will be cut and used a
triangular file the carve the grooves.
They turned out awesome!
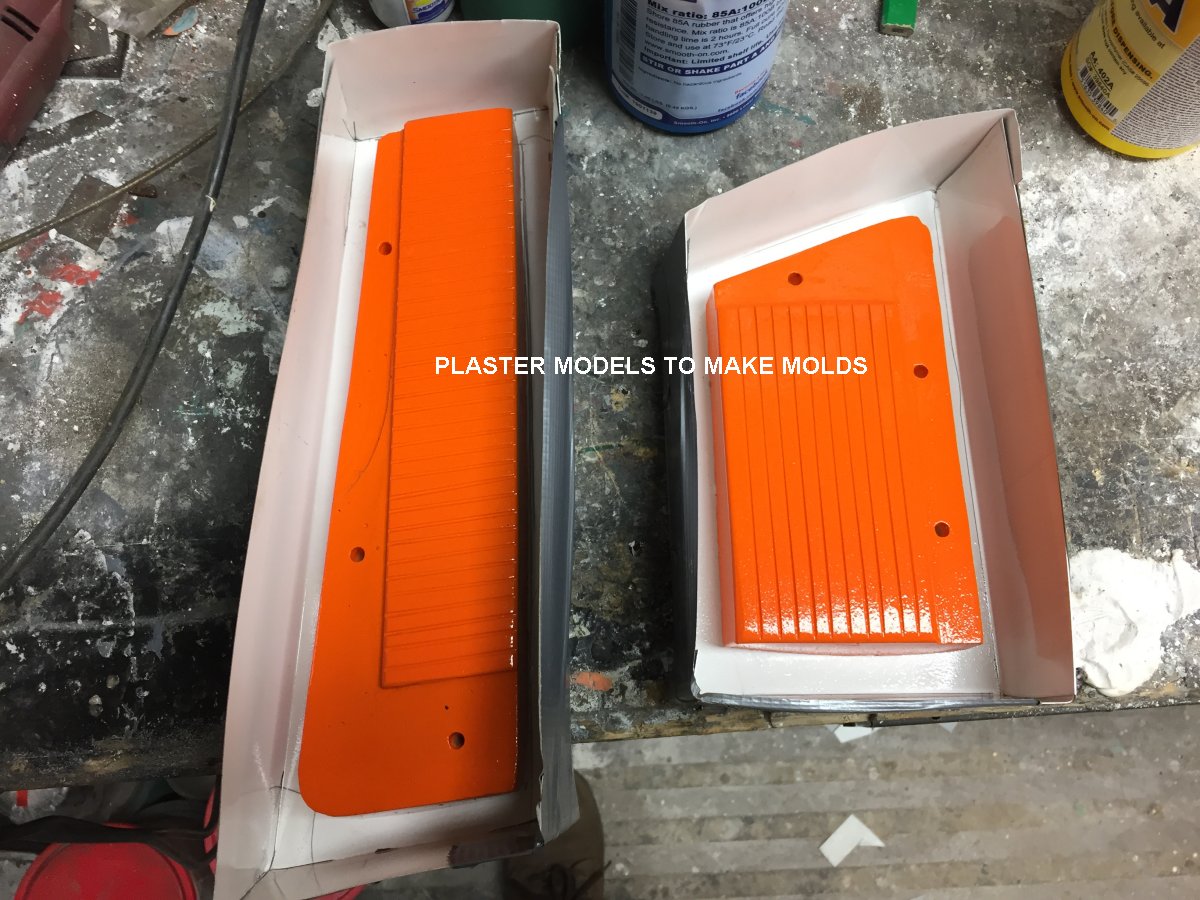
I painted them orange since I had the orange from trying to mix the Flex Seal
and the plaster is pretty pourous and needed to be sealed to aid in their
release from the molds later.
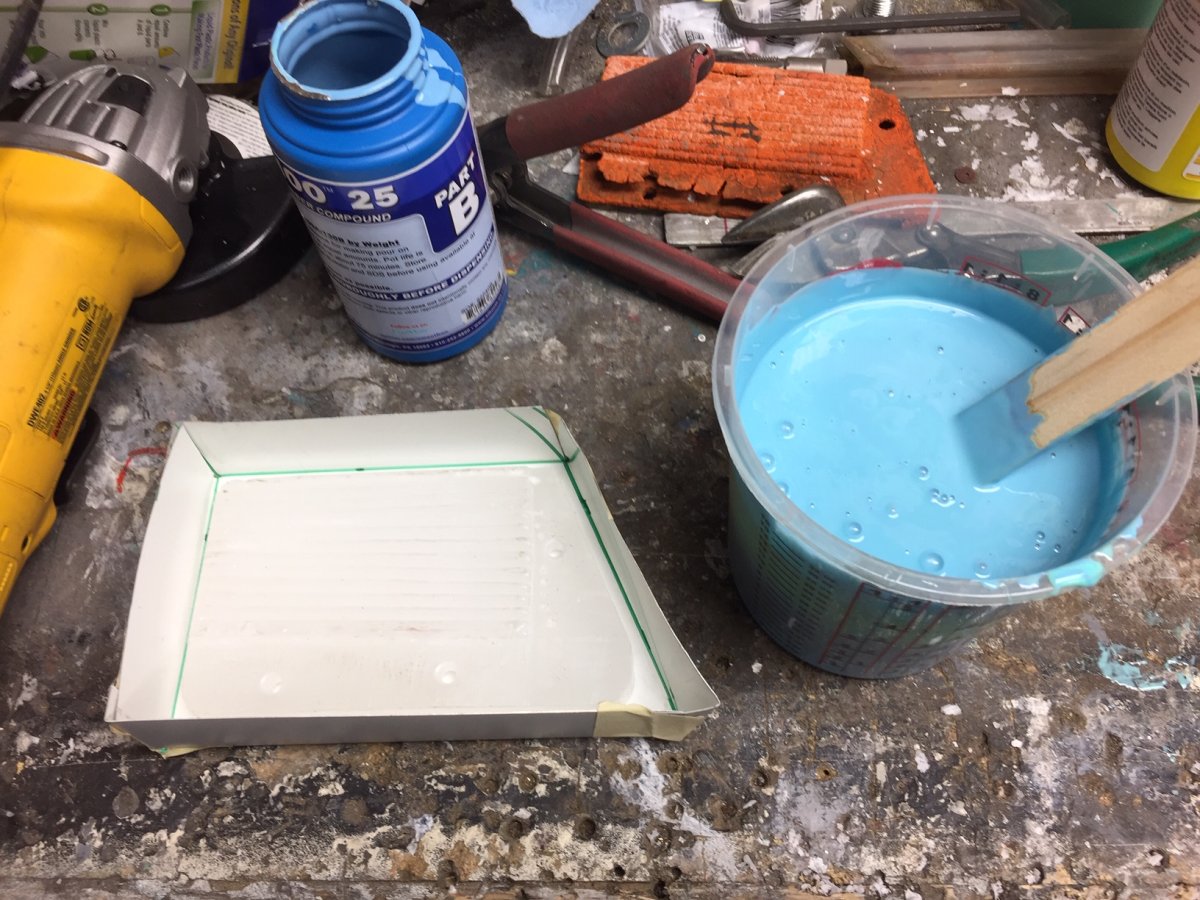
I made new tin pans slightly larger than the pedals,
coated them and the plaster models with the release agent and mixed the Smooth-On Liquid Urethane,
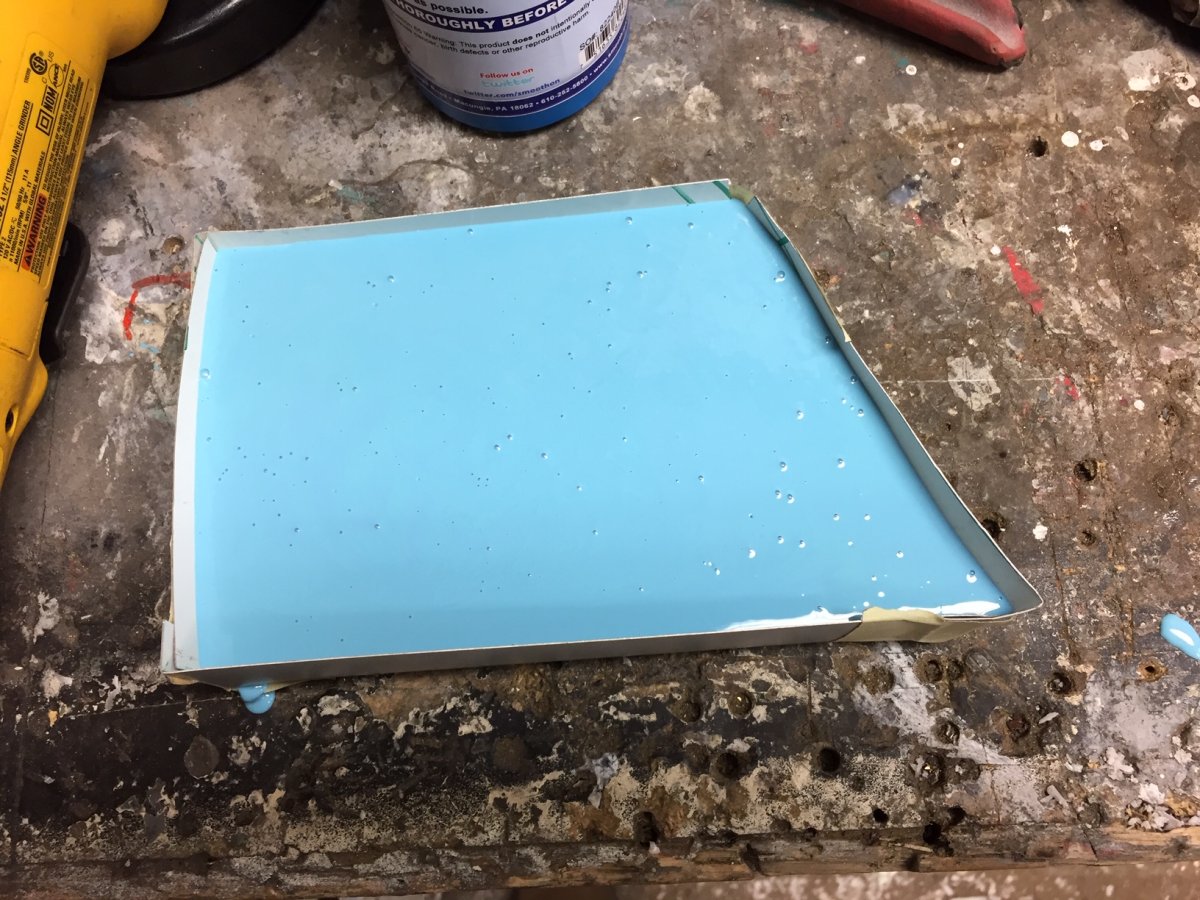
placed the plaster models in the pans and covered them with the liquid.
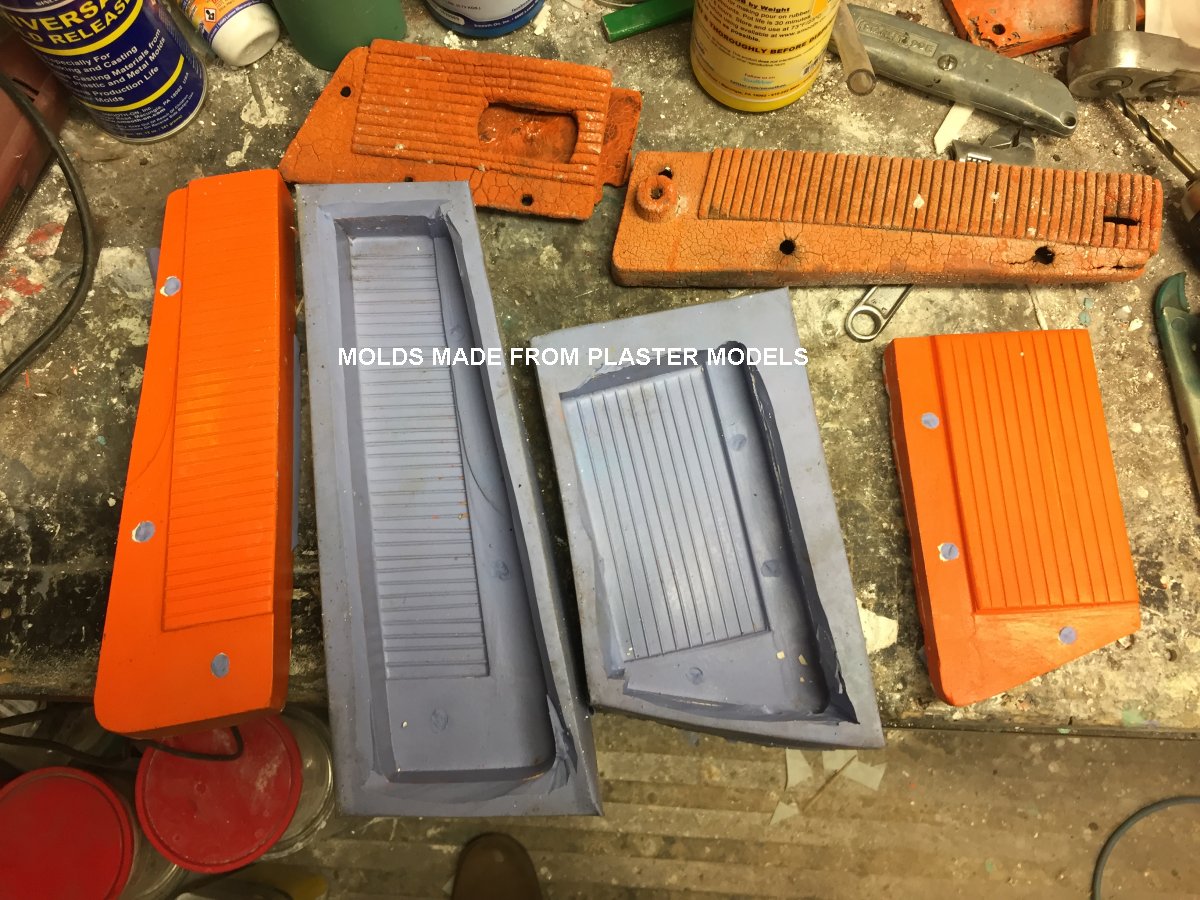
Later when it set and I removed the models from the molds I found that I had perfect molds.
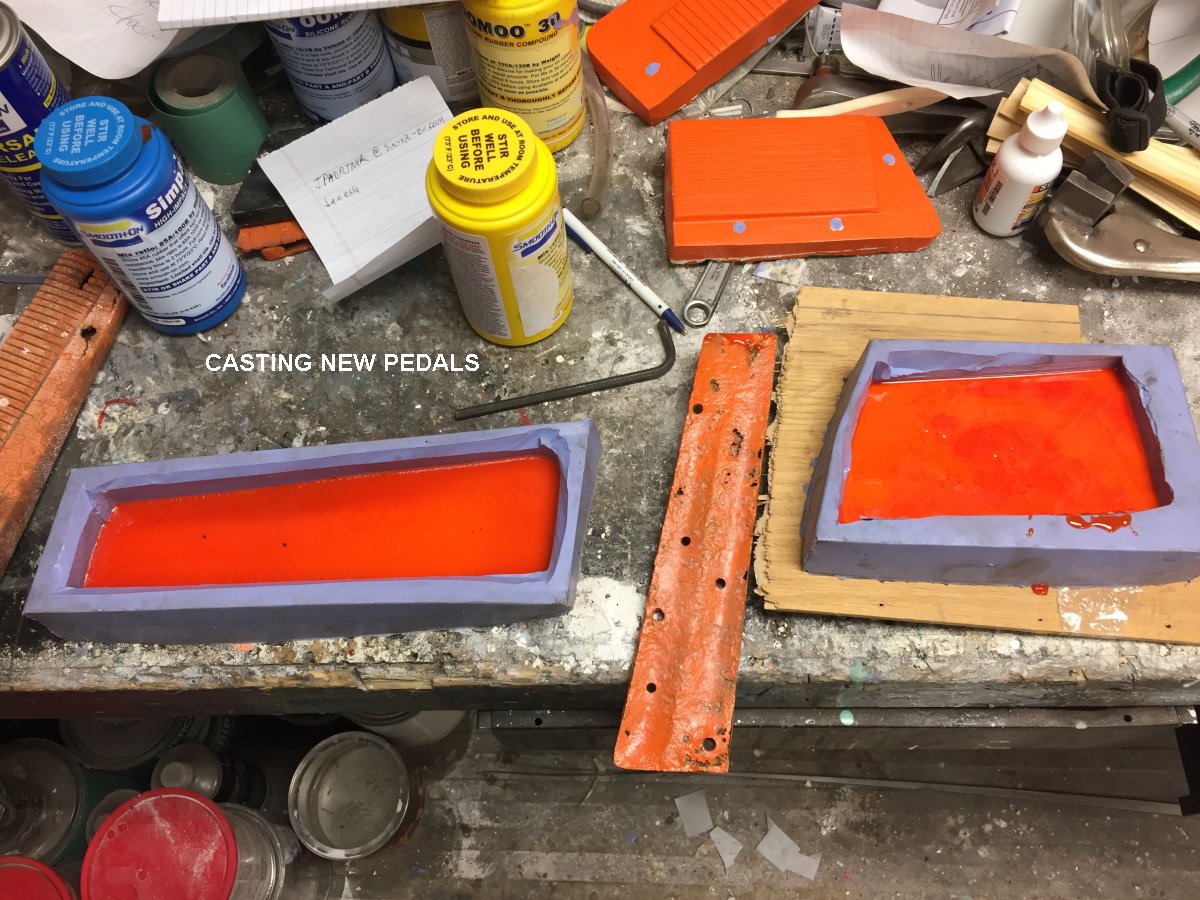
Now on to the final product.
I sprayed the release agent in the molds, mixed the Simpact 85A Liquid Urethane
and added the coloring and then poured the mix filling the molds about 1/3 full.
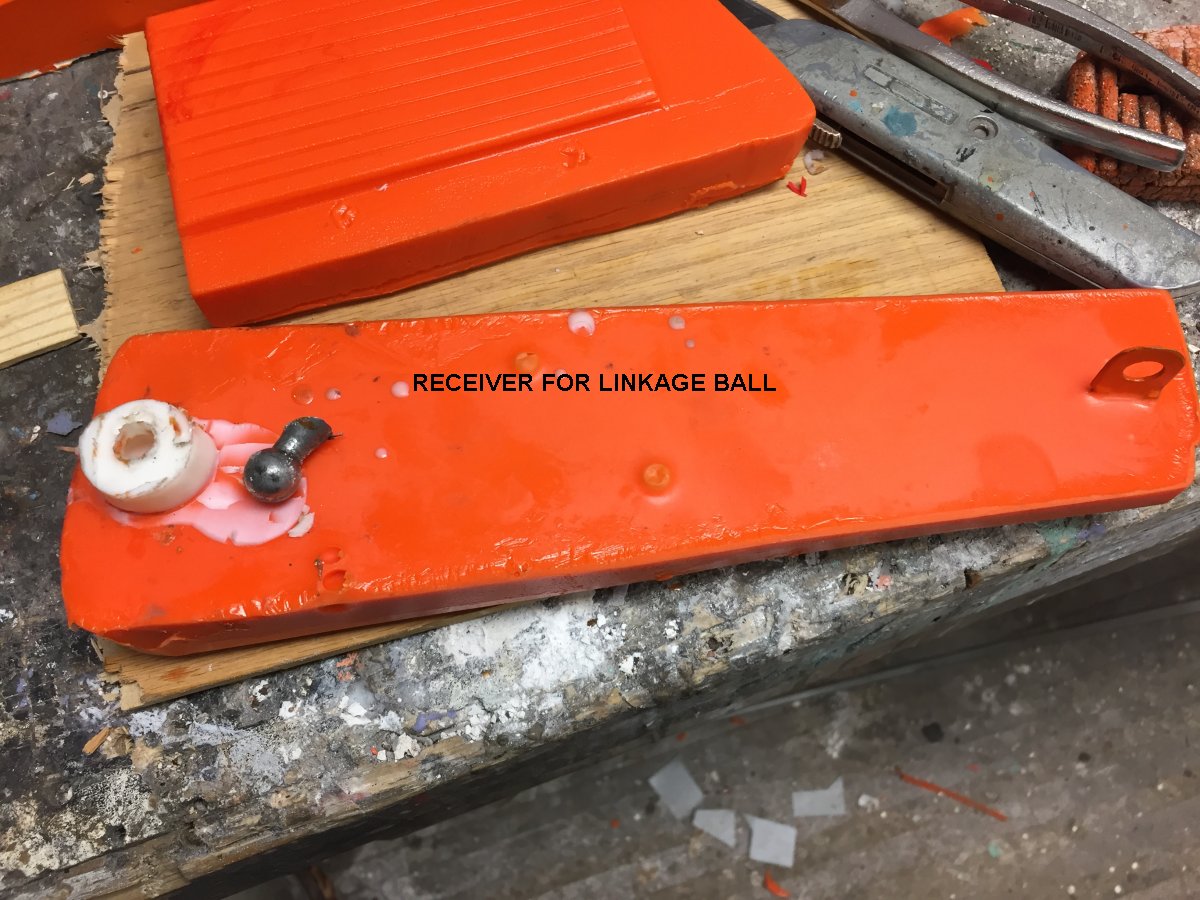
When it set to a point it was firm enough to support the metal inserts
I laid them in place and then mixed another batch of liquid and filled the mold
covering the metal inserts with about 1/4" of urethane.
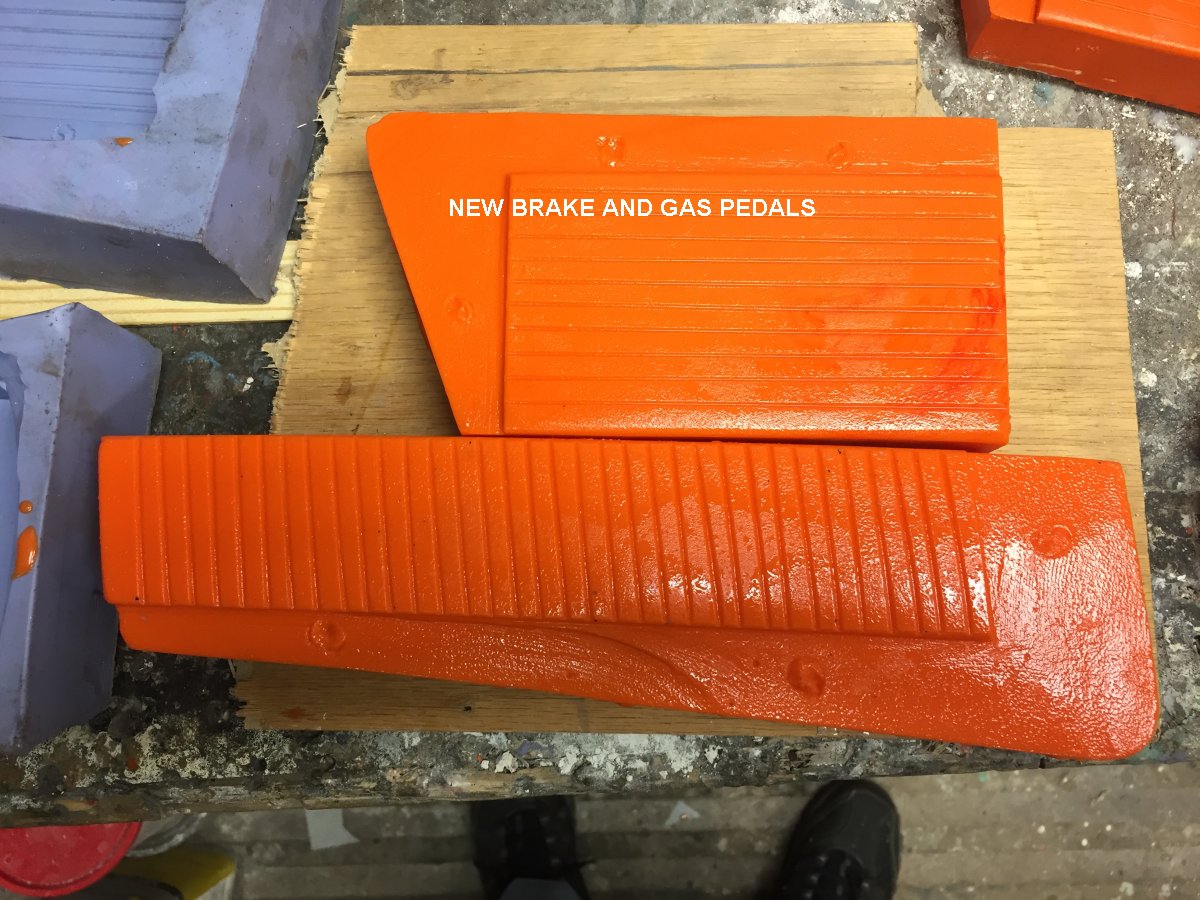
The next morning I had my new custom brake and gas pedals to replace the originals for this rare car.
If you ever have to do something similar hopefully my errors will
help you get it right the first time
Click on the pictures below to enlarge them
Go back to TOM MARUSKA CARS