1962 THUNDERBIRD "M" CODE SPORT ROADSTER
RESTORATION


... Tuesday January 10, 2006
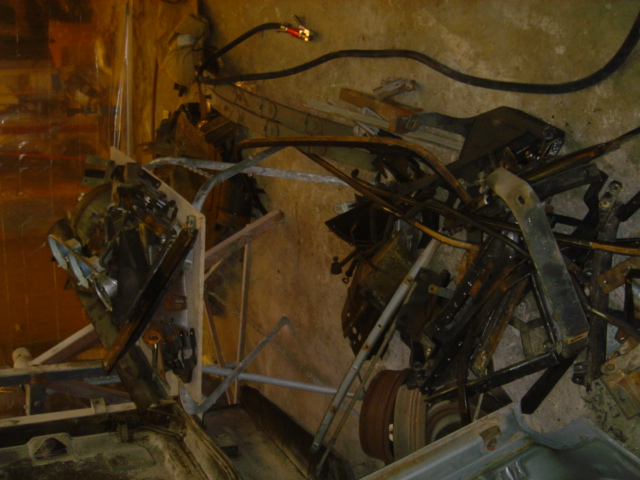
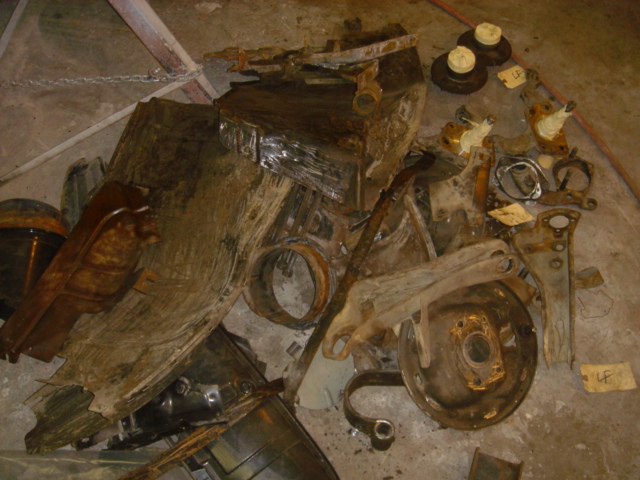
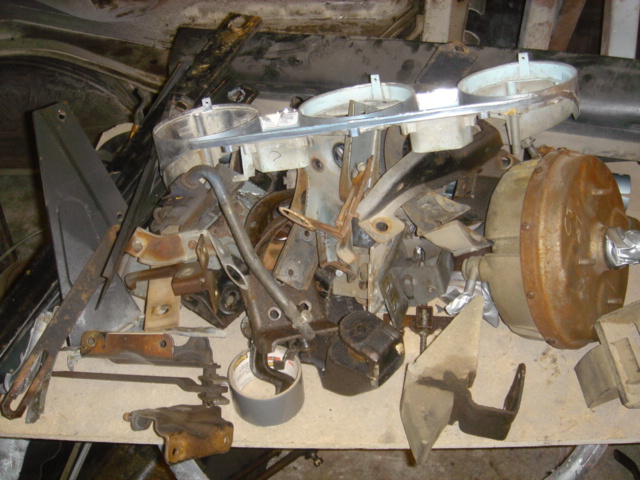
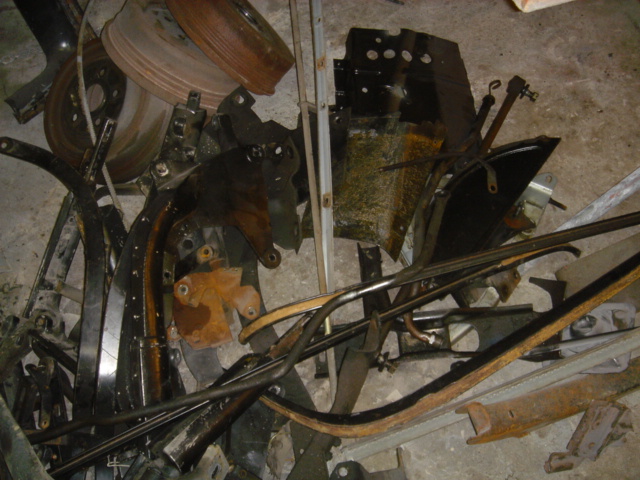
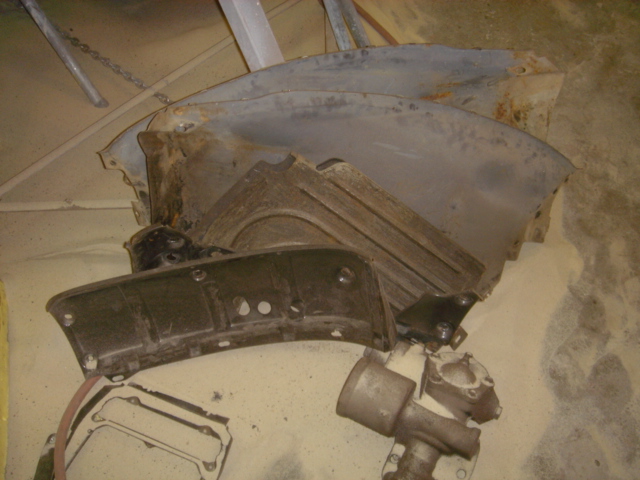
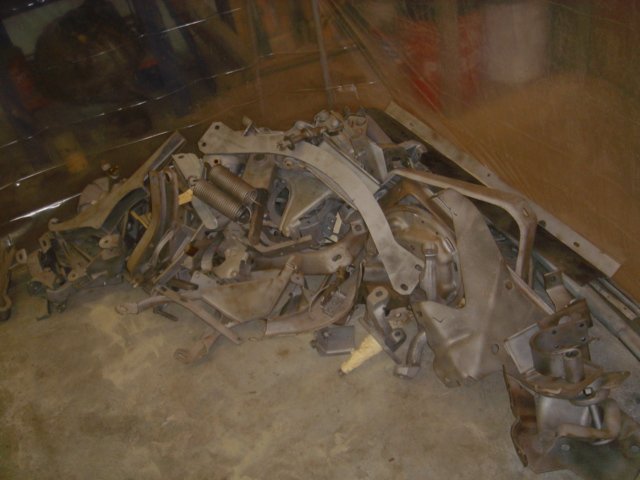
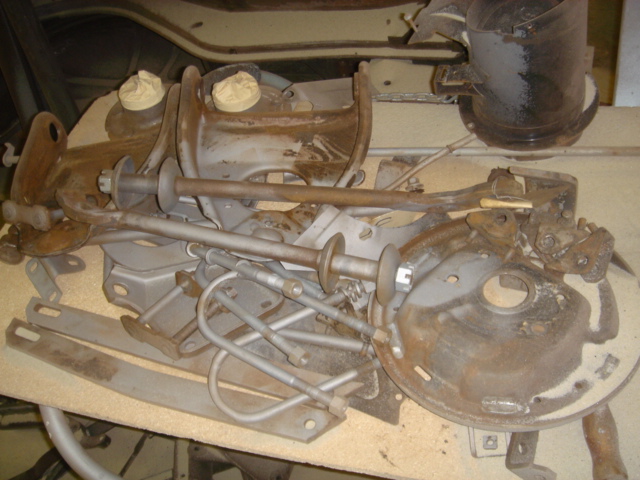
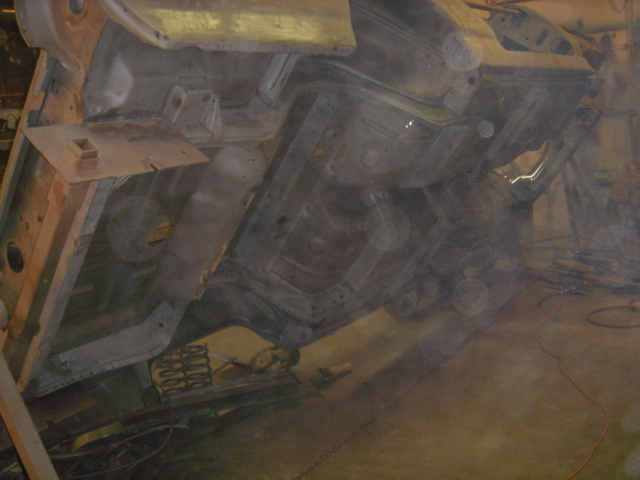
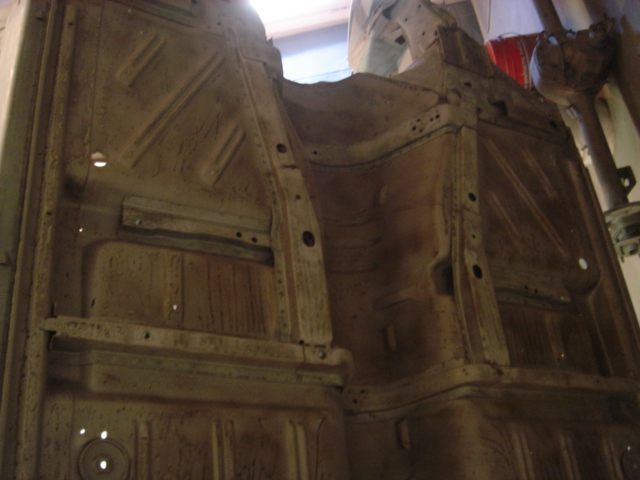
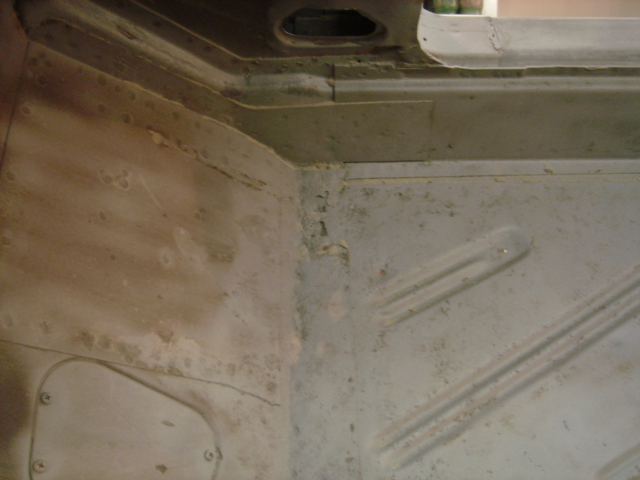
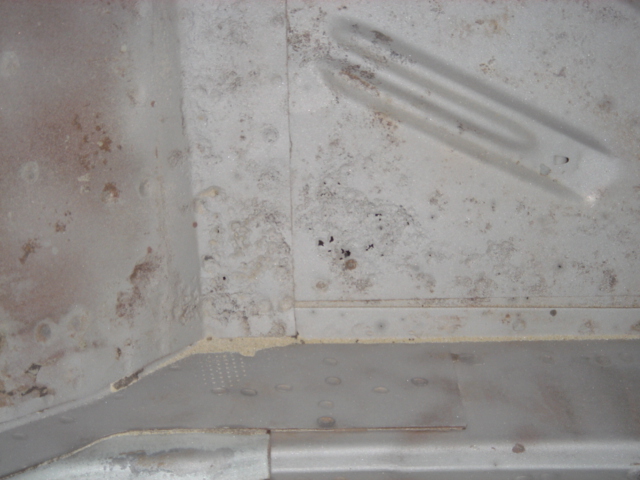
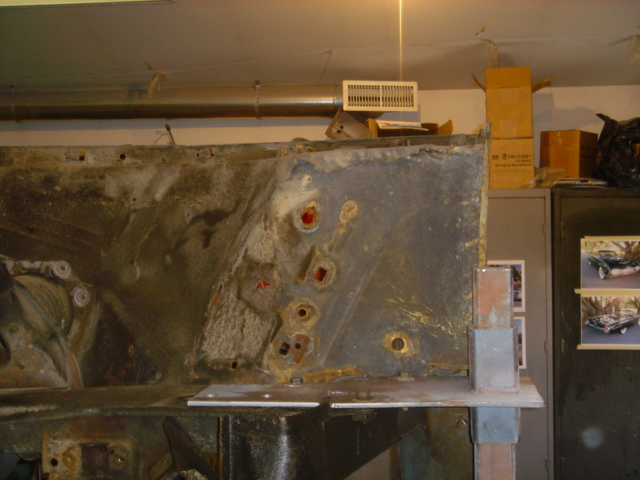
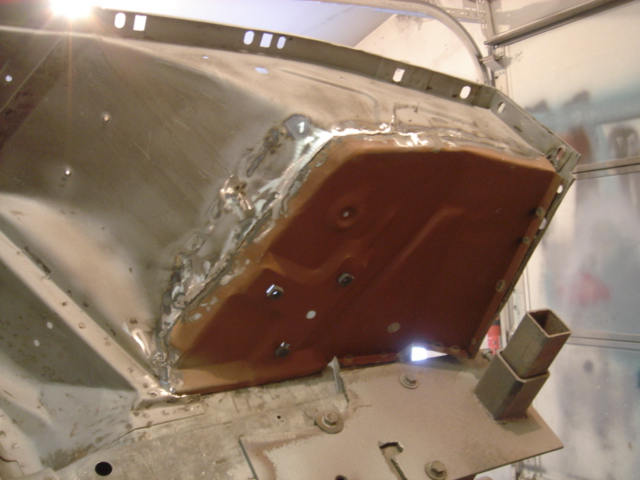
I've been a little remiss at updating here. It's not because nothing is getting done,
but my attention has been drawn to research on the ITALIEN.
Although the restoration on the 62 "M" is going a little slower than I'd like,
I'm still about 4 or 5 weeks ahead of where I was last year on the 63 Sport Roadster.
As you can see, The new battery floor is in and a few pinholes in the
drivers floor and under the back seat have been welded up.
There is an old crease in the bottom of the drivers door that was repaired in
the past. The way they used to fix creases and dents was to drill a series of
holes, insert a large screw attatched to a slide hammer and pull the dent
or crease out close to flush, then simply fill the holes with filler and
smooth it all off. I welded the holes shut, ground the welds flat on the outside and the inside,
heated and pounded the steel as close to flush as possible and will have to use
a very minimal amount of filler to smooth it.
I packaged up all the chrome and sent it off to AIH Chrome in Dubuque Iowa this
morning. As soon as I get my red leather interior samples from Nick, I can
send my door panels in to Dash Specialists in Medford Oregon. AIH is 12 weeks
out right now for finishing and DS is about 6. I have an NOS dash
so I don't need to send that in.
I ordered all the parts I'll need for this project from Nicks Tbirds.
The list is on the next page.


62msr

62msr

62msr

62msr

62msr

62msr

62msr

62msr

62msr

62msr

62msr

62msr

62msr

62msr

62msr

62msr

62msr

62msr

62msr

62msr

62msr


A few piles of parts that need to be sandblasted and cleaned up to get ready for new paint


Notice that I protected the areas that seals need to seal against.  The sandblasting would make the surface rough enough that the seals would leak


There are a lot of parts on these Birds


Do you recognize any of the pieces?


Everything gets a cleaning!


Cleaned and ready for refinishing


Almost done sandblasting this pile


I sandblasted the webbing on the bottom of the hood and decklid.  BE SURE to protect the underside of the flat metal or you will have all kinds of ridges in the surface from the sandblasting.  I cut and fit 15# roofing felt to fit slightly under the webbing.


The edges of all the parts get sandblasted too


Nice clean pile of scrap metal


The bottom is cleaned and sandblasted too


The underside of the floors with light on the top.  This is how you find rust pin holes.  There are none here.  I also will weld up all the screw holes in the floors where the carpet was screwed down.  The new carpet will be glued, no screws.  I don't care about originality here, I'd rather protect the sheet metal


Passenger front floor


Drivers side front floor, a few small pinholes to weld up.


The floor area under the right back seat needs a little welding too.


My helper.  He loves to help Gramps in the garage.


He's a bit of a ham too.


The chrome parts that are getting re-plated


More Chrome to plate.  Everything bumper to bumper is getting done on this car.  A couple parts were purchased new, like the hood eyebrows, and wing window latches


This is the bottom of the battery tray befoer I cut the old patch out


The new battery tray floor in place


var maildivider="[at]" //enter divider you use to divide your email address strings for (i=0; i<=(document.links.length-1); i++){ if (document.links[i].href.indexOf(maildivider)!=-1) document.links[i].href=document.links[i].href.split(maildivider)[0]+"@"+document.links[i].href.split(maildivider)[1] }

Page 1
Page 2
Page 3
Page 4
Page 5
Page 6

TOM MARUSKA CARS

Copyright © 2006 by Thomas Maruska