THE 1963 THUNDERBIRD ITALIEN
Chapter 25 - Body Filler Work
Copyright © Thomas Maruska 2008
All Rights Reserved
Classic cars restored today are done to much higher standards then they
were in the past.
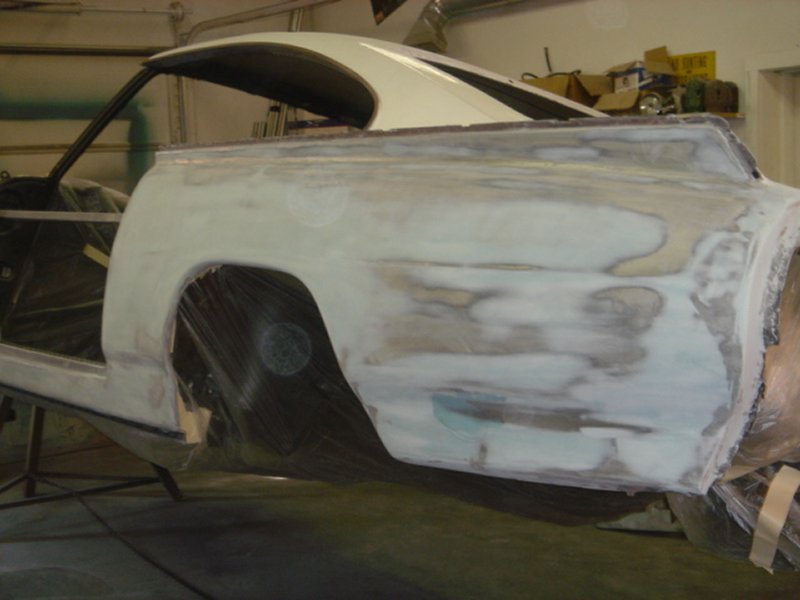
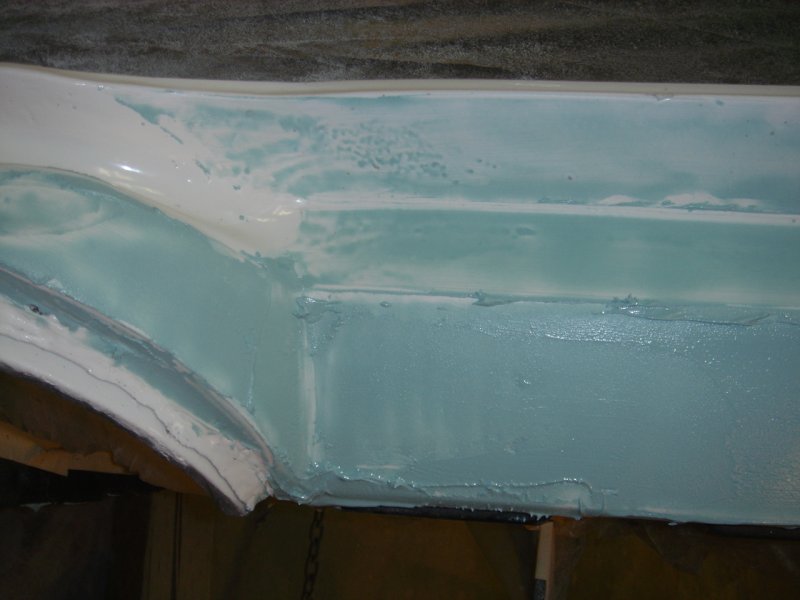
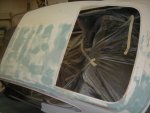
One of the most important things to do on todays restorations is to
have the body
"laser straight"
To achieve this you have to spread filler over the entire body in 2-4
applications
sanding between each application.
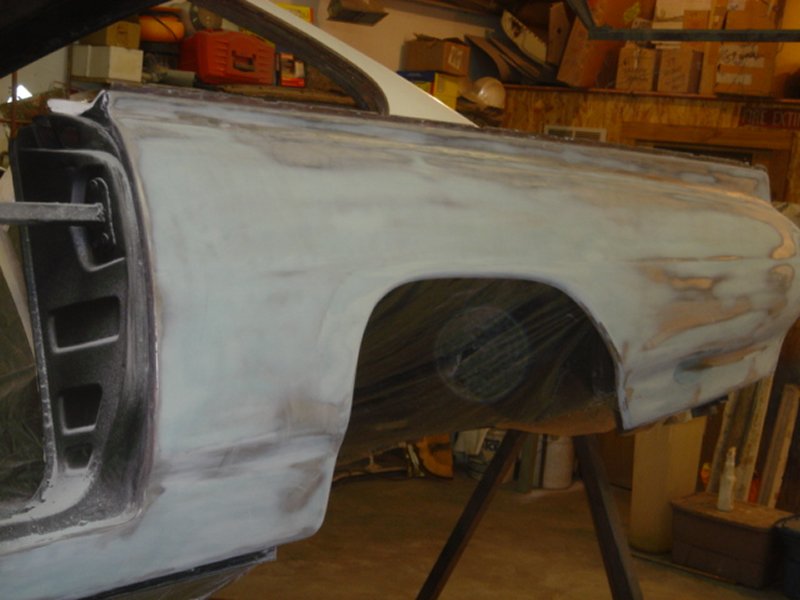
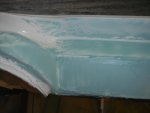
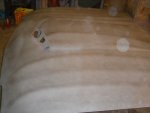
You have to sand in one direction, say front to back on one application,
spread it again and this time sand side to side. Next time
diagonally or in
a circular motion. The idea of course is to make sure you don't
have any small
indentations anywhere in the body or filler for they will show like
crazy in the finished paint surface.
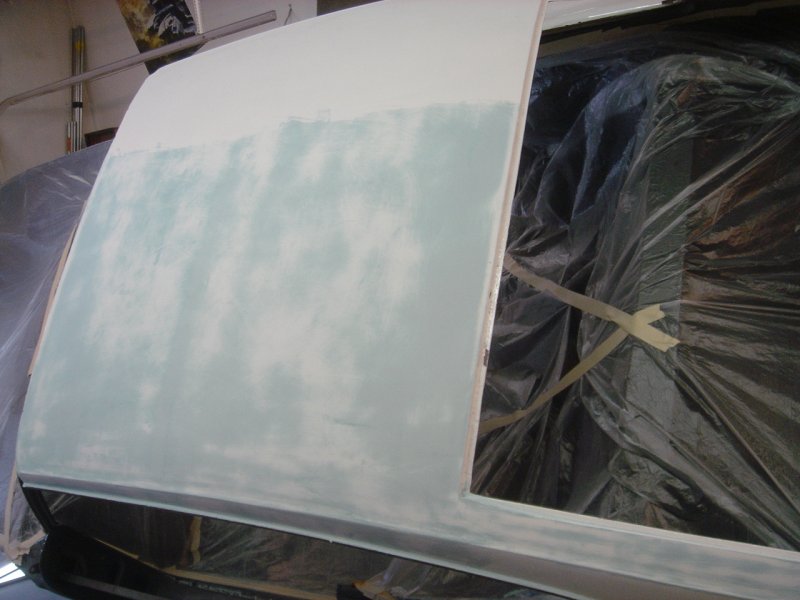
On my first coat of filler I use an air board with 36 G paper for fast
shaping.
Then on the next coat I use a long board with 80 G paper followed by
the long board with
180 G paper on the next coat of filler.

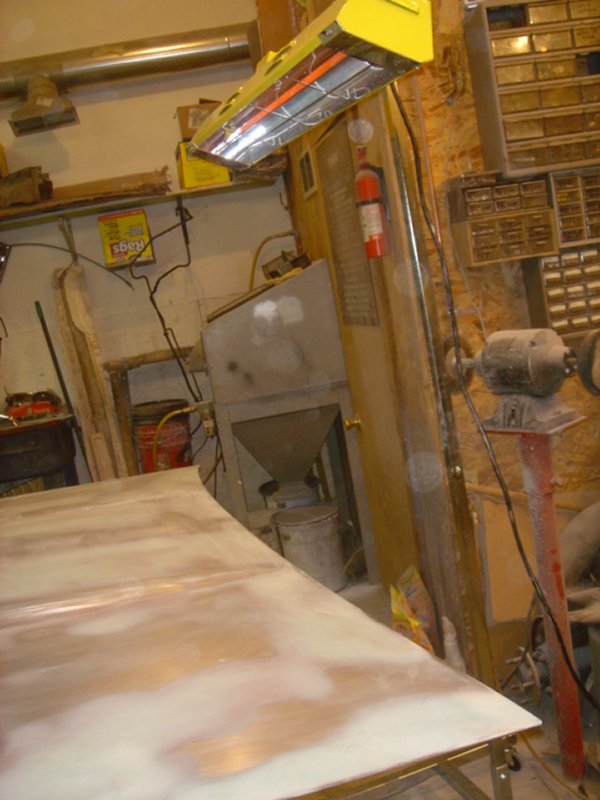
When you're satisfied that the filler is straight and flat, the next
step
is to bake it. It takes about 20-30 minutes with the bake lite
about 24 inches off the surface.
Unless you have a bunch of the bake lites you have to move it around
until the entire car
is baked. This will take a good day to accompolish. The
baking removes the solvents from the filler that
cause "settling" if you don't do it.

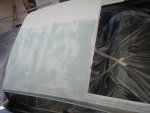
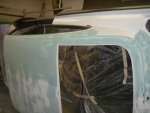
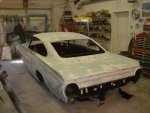
Before you move past the filler stage, assemble the body and make sure
that all the panels fit properly. Nothing looks worse than to
have the corners of the doors sticking out.
You can still fix it at this stage so take the time to make sure it's
right.
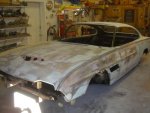
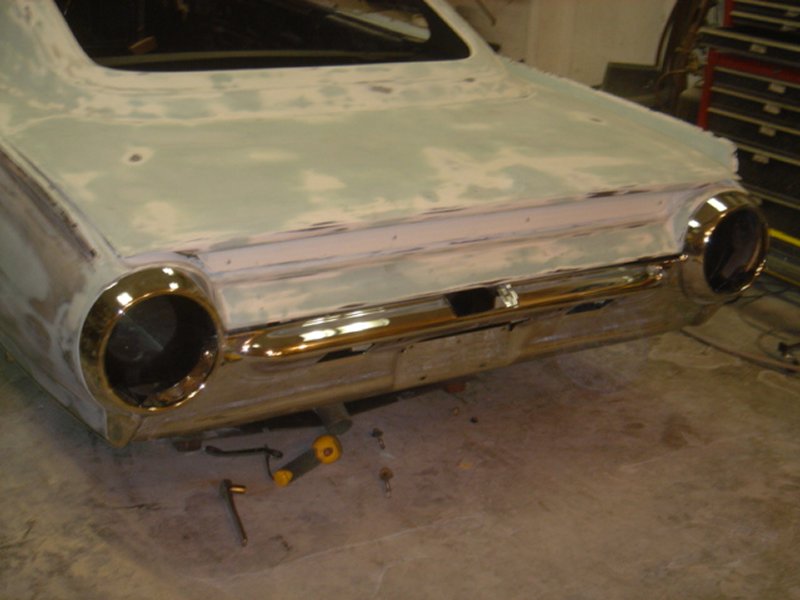
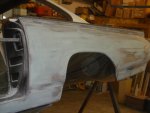
Since the Italien doesn't have the fat fudge factor of the thick rubber
spacer
between the bumper and body I installed the back bumper to make sure
the gaps were respectable

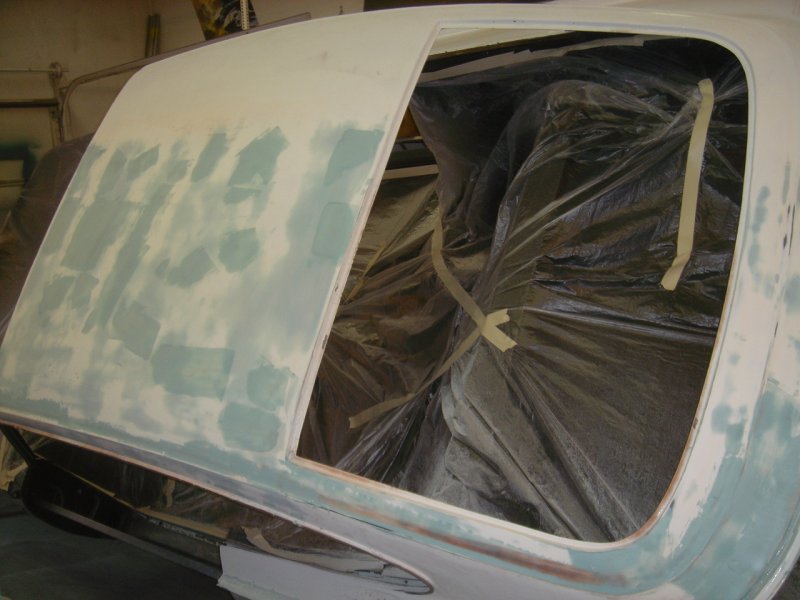
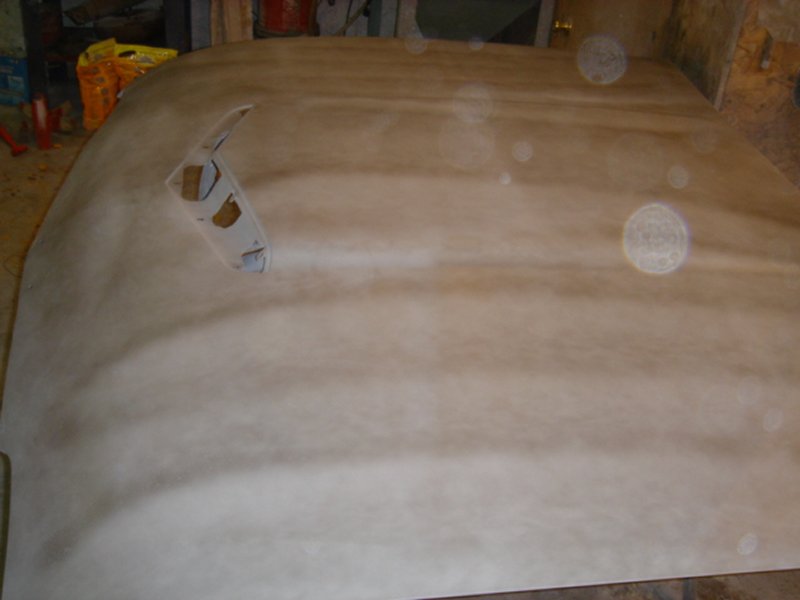
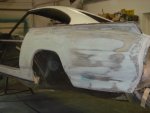
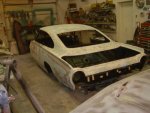
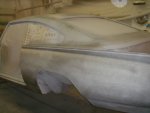
The final step in this stage it to spray a coat of primer on the car
followed by a "check coat".
The check coat is a very light spray of a dark contrasting color primer.
Then do a final sanding with 180 grit and a long board. When
you're done sanding
if you have any areas where you can still see the check coat, you need
to da a little more filling
or spray a couple coats of "high build" primer, let it dry, spray check
coat again and sand again until it's gone.
The additional time and effort will pay off with a beautiful finish.
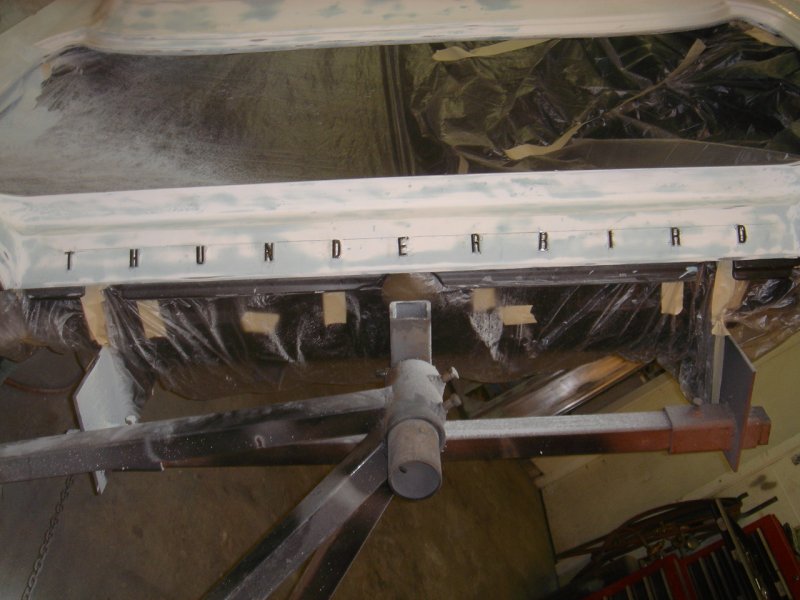
Check to make sure your emblems fit in their holes too.
You don't want to be drilling or enlarging holes with the new paint on
the car.
It's too damn easy to chip something,

Back to Italien Index
Continue
with Chapter 26
Contact
Tom
Maruska
Back to
TOM MARUSKA CARS
New Kandy Paint