THE 1963 THUNDERBIRD ITALIEN
Chapter 26 - Priming and Painting
Copyright © Thomas Maruska 2008
All Rights Reserved
By now I was getting a little tired of working on the body so it was
time for a change.
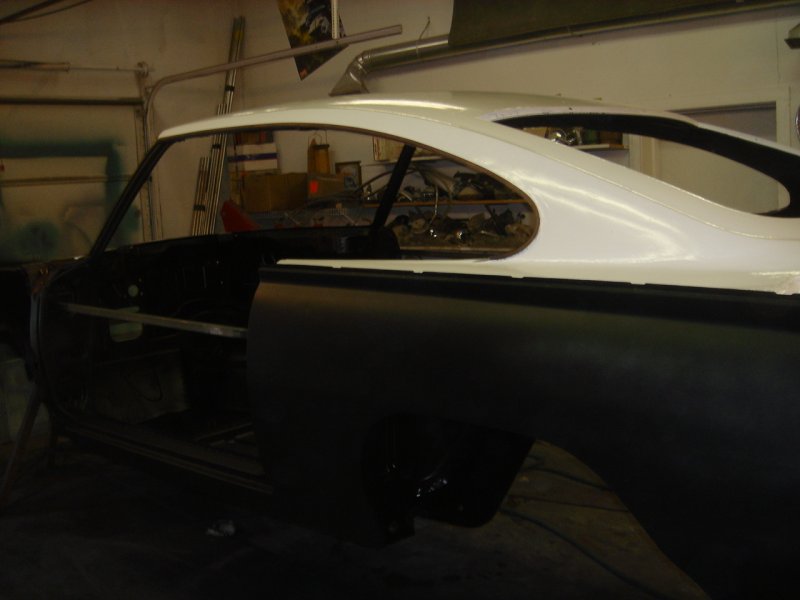
I proceeded to prime the underside of the car with black primer
followed by
a couple coats of semi gloss black paint. While I was
priming I also primed the interior of the car
as well as the engine compartment and the entire outside.
The primer on the outside was because I was going to leave the car a
while and I didn't want it to "flash rust"
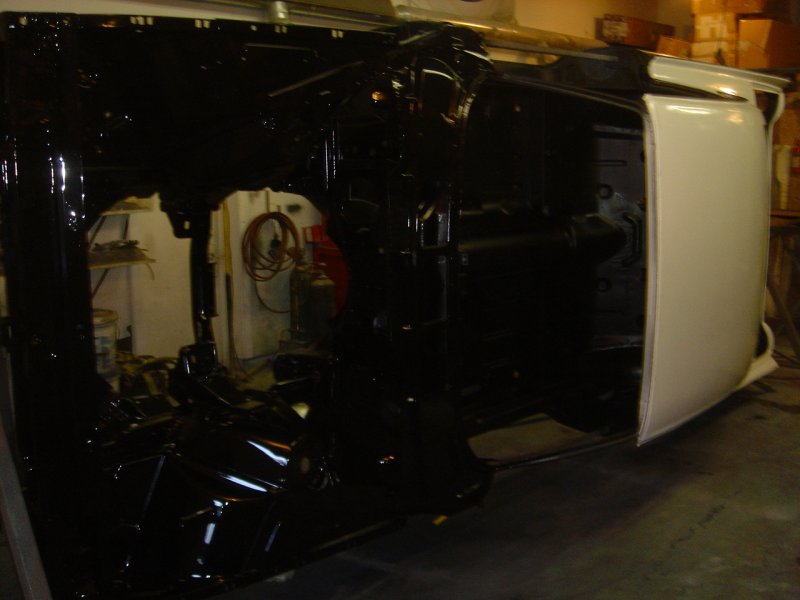
While I was at it I sprayed the glossy black on the engine compartment.
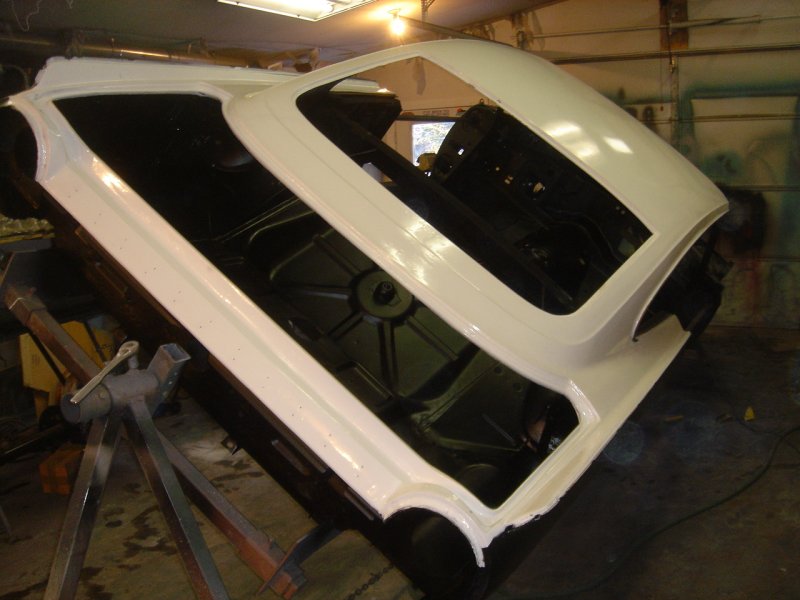
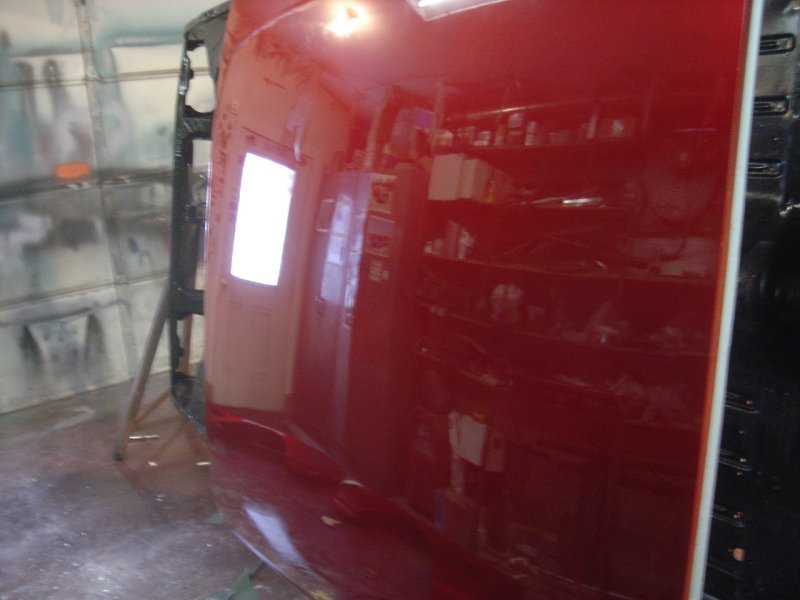
Here you can see the bottom of the car finished.
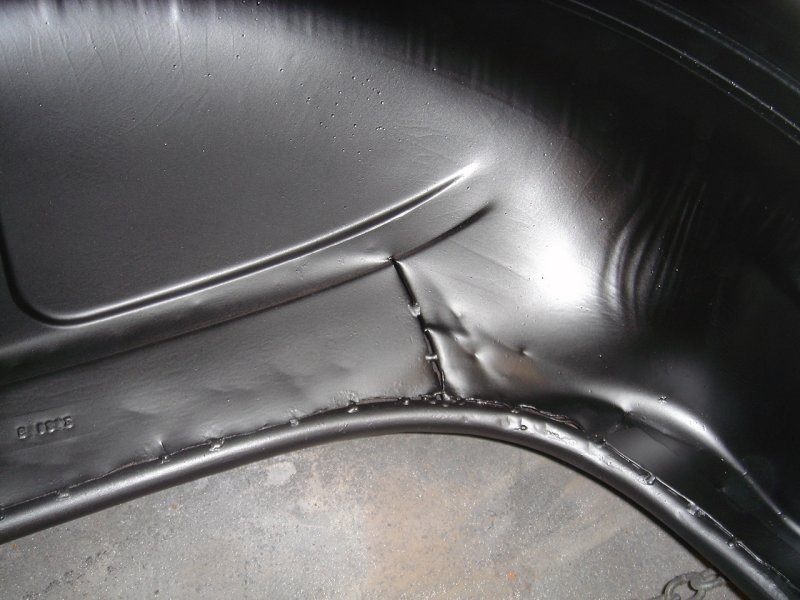
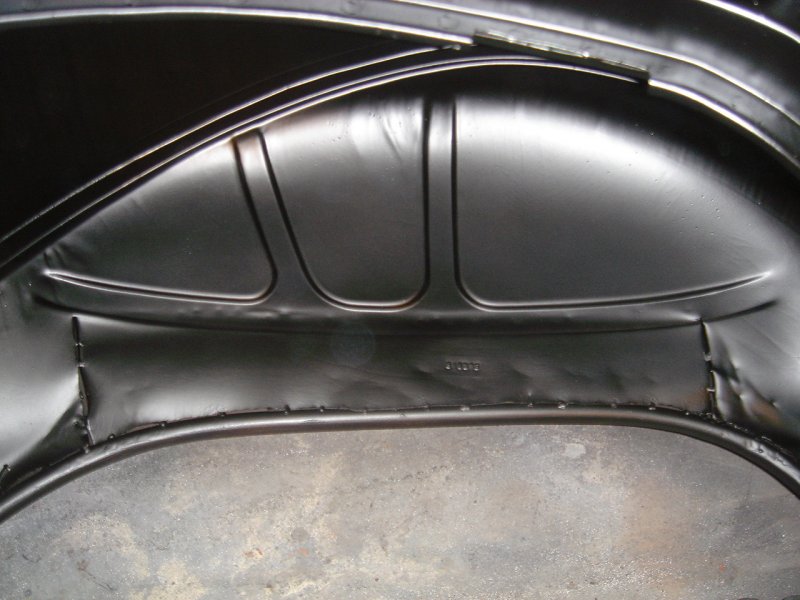
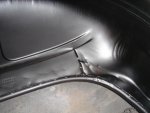
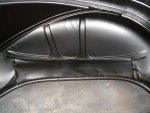
The two photos on the left are again of the inner fender at the rear
wheels showing
how they were cut and attached to the newly rolled under wheel openings
in
the rear quarters
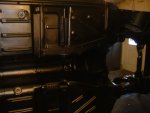
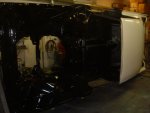
This shows the engine compartment finished.
It's hard to get good pictures when it's all black.
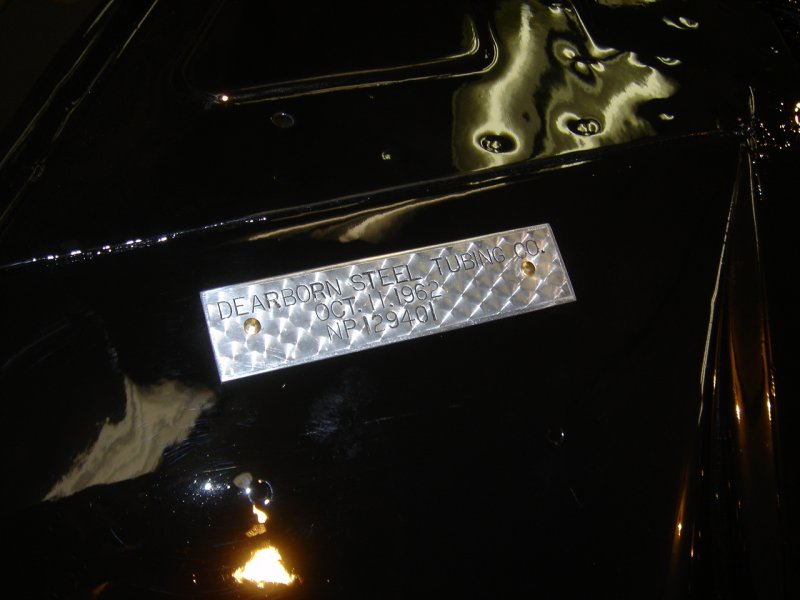
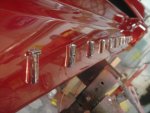
As long as I was done under here, I reinstalled the restored
DST tag on the right inner front fender just above the
windshield washer bag.

Now I got out of the shop for a few weeks while I went to work sewing
the seat covers and
covering all the other interior parts with the custom dyed Kandy Apple
Red Leather.
You can skip to the Interior section if you want, or simply continue
with the paint.
After finishing the interior I came back into the shop and got back to
the painting.
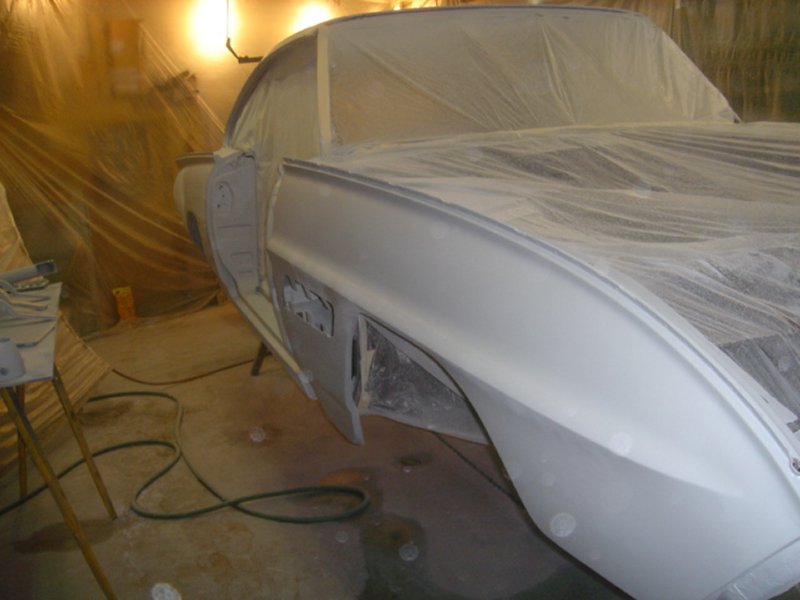
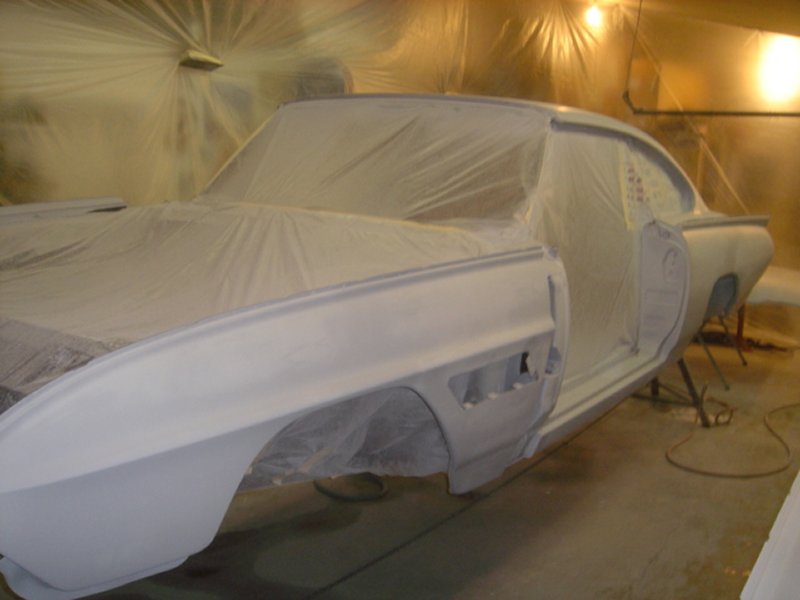
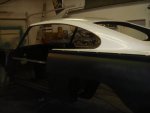
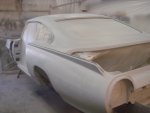
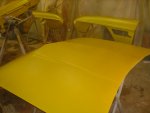
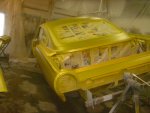
First thing was to spray 2 coats of High build primer on everything.
Actually first thing was to securely mask off the finished bottom,
engine compartment
and interior of the car so it wouldnt get covered with grey overspray.
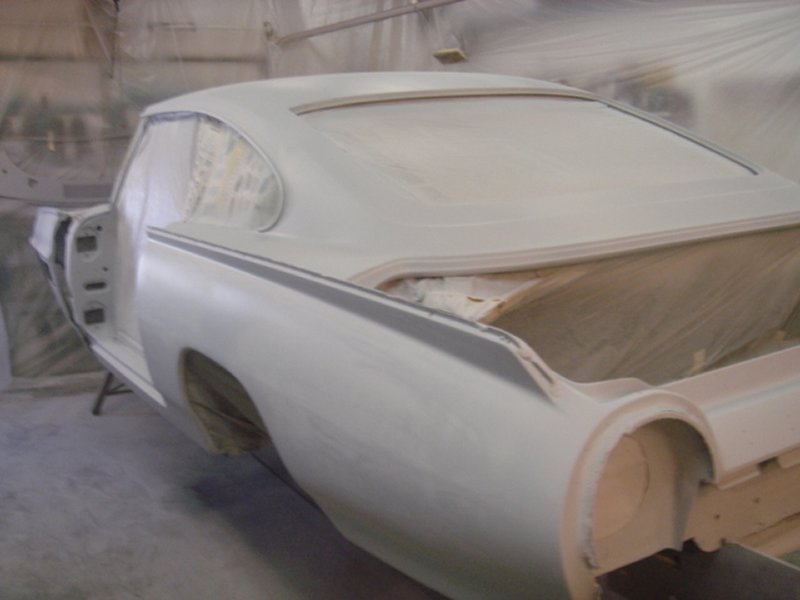
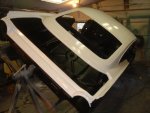
After allowing the 2 coats of HBP to dry, I sanded it off once again
with 180 G on a long board.
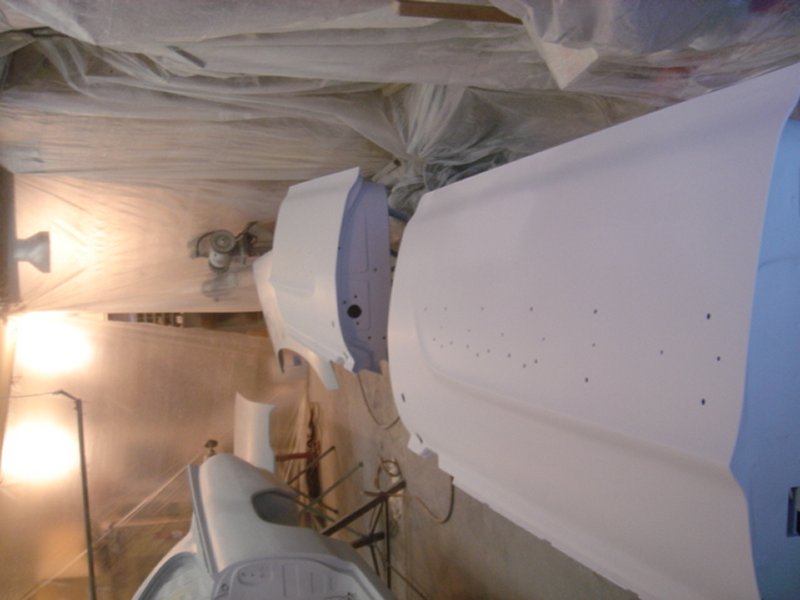
Satisfied that everything was perfectly straight,
I sprayed another coat of HBP followed by wet sanding with 400 G on a
sanding block
in circular motion.


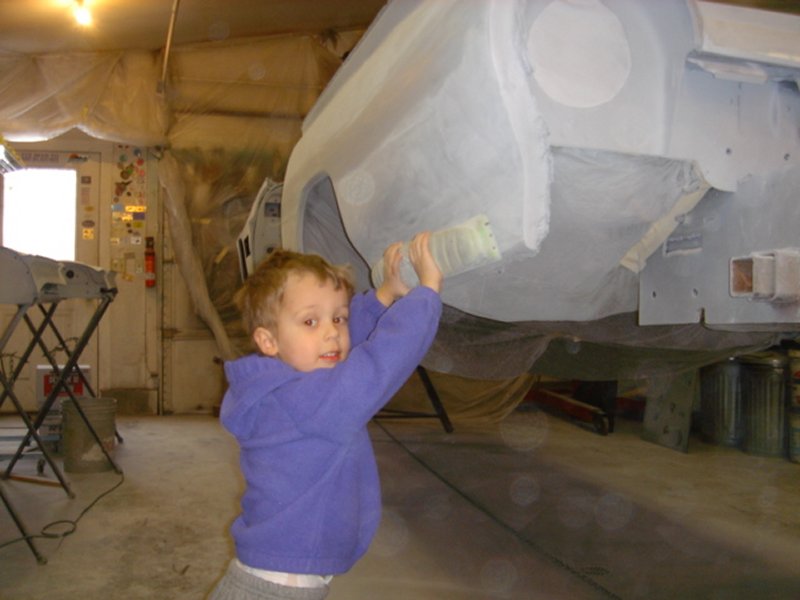
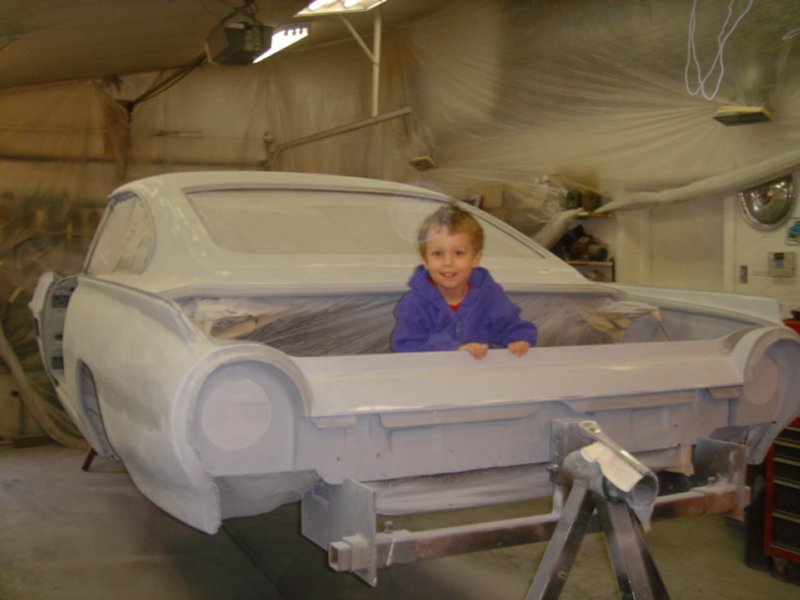
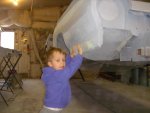
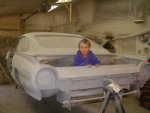
Before the wet sanding my grandson James touched up a few spots I
didn't get sanded well enough with the 180. After that he was
pooped so he took a breather
sitting in the trunk.
I was told by a lot of guys that I shouldn't attempt to spray Kandy
colors on such
a rare car since I had never done that before.
That made me a little nervous,
but not enough to scare me off.
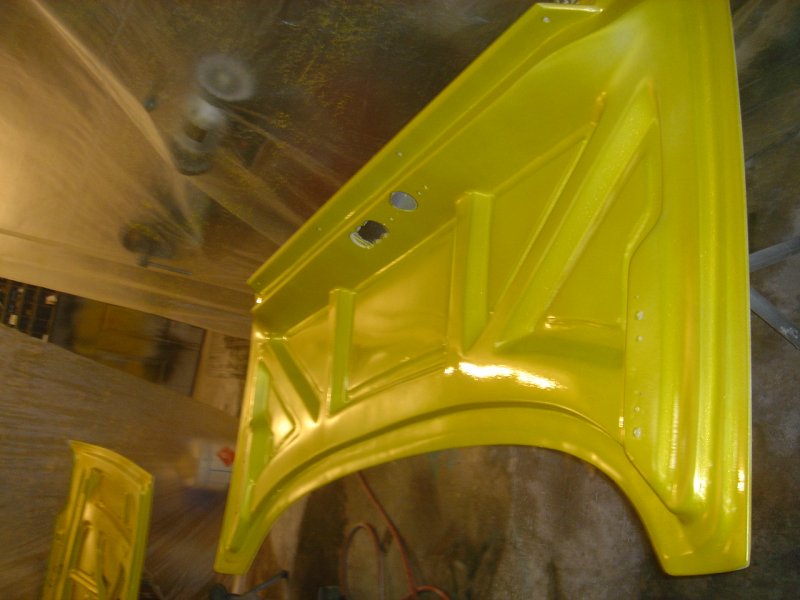
With the air of caustion I decided to spray some hidden areas first
to get a feel for it.
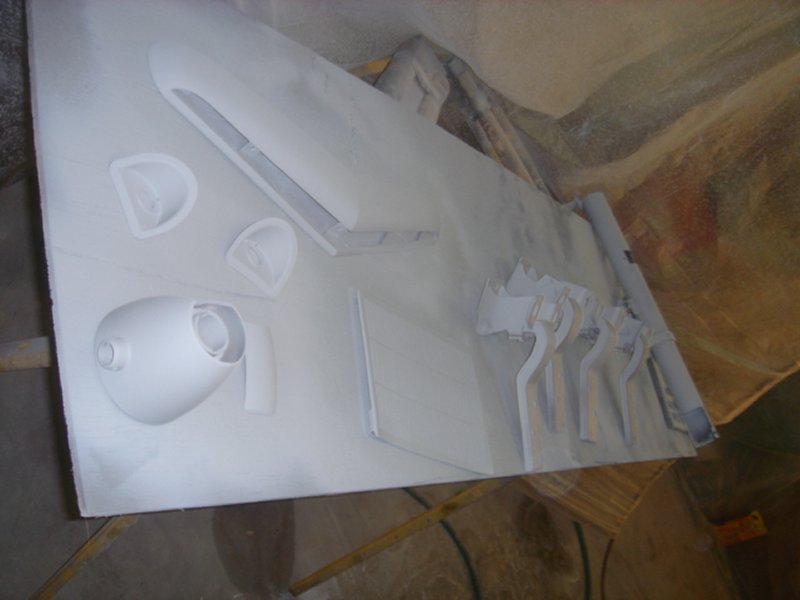
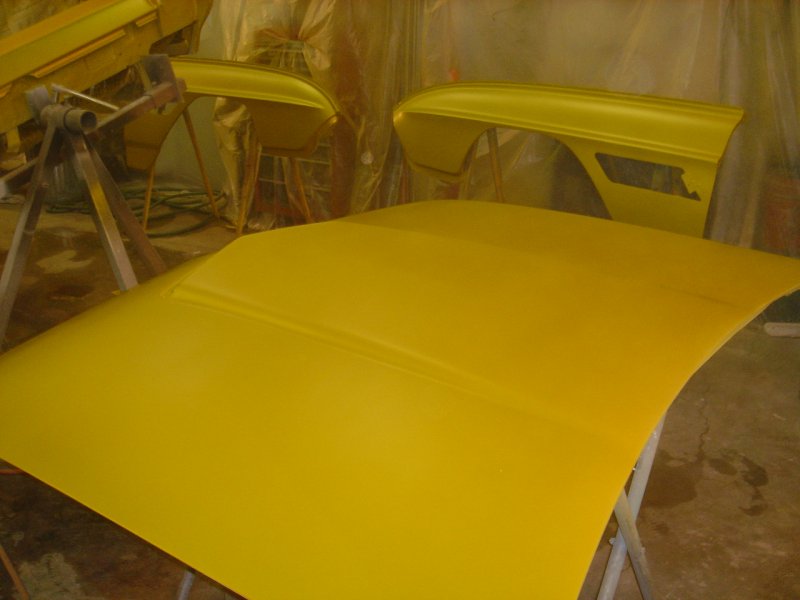
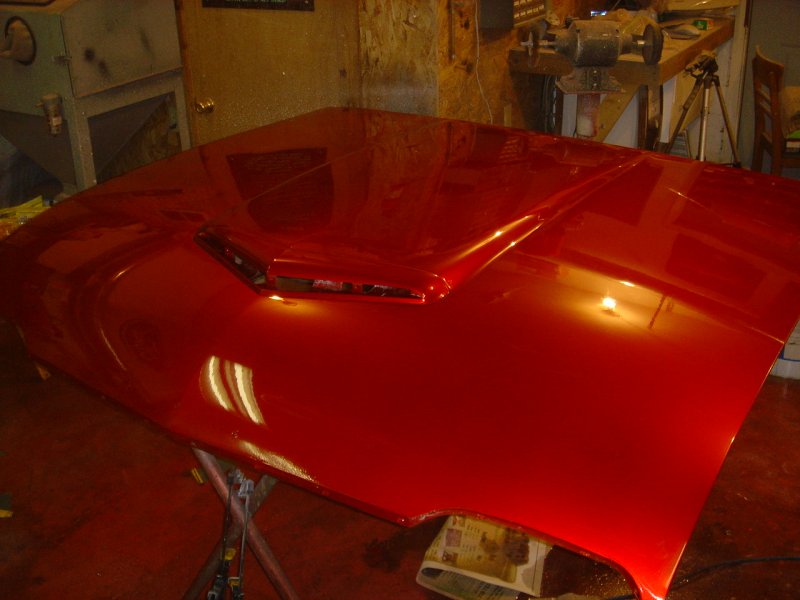
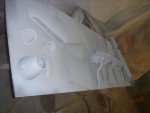
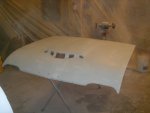
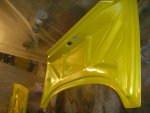
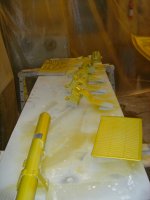
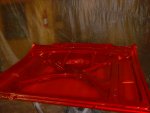
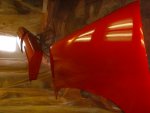
I started with the under side of the hood, deck lid and some of the
small pieces.
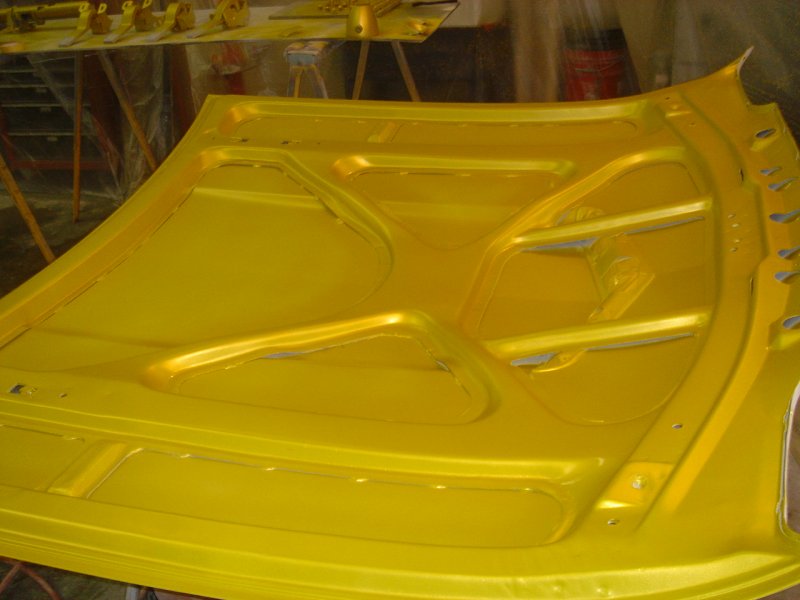
First order of business was to get a couple coats of the gold metallic
base down.
This sprays like any other base in a base/clear system and covered
really nicely.
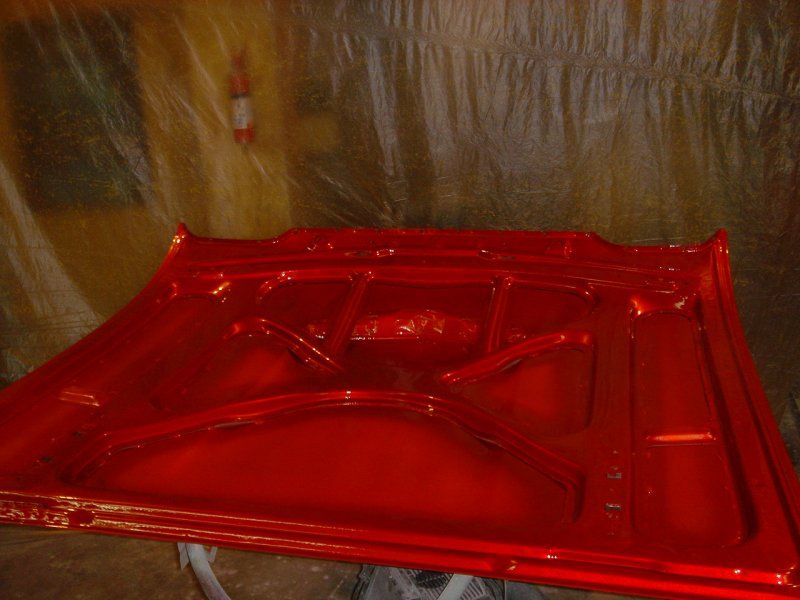
Now the scarey stuff.
The Kandy Apple Red is a very transluscent color.
You can see the paint mixing stick in the can nearly all the way to the
bottom.
Therefore it takes many coats to build up to the color you're trying to
achieve.
The first couple of coats you can hardly tell you sprayed anything.
That's the key!!!
MAKE SURE you have the volumn on your gun turned WAY DOWN!
If you apply too much color in each pass YOU WILL end up with
streaking or "Tiger Stripes".
The trick is to not rush it and don't apply too much color in each pass.
Start out spraying with a 75% spray pattern overlap for the first 3
coats,
then go to 50% overlap for the succeeding 2-3 coats or until you get
the
depth of color you desire.
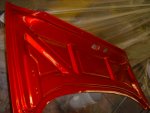
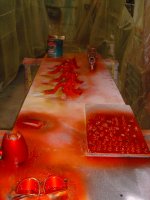
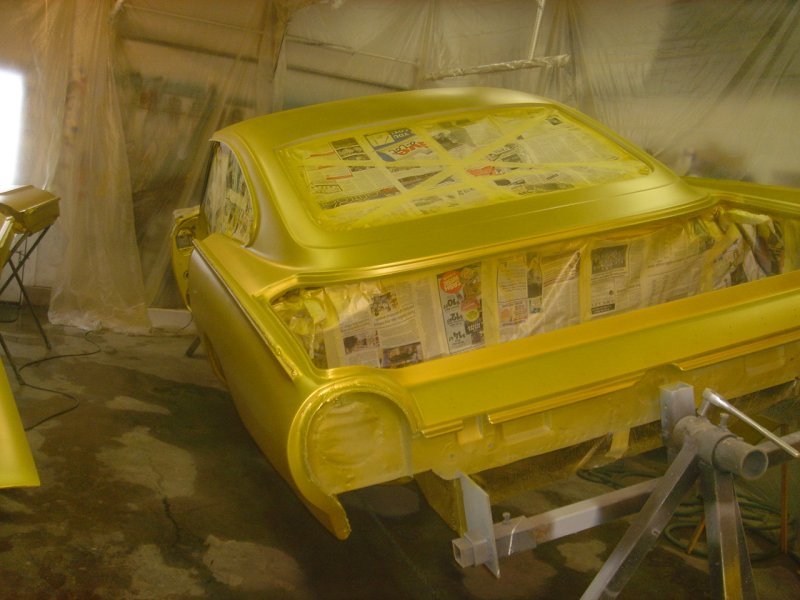
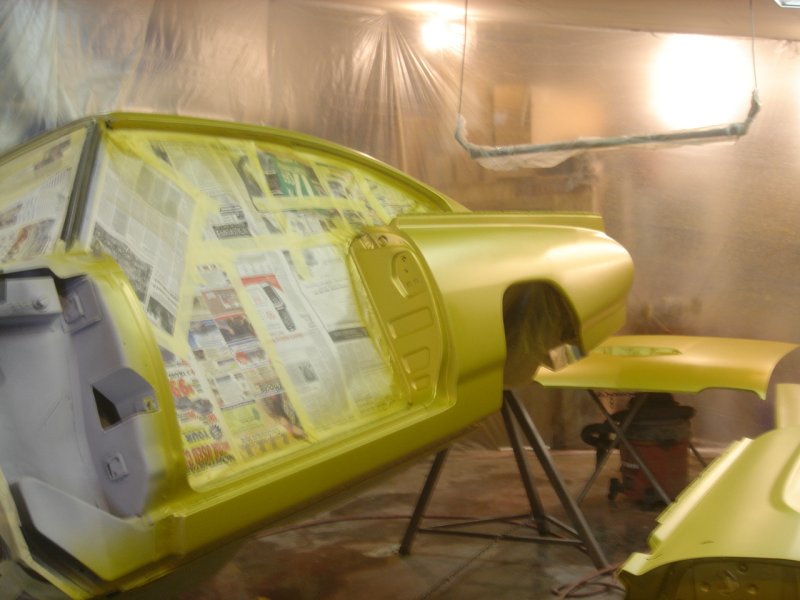
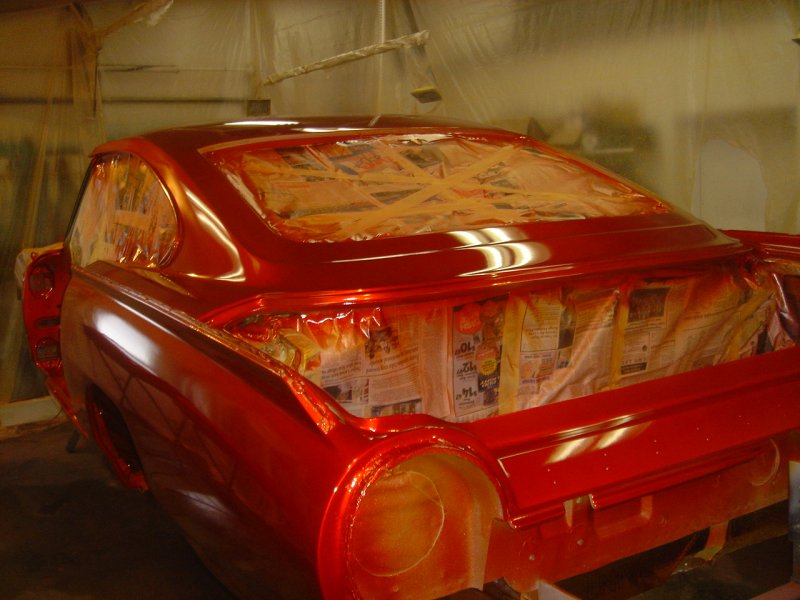
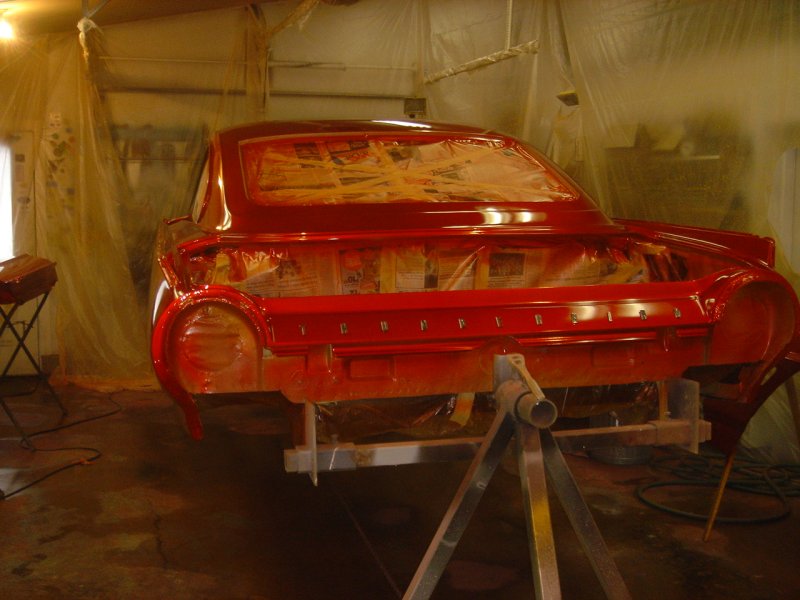
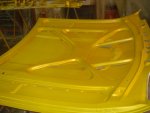
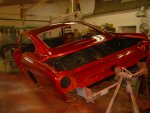
Now that I had it aced it was time to spray the important parts.
On went the Gold.


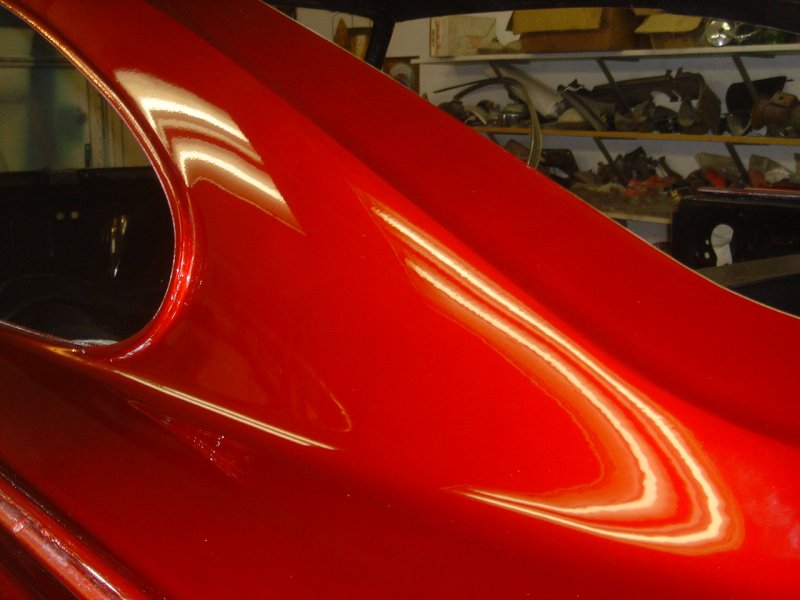
Followed bu the Kandy Apple Red and followed by 3 coats of clear.
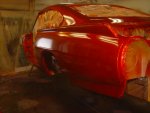


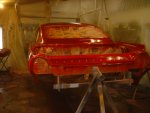

This reflection is before I color sanded and buffed the car.
It turned out simply spectacular!

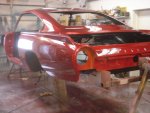
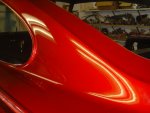
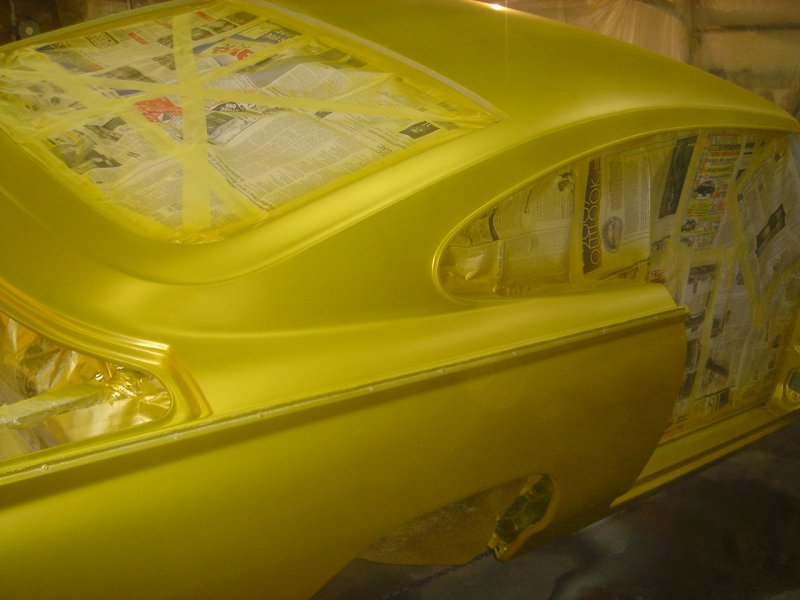
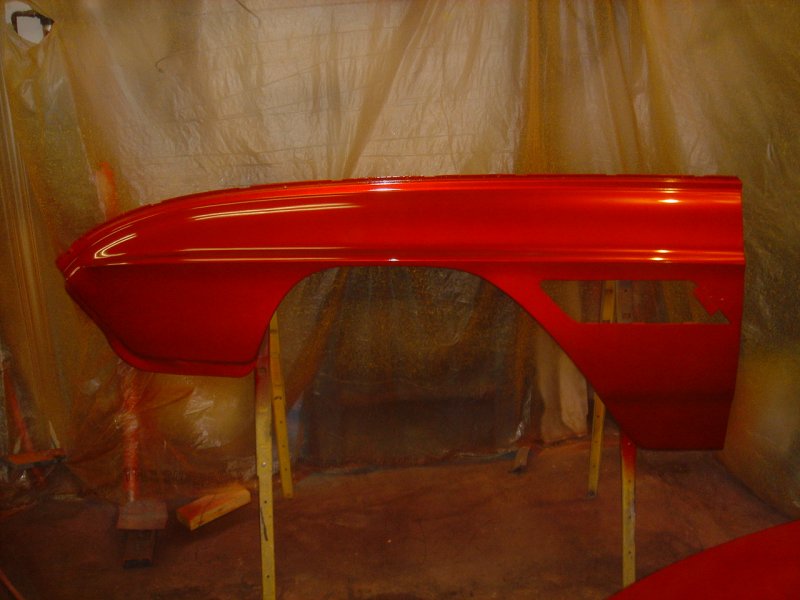
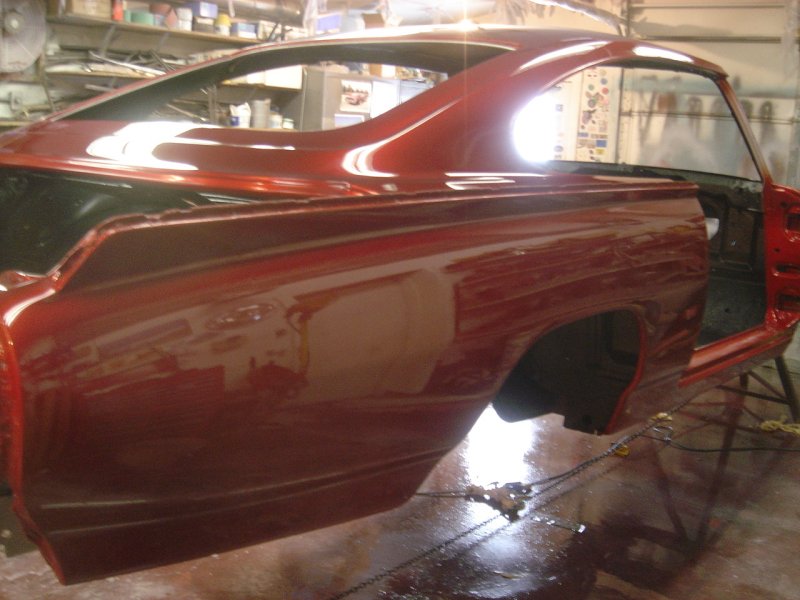
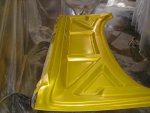
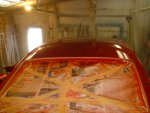
This is after it was color sanded and buffed

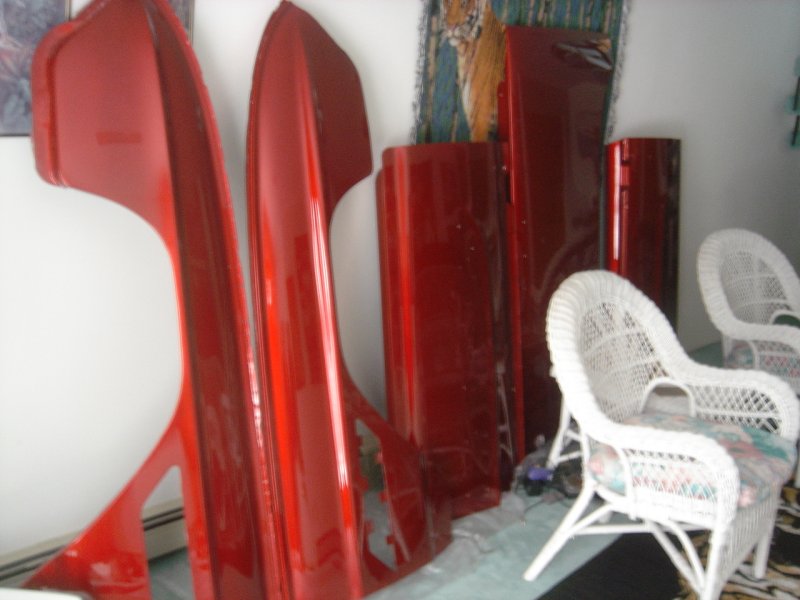
While I was working on other parts of the restoration I got these parts
out of the shop
and into my family room so they would be safe until they went on the
car.
That wouldn't be until after it was off the
rotisserie
and the suspension and running gear were back in the
car.

Back to Italien Index
Continue
with Chapter 27
Contact
Tom
Maruska
Back to
TOM MARUSKA CARS
Sewing the New
Interior