THE 1963 THUNDERBIRD ITALIEN
Chapter 19 - REBUILDING THE ENGINE
Copyright © Thomas Maruska 2008
All Rights Reserved
As I mentioned in the transmission chapter,
I removed the engine and transmission as a unit.
In order to do this all of the following steps need to be taken.
Not in any real particular order but they all need to be done.
I like to remove the hood first and get it stowed safely out of the
way.
Then I remove everything on the front of the engine to the front cover
(exp
tank, p/s pump, fan, pulley, gen/alt, water pump,a/c compressor) and
the carb(s).
You don't need to remove the water pump at this point
but if you're gonna take it off anyway, why not do it while you're in
the area.
Remove the shock tower supports and drain the radiator.
After that I get the car in the air on jack stands
and roll under it on the creeper
with a large assortment of tools laying on the floor under the engine
in easy reach.
Make sure to disconnect the shift linkage on the tran
as well as the speedo
cable from the tran.
Disconnect the tran cooling
lines at radiator .
Remove the nuts on the
engine mounts
and you'll also have to disconnect the parking brake cable
at the equalizer
as it's in the way of the tran disconnect.
Drain the
tran and remove the driveshaft.
disconnect the exhaust pipes at the
manifolds
or if you're replacing them cut them off with a sawzall.
Remove the two braces under the engine from the cross member to the
frame
and the horseshoe brace under the engine between the frame rails then
roll back out,
lower the front of the car and remove the radiator
It's easier to get the engine/transmission out with the back of the car
in the air.
On the Italien I had previously removed the intake as I wanted to
look it over good.
It's not necessary to remove it before removing the engine.
Click on any of the images to enlarge them
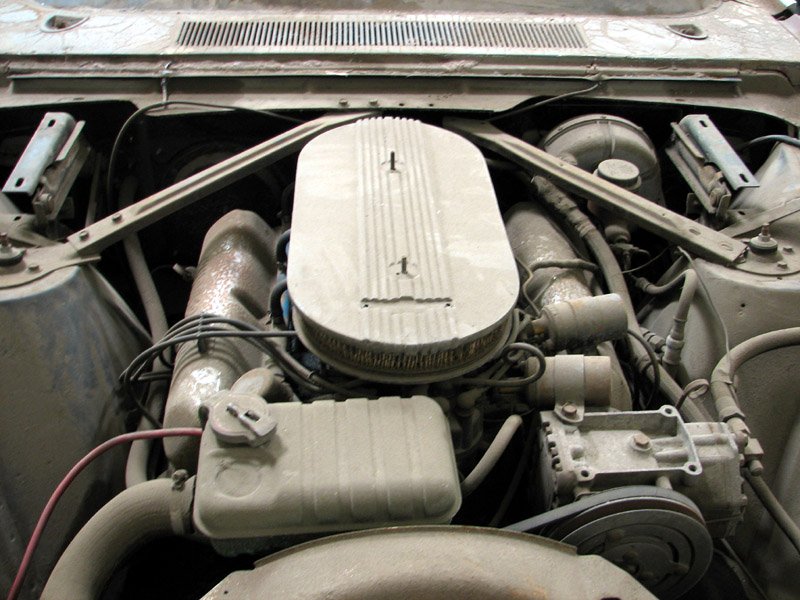
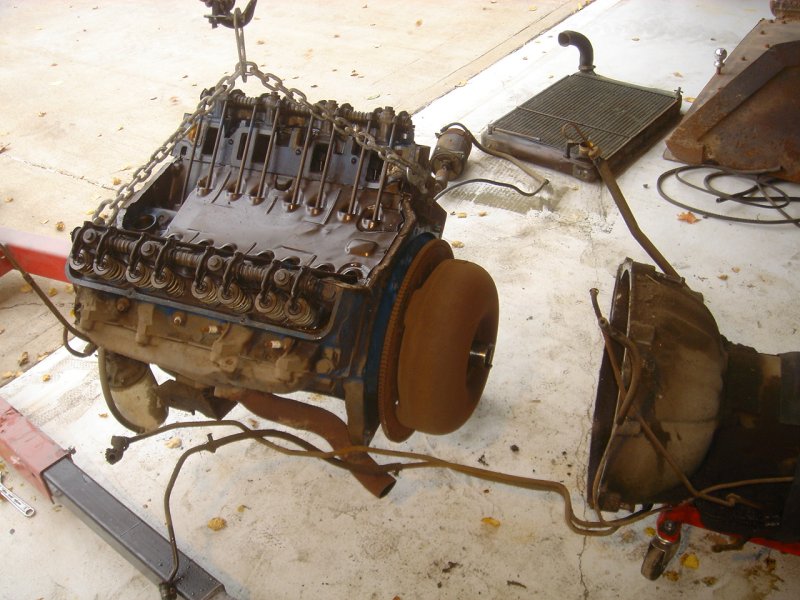
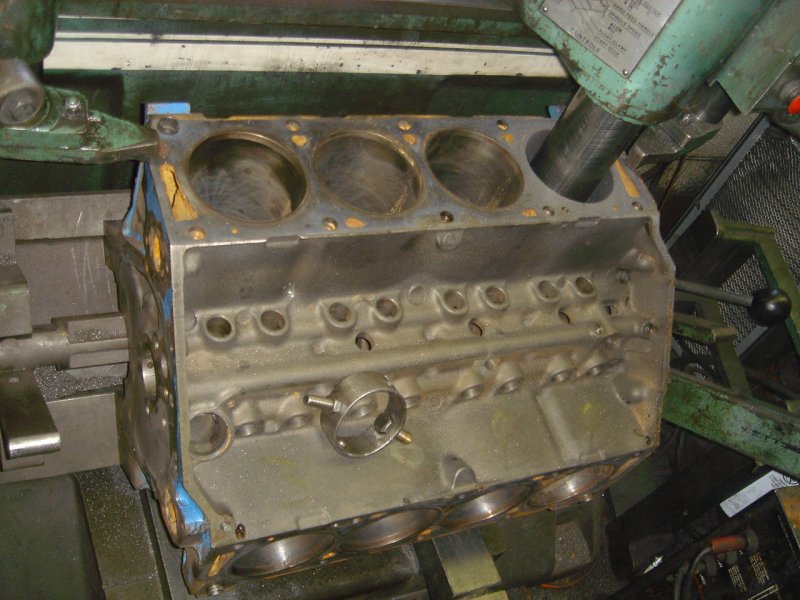
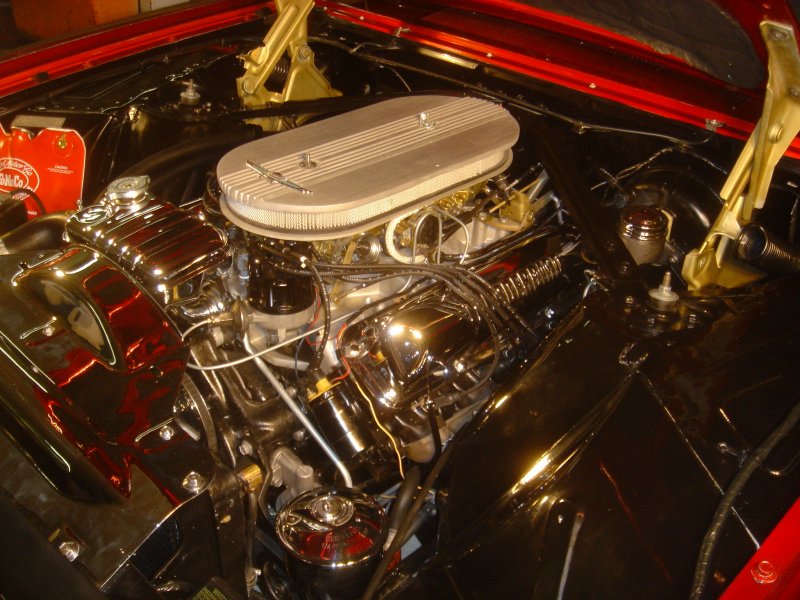
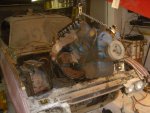
Here's what the engine looked like before I took it out
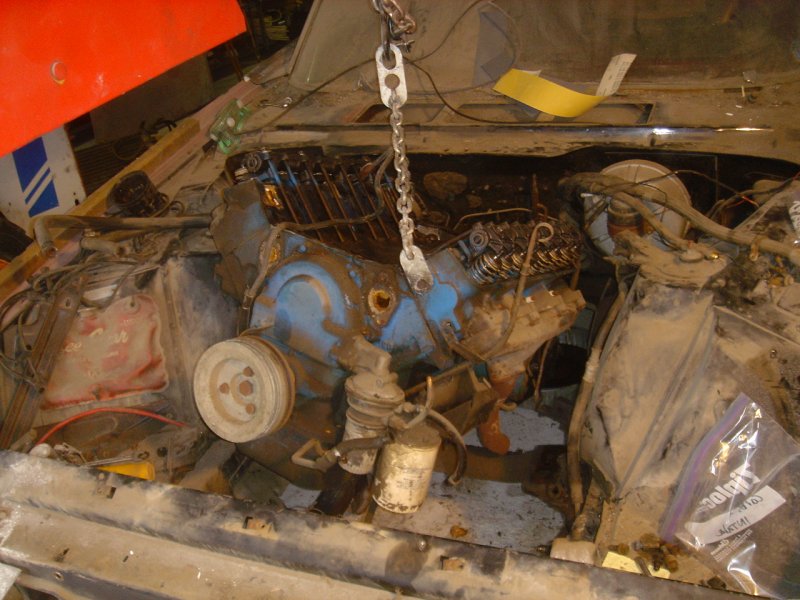
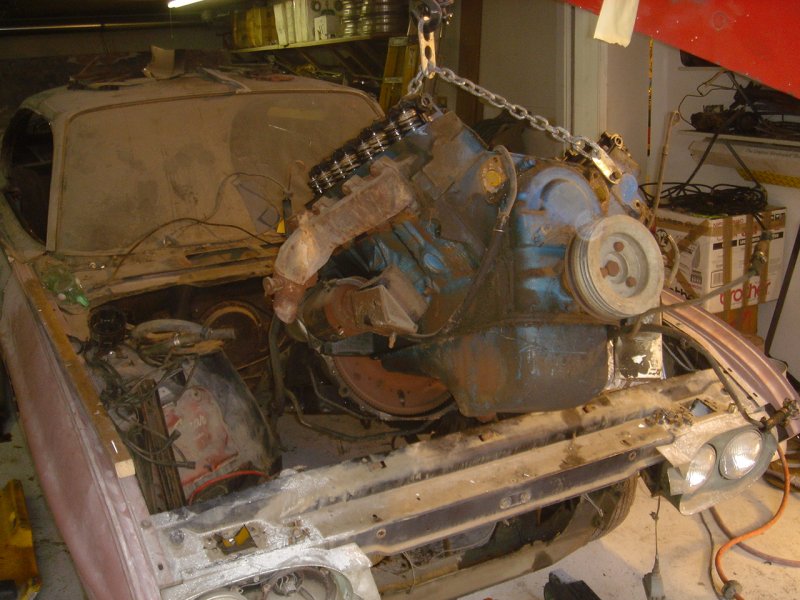
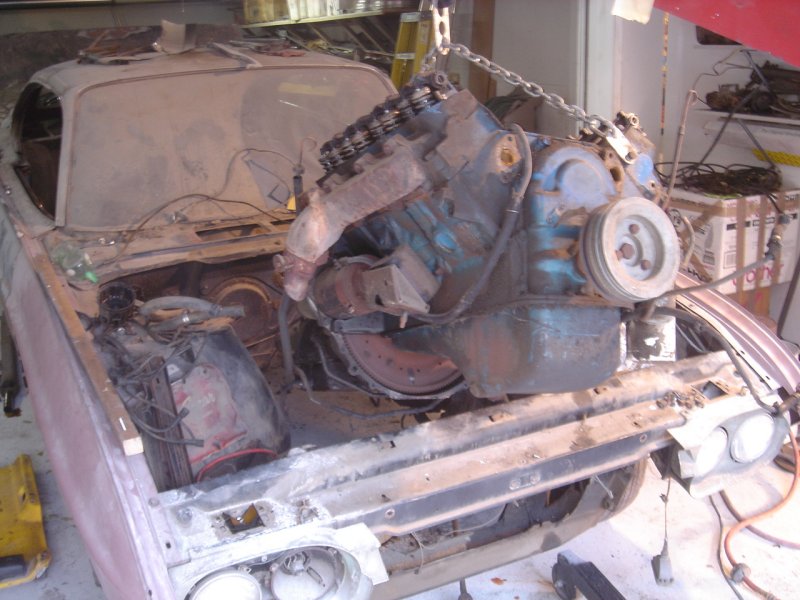
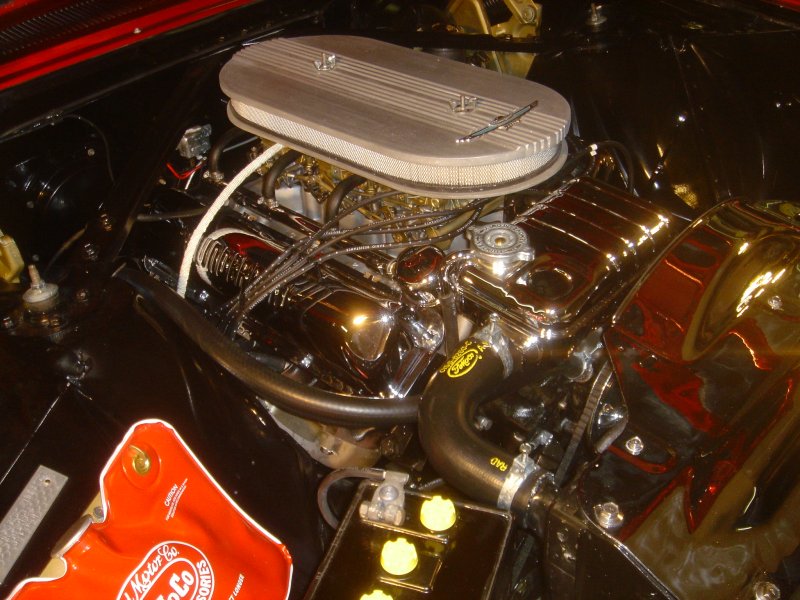
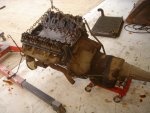
This is a series showing the engine being lifted out of the car.
The head on the left has threaded bolt holes in the front
of it and the right head has the holes on the back.
This is where you attach the sling for the engine hoist.
The heads are both exactly the same and are interchangeable.
They only have threaded holes in one end
and that is why the holes are in the front on one side
and in the back on the other side.


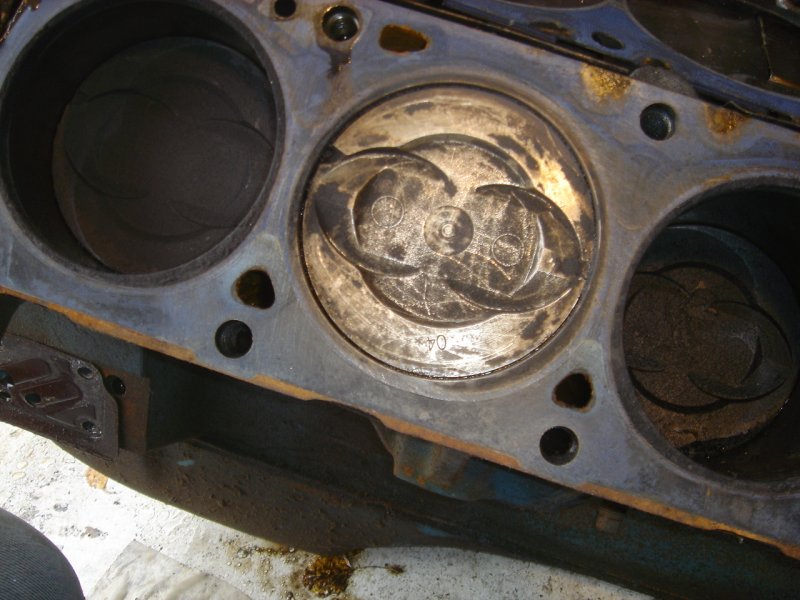
This picture shows that the engine was previously
rebuilt as the piston is .040 over standard.
The machine shop said that the engine was so nice
he wouldn't normally have done anything with it again
except at my insistence because of the car it was in.

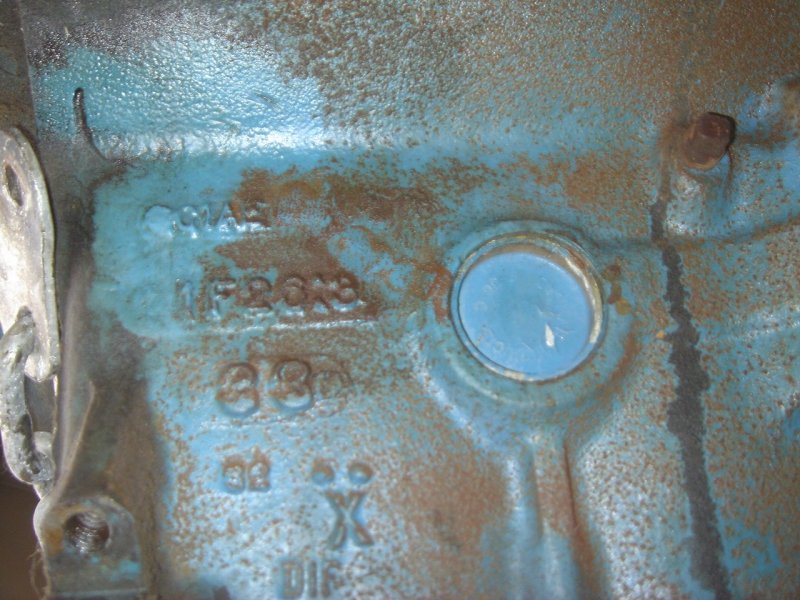
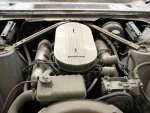
The picture on the left here shows the engine build date of 1F26 (June
26, 1961)
which is 21 days after the build date of the transmission.
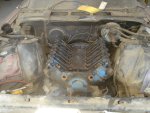
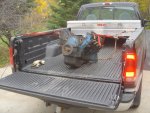
And on the right the engine heading to the machine shop,
MIDWEST ENGINE BUILDERS
in Duluth MN.

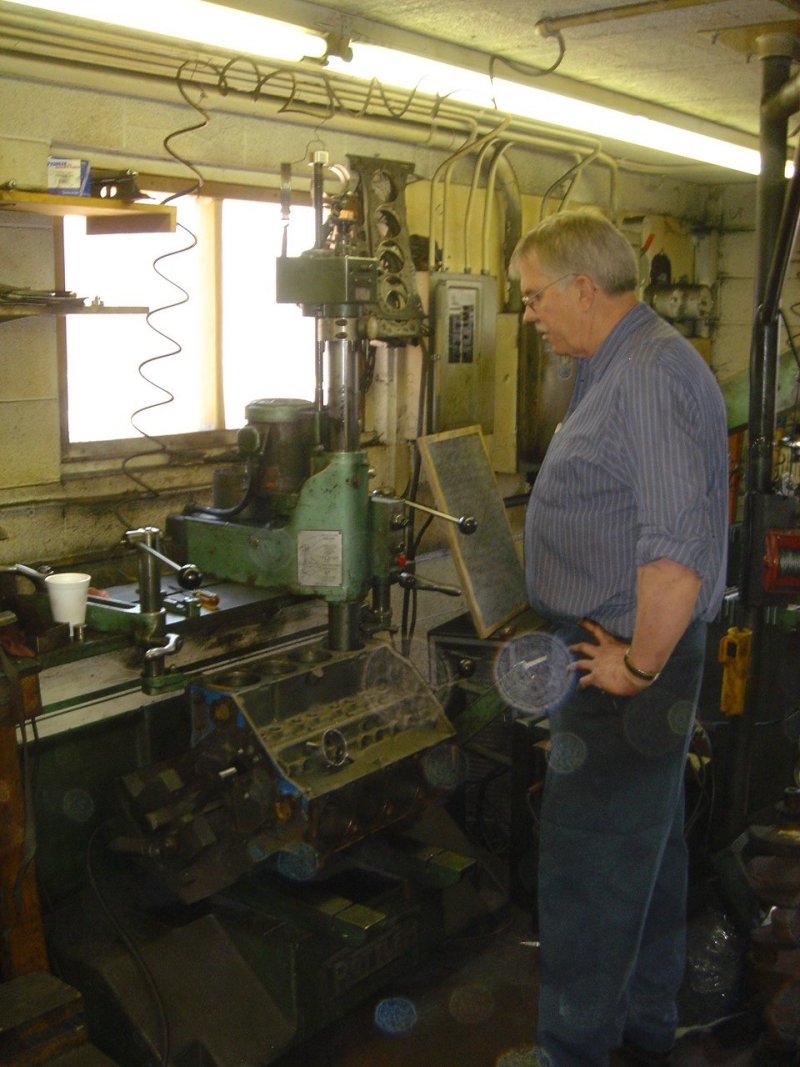
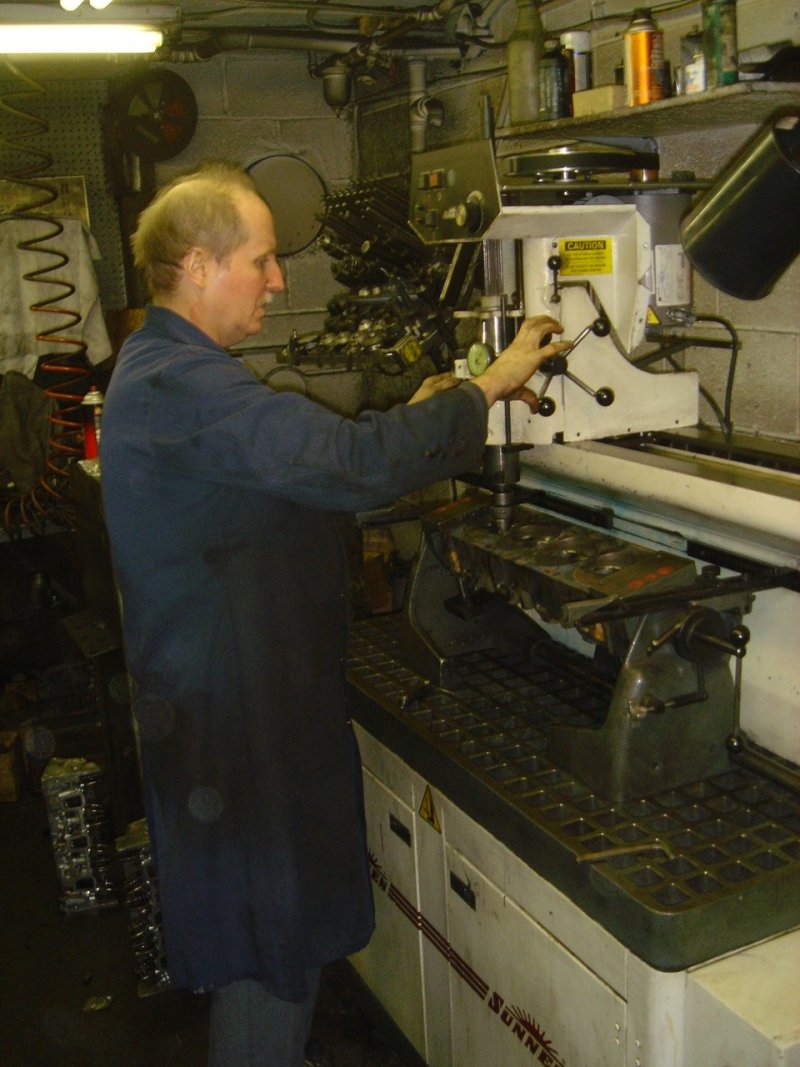
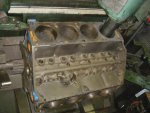
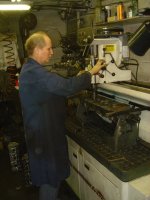
Below is the owner of Midwest Engine, Bob,
with the engine on the boring machine.
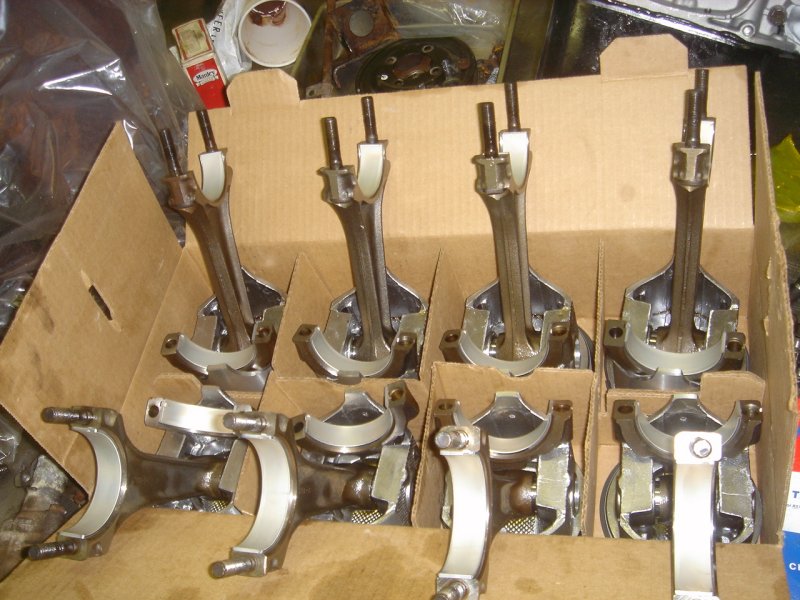
It was bored to .060 and the new pistons and reconditioned rods
are waiting to slip into the new shiney holes.


Here Jeff is rebuilding the heads with new valve guides,
new hardened valve seats and new valves
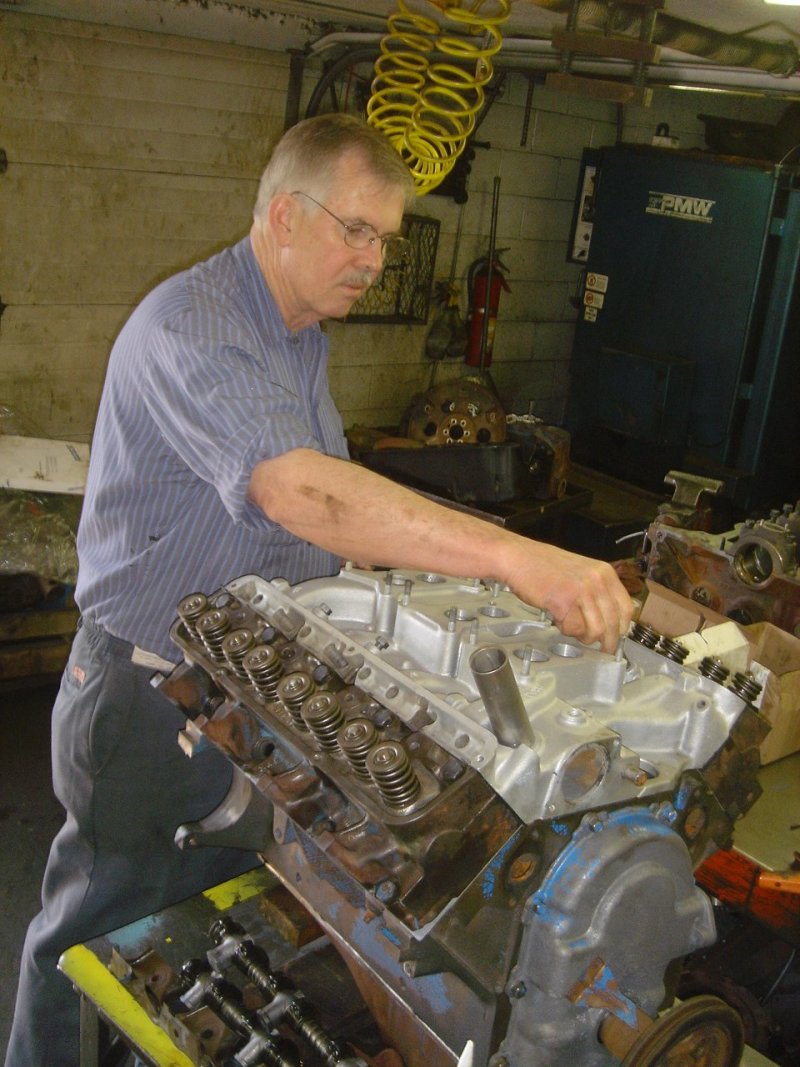
and Bob is installing the intake back onto the newly rebuilt
engine.
Hopefully he remembered to put all the parts back inside.
Just kidding...
I have complete faith in him.

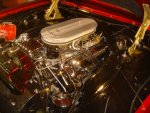
And...
the finished product...

Back to Italien Index
Continue
with Chapter 20
Contact
Tom
Maruska
Back to
TOM MARUSKA CARS
TRIPOWER
RESTORATION