THE 1963 THUNDERBIRD ITALIEN
Chapter 28 - ENGINE TURNING
Copyright © Thomas Maruska 2008
All Rights Reserved
aka "JEWELING"
(No, it has nothing to do with the engine)
Used a lot back in the 50's and 60's to trim cars but originally
and still used in gunsmithing. In fact, the best place to research
and purchase the necessary equipment for engine turning is at
gunsmithing websites.
I purchased the carborundum sticks and the "Do-Drill" oil from
Brownells.
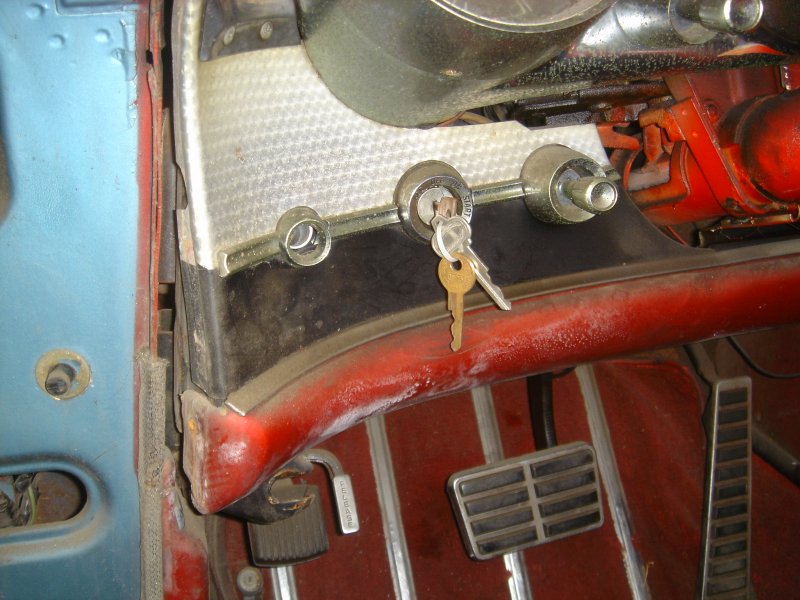
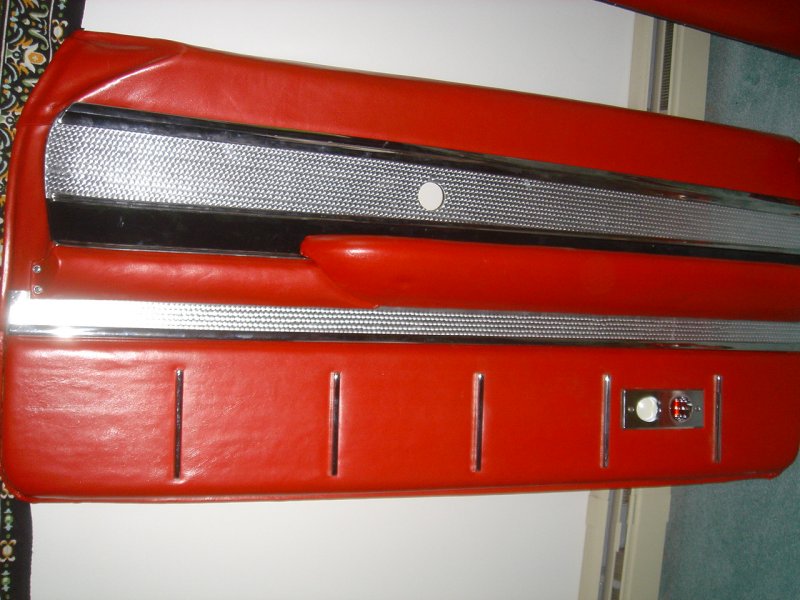
Unlike the production Thunderbirds of the same vintage, the Italien's
dash
and door panels is trimmed with custom "jeweled" aluminum trim.
The production birds use ribbed aluminum trim.
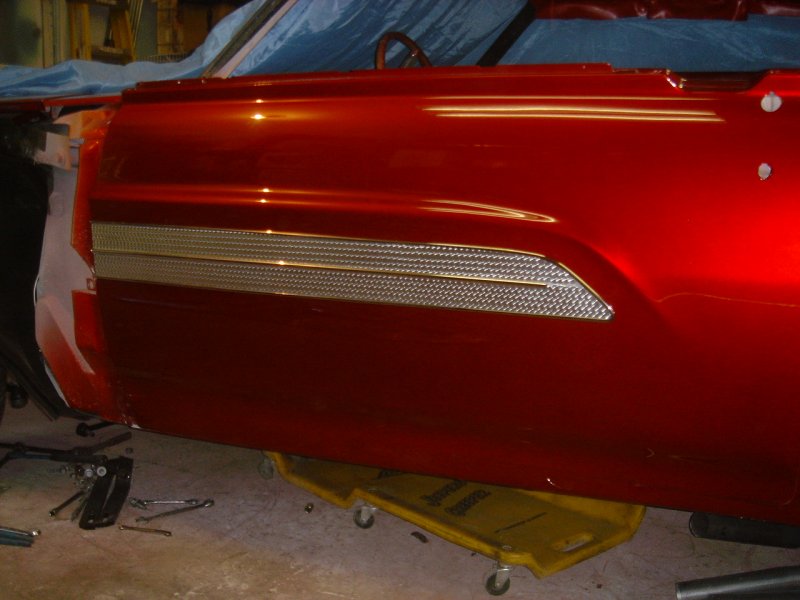
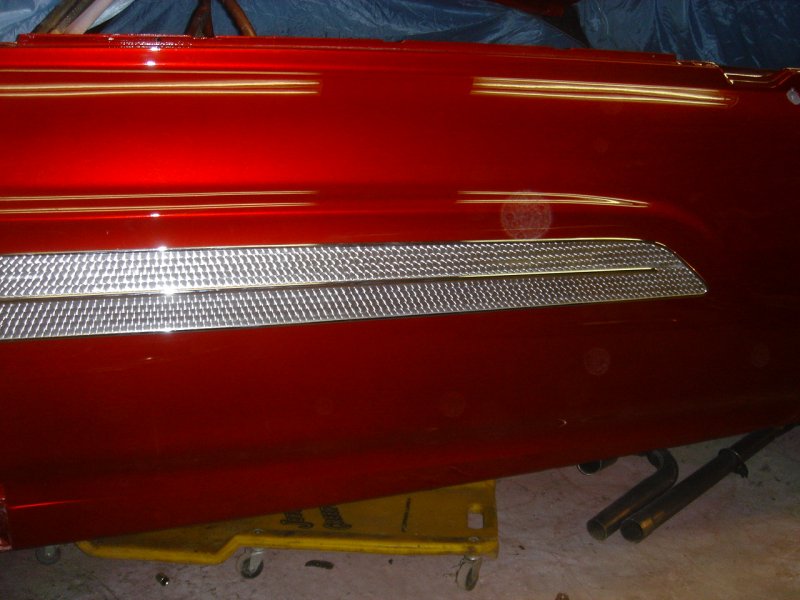
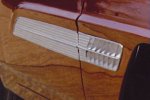
The trim on the outside of the doors and fenders also had Jeweling on
them
but it is a little larger diameter than the inter jeweling.
The interior is 5/16" and the exterior is 3/8"
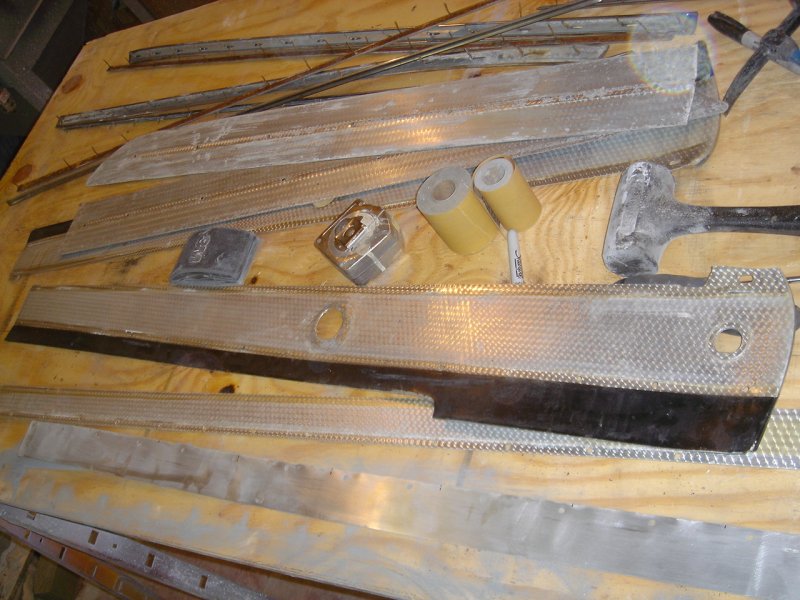
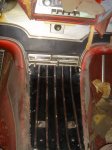
Here are a couple pictures before restoration

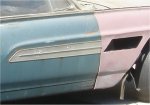
This is a an enlargement from the Ford Archives photo of the trim on
the
passenger door and fender and you can clearly see the jeweling on it.
From the picture above you can see that the jeweling had been painted
over
at some time in the past.
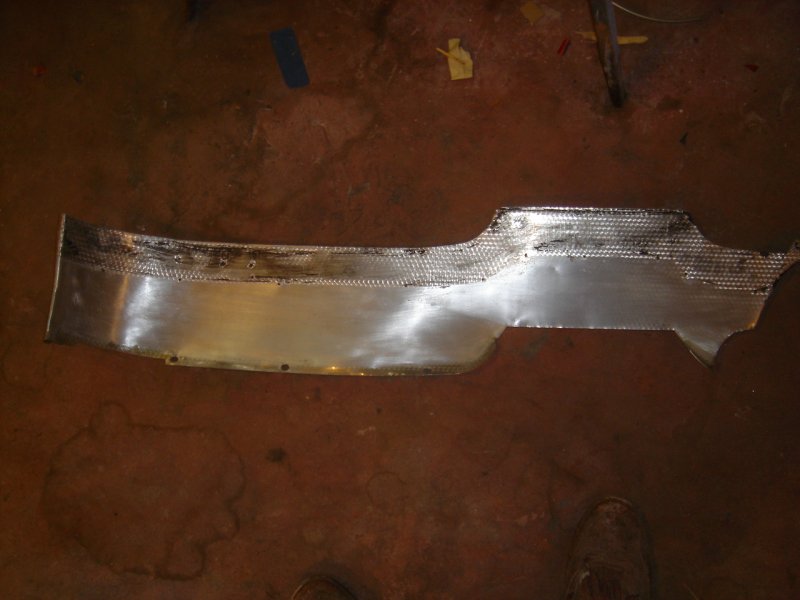
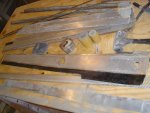
I had to remove the paint from the dash and door panel trim pieces as
it would be getting
fresh paint and then I removed any dents and dings in the aluminum
and sanded all of the old jeweling off so I was starting with
nice clean
pieces of aluminum.
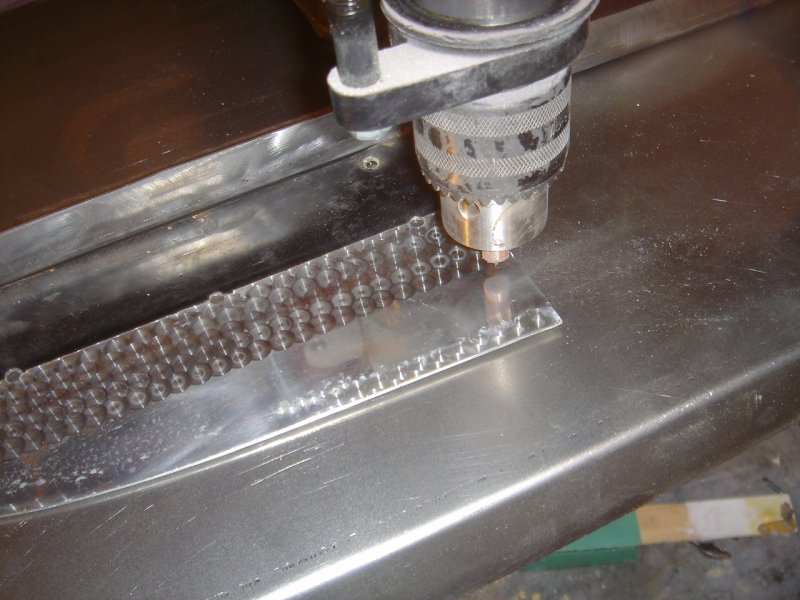
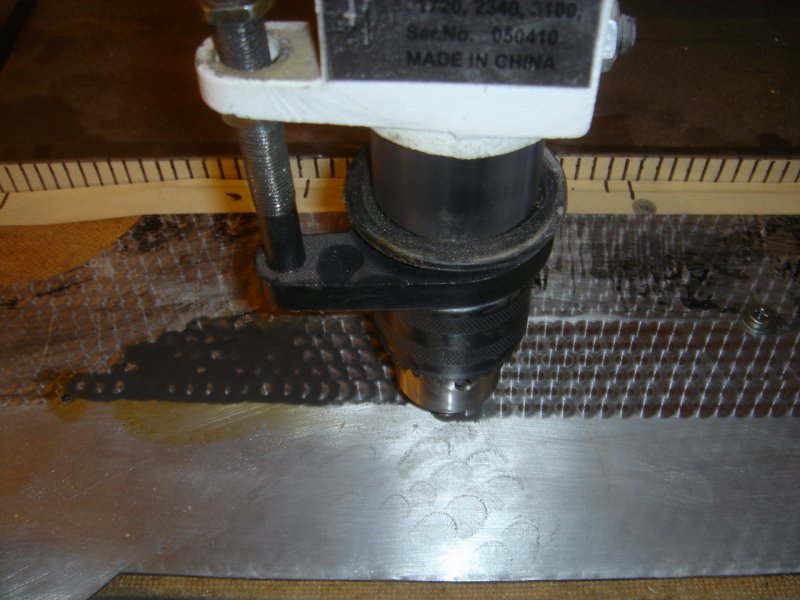
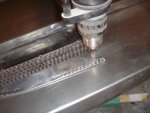
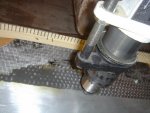
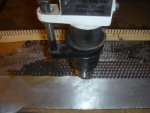
Engine turning is done on a drill press using carborundum embedded hard
rubber
sticks sort of like pencil erasers. The sticks are available in
various diameters.
You need to keep the surface you are jeweling wet with "Do-Drill" oil
or you will
get an uneven and discolored finish.
Each circle you jewel overlaps the previous one by about 1/3 as well as
overlapping
the row below by 1/3 so with a 3/8" diameter stick you are advancing
only about 1/4" with
each hewel.
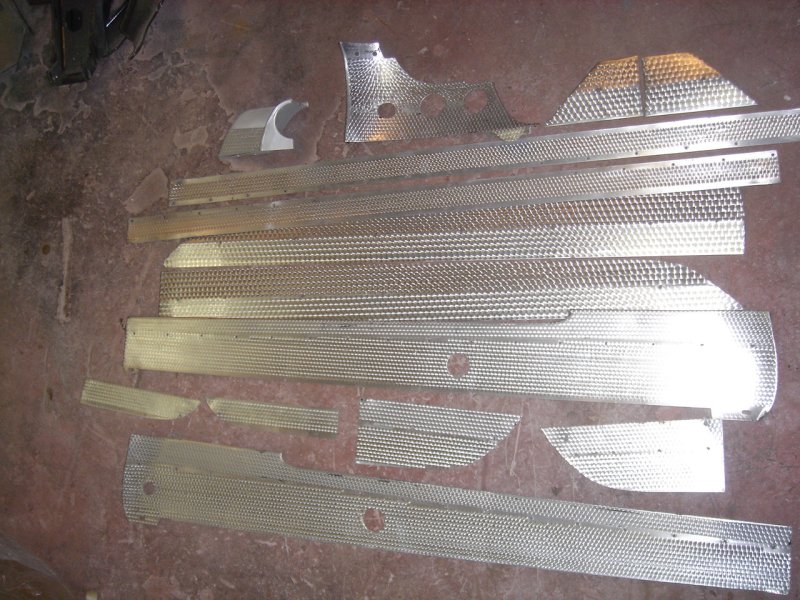
On the door panels the trim pieces are about 42" long and the two
combine for 7" high.
When you do the math, there are approximately 4700 jewels.
I didn't try to calculate how many are on the dash trim but there are a
helluvalot!
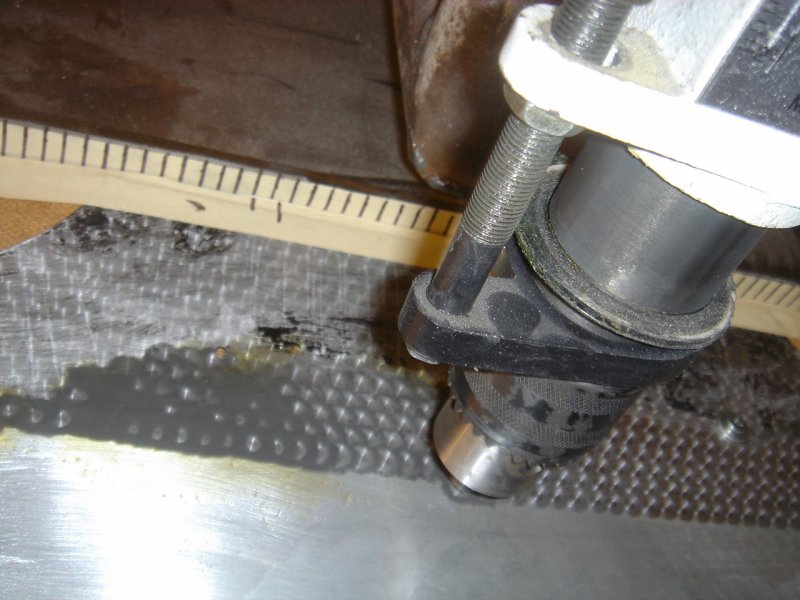
I had another obstacle to overcome. My drill press didn't have a
very
deep throat and some of the pieces wouldn't go under far enough
to get to the outside edges.
I had to make a new stand for the press that would allow the
entire width of the dash piece to pass under it.
I also had to make a table with a sliding gauge to accurately move the
trim piece back in 1/4" increments keeping everything in straight lines.
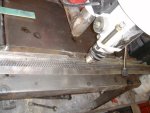

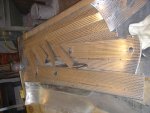
Here is the main dash piece ready for new jeweling
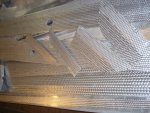
These are the trim pieces with the jeweling completed,
count the jewels.

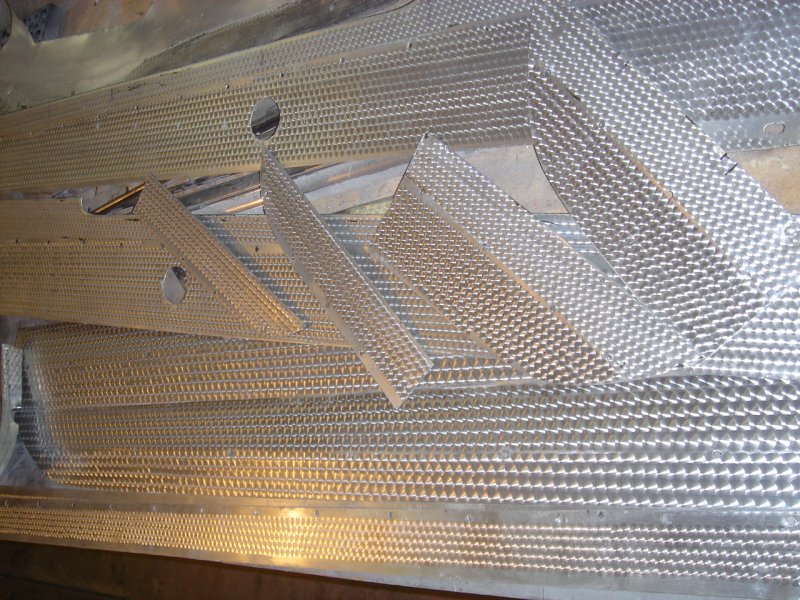
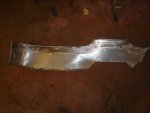
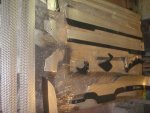
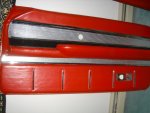
Here all the trim is with the black painted back on them
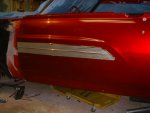
The door trim completed and back on the car, and a door panel
completely restored.

Back to Italien Index
Continue
with Chapter 29
Contact
Tom
Maruska
Back to
TOM MARUSKA CARS
Assembly