PAGE JUMPER
XM-800 INDEX   PAGE 10 PAGE 11 PAGE 12


The 1954 MERCURY XM800 SCRIPT  CONCEPT CAR


A few weeks back when I removed the interior from the XM-800 I snipped off a couple samples of the vinyls from the bottom side of the rear seats where it had never been exposed to light. The colors were still rich and unfaded. I sent these samples to a few supplies of vintage auto upholstery.
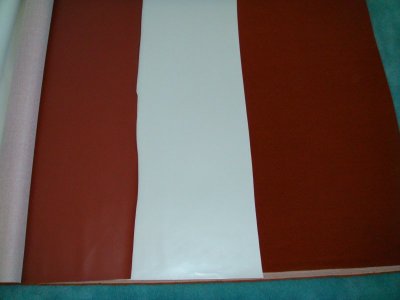
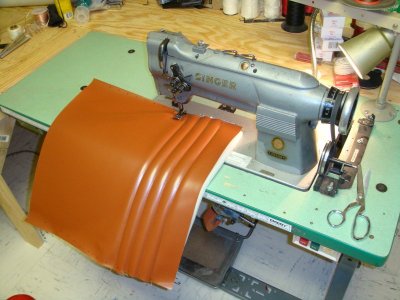
Among them was SMS Auto Fabrics Inc.
where I was in contact with Doug. The vinyl for the interior was the smooth shiny type you used to see on the booths of the old ice cream parlors and diners, and very hard to find today as everything has the embossed textures. Doug sent me a couple samples back that the colors matched fairly close with a note that they could put the smooth shiny finish on any of their vinyls. The white was a dead ringer for the color but the copper needed work. Doug was able to add some color and a small amount of metal flake to the copper as well as the smooth finish and when I got the new samples they were perfect. When I asked about the price I nearly fell of my chair but the important part was that I could get exact matches to the original interior so I proceeded and ordered 12 yards of the pearl white, 7 yards of the copper as well as 8 yards of the carpet.
None of the other four well known suppliers were able to do what SMS could do to match my vinyl so be sure to contact them if you need interior vinyl or carpet for your projects.
Here is a picture of the two vinyls on the left and the carpet is on the right:


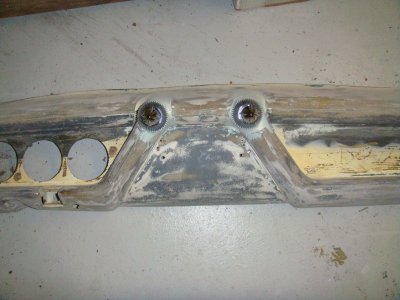
Before I began any of the interior sewing, I restored the dash. You might recall from PAGE 2 and THIS PICTURE that sometime in 1956 when Ford was experimenting with safer cars, they moved the radio knobs from the top of the dash where they were ORIGINALLY and installed a pad on the dash.
First found some new textured aluminum that very closely matched the original at ON LINE METALS and I ordered a 2'X4' piece. The original metal was broken and a portion was missing. Next I had to rebuild the bumps on top of the dash that flared back from the large radio knobs.

I built them up with body filler and then after som other minor repairs to the dash body I painted it. I disassembled the gauges completely, what little of them there is, and found that the faces were polished brass. They had tarnished badly over the years and I was a little worried about how I would restore them but when finding that they were brass I was relieved. I polished them again along with the plastic lenses, painted the needles the copper color and reassembled them into the newly chrome plated bodies. They look wonderful!

I figured I should get the windshield and back window sent off to Steve Wooldrik at Masterglas in Lakeville MN to get new ones made. They are made from plexiglas and Steve's shop specializes in plexiglas retail store displays. He is an old car buff and enjoys a different project occasionally. You may recall that he mad the plexiglas rear and quarter windows for me for the Thunderbird Italien a couple years ago and did a beautiful job.
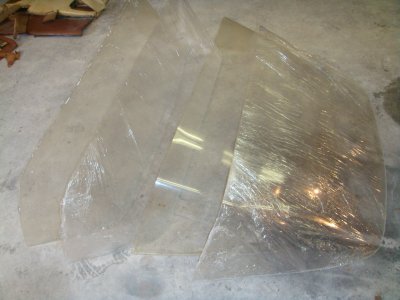
Steve used the old windows as templates and forms the new plexiglas over them. They look like they should, like new!


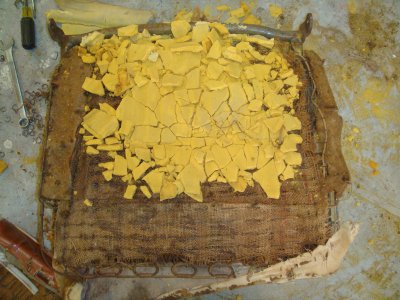
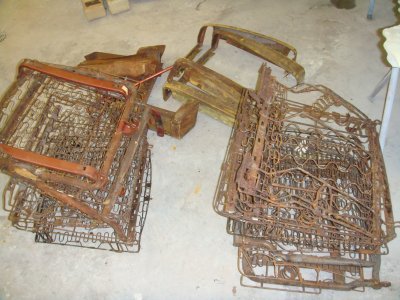
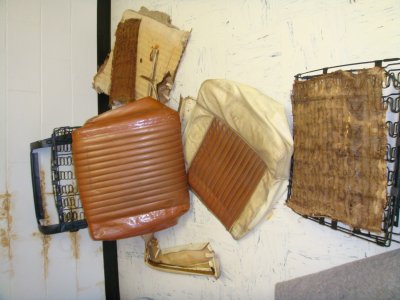
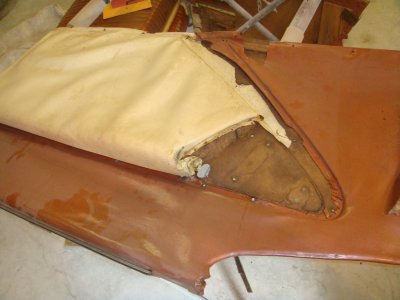
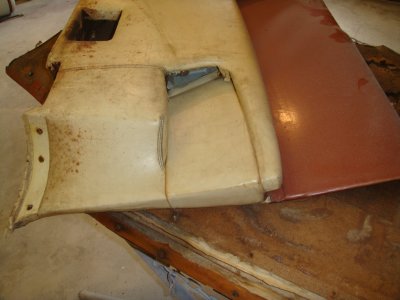
No on to the interior.
I completely dismantled the seats. Over the years of sitting outside in the sun, the interior had dry rotted badly. Fortunately the seat covers were in good enough condition to use as patterns for the new covers.
Here's what the seat foam padding looked like, comfy eh?


The seat frames and springs were pretty rusty so I sandblasted them clean and painted them before putting any new materials back on them

I made the centers of the seats first with the copper color vinly which had pleats sewn into it about 1 1/4" apart. I lightly scratch a line on the vinly with an awl and follow that with the maching. There is 1/2" pleating foam on the back side.

After that it was just a matter of cutting all the pieces, stapling them together and sewing. The stapling together is the most time consuming part of the sewing project. Everything has to be properly aligned to get a good looking finished product.
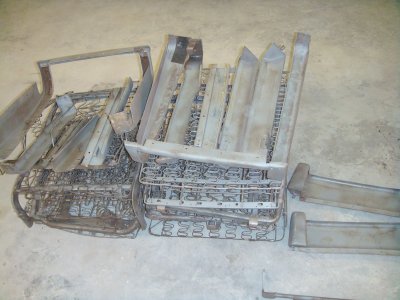
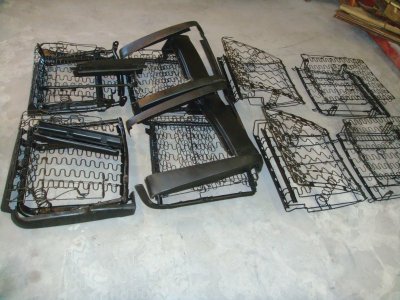
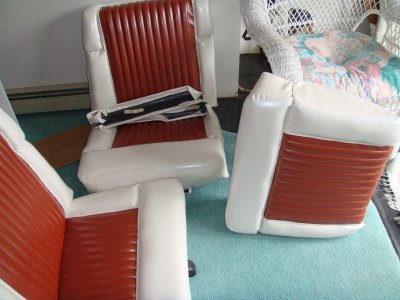
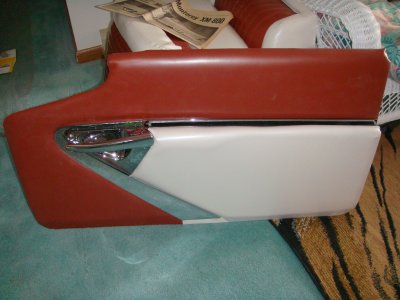
Here's a shot of one of the old seats followed by the new ones:

Here is the old drivers door panel:

and here is the new one all dressed in new chrome:

One of the old rear interior quarter panels:

and the new one:

The interior is all done now and ready to go into the car as soon as I get all the wiring and electrical assemblies installed. It'll be fun to see the car come back together now.

Here is a video I put together showing a little of the sewing and in the end is some of the chrome for the restoration:


                                                                            Page 12