PAGE JUMPER
XM-800 INDEX PAGE 4 PAGE 5 PAGE 6
 CONCEPT CAR
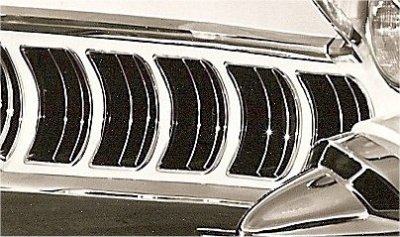
My ulterior motive was also to try and determine if anything was missing and I did find a few items gone. Among them were the 10 piece grill,
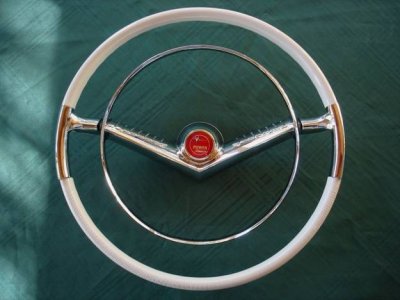
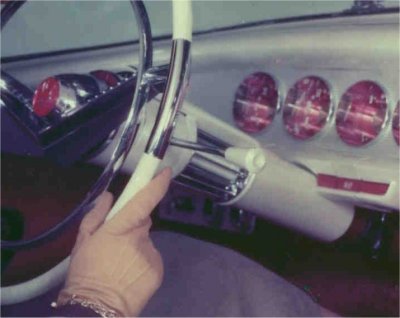
the original horn ring,
(I did get the original flat steering wheel with it's trim from Joe with the car) windshield visors
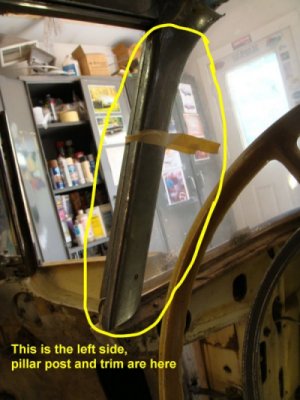
right side windshield pillar trim (interior)
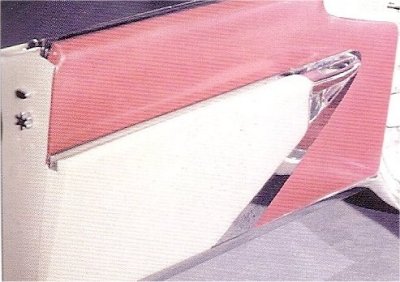
(This is the left side) right side door panel trim
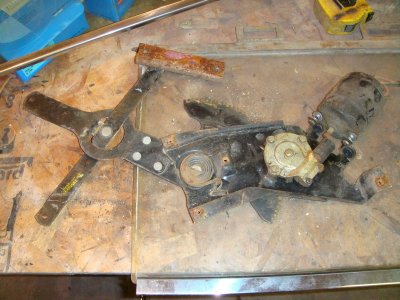
right side windshield washer bezel left side door glass frame and window regulator
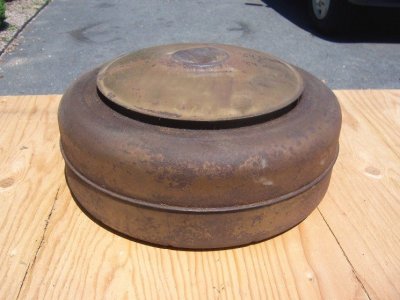
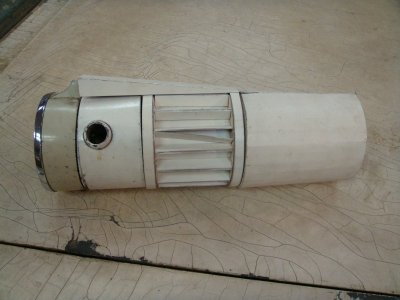
the air cleaner
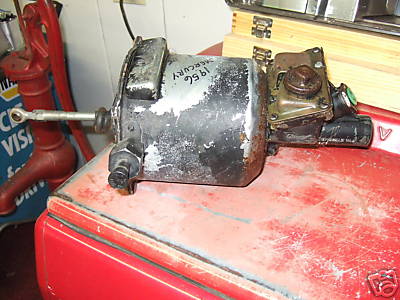
brake booster
hubcaps correct steering column and steering column trim
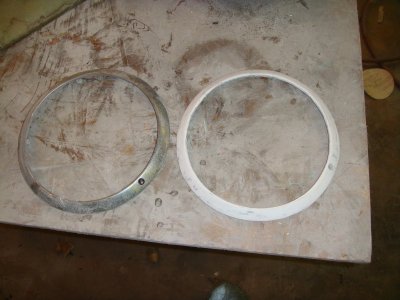
and the left side headlight ring I began searching around on different Mercury websites, ebay, Craigs list and local junk yards to see if I could find parts to start with that I could modify and make work. I found a window frame and regulator and brake booster on ebay as well as the center medallion for the horn ring which is very rare
I also found hubcaps on ebay which I'll have to modify slightly I'll cover that later when I get to them, but that will be near the end of the restoration. On the Mercury club website I found a wheel for the spare tire and an air cleaner to try and modify. I also got another air cleaner from a friend who has a '54 merc with a 256 in it. So I have a couple options there. The issue is that the hood profile is so low there is very little room under there for clearance. A few of the pieces that are unique I would have to make, like the door panel trim pieces, sun visors, winshield washer bezel, pillar trim, grill, headlight ring and steering column trim. |
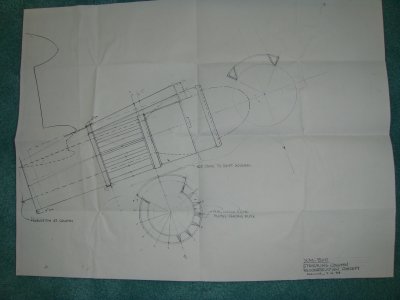
From that blueprint Dan made this cardboard full size model.
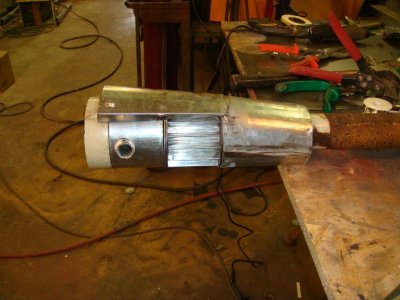
If Dan can make it out of cardboard then I can make it out of sheet metal! Which I did.
Over the years I have learned that one of the longest lead items for restorations is getting the chrome plating done. I figured it would take longer to chrome plate the fiberglass parts so I removed all of them from the car first. The only missing part that I was going to fabricate that I couldn't make out of sheet metal was the headlight ring so I made it from fiberglass. I used the one I did have which was cast from solid brass to make a mold of fiberglass. Then from that mold I cast the new ring and it turned out perfect.
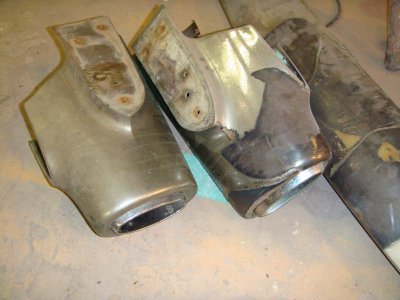
The next step was to strip all the other fiberglass pieces of their old chrome.
Much of it has already peeled off. After I experimented a little it turned out to be an easier task than I imagined. I used a grinder to cut through the old chrome where it wrapped around to the back side of the pieces. It was easy then to slip a screwdriver under the chrome and lift it off the surface and most of it came off very easily.
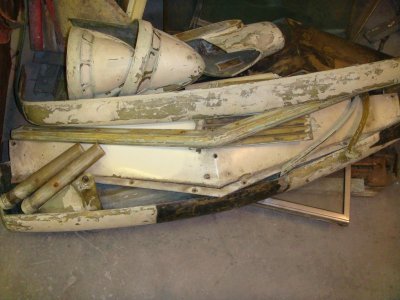
In order to get the chrome electroplating to stick to fiberglass or other plastic parts they first have to coat it with a spray containing a lot of metal flake. This acts as a current conductor to attract the copper, nickle and chrome electroplating. Anyway, the old metalizer spray didn't come off so easily. It all had to be sanded off. The white in this picture is the metalizer and/or old gel coat
Under the metalizer was the old gel coat which also had to be removed as it had cracked over the years so I sanded everything right down to the resin. Then after all the old gel coat was removed I had to repair a couple cracks in the bumpers and some other pieces. This was done by grinding out the cracks and an inch or so around them about 1/8" deep and then re-layering fiberglass mat and resin in these areas. After the repairs were completed, the parts were sprayed with 2 coats of "Featherfil" which is a high build primer and then wet sanded with 600 grit paper leaving a nice smooth finish for the plater.
I packaged everything up carefully and shipped the parts off to Pauls Chrome Plating in Evans City PA. They advertise in Hemmings and are also recommended by my classic car insurer, Hagerty's. Now that these parts were out of the way I began fabricating the other pieces that were missing. People often ask how I know how to do some of the things I do. The way I look at a lot of this is that someone else made all these pieces (or whatever the case may be) once so if they could do it, then I can do it. Sometimes I need to buy some tools or equipment and maybe I'll screw something up and have to redo it but Auto restoration is a continual learning process, and I enjoy learning new things. Page 6 |