
PAGE JUMPER
XM-800 INDEX PAGE 5 PAGE 6 PAGE 7
 CONCEPT CAR
and it wasn't going very well so I decided to wait and keep searching until I found an original and I would just bite the bullet and pay up for it and instead began fabricating the other missing parts for the car. I started with the grill inserts. I only had this original picture of the front of the car 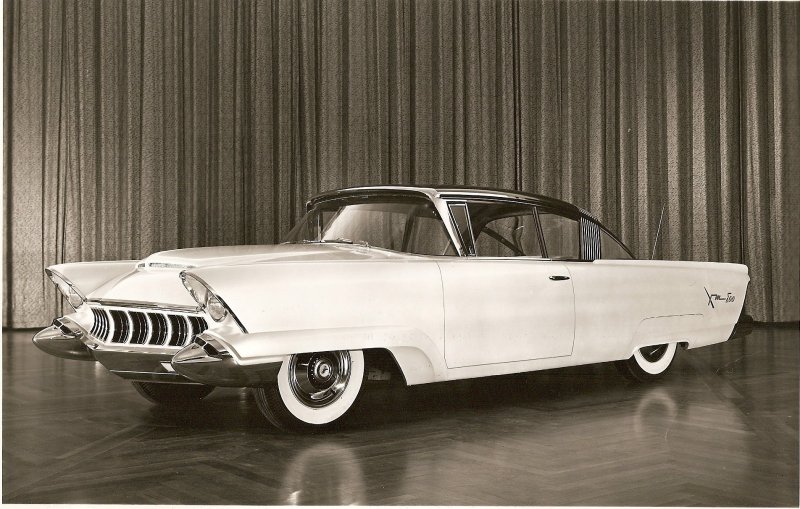 to go by so I enlarged a part of the grill 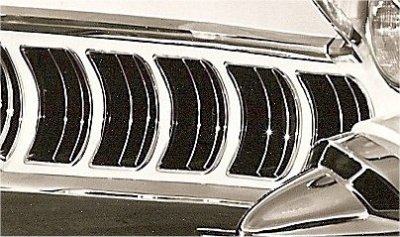 and went to work. Each piece is slightly different because the height of the grill gets taller in the middle of the car than on the ends so not one single piece is duplicated. The first piece took me nearly a day and a half to fabricate. I began with the second hole from the left. I used pieces of cardboard to scribe the left and right side side profiles and transferred them onto 1/16" thick sheet metal. Then cut them out with my plasma cutter. I made them approximately 2" deep. Then I did the same with the top and bottom pieces and I taped them into the hole to hold them in place while I tack welded them together. Then I removed the box from the hole and traced the side profiles again onto 3/16" sheet metal and cut them out. This time the pieces would be used for the two intermediate uprights in the insert. The thicker material was because the front profile appears to be about 3/16" in the original grill pictures. 1/4" looked a little too thick to me. Anyway, then I divided the opening up equally and marked lines on the top and bottom of the insert where the dividers would be placed and drilled two 1/4" holes on the top and bottom on each line. I placed the dividers inside the piece and welded them in place through the holes in the top and bottom. I did it this way so I wouldn't have to try and grind welds inside the grill insert. It worked great. I also needed to get the 3/16" wide profile on the outside edges of the grill insert as I made them out of 1/16" thick steel. To do this I took a sheet of heavy photo paper because it is stiff and won't kink on bending like cardboard would and placed it on the face of the grill in the concave area over the hole for the insert I just made and from the inside I traced the opening onto the paper. I then cut out the opening and traced it onto 1/16" sheet metal. I added about 3/16" to the inside to add for the thickness of the outside walls of the insert and then I added 1/4" to the outside edge and cut out a rather unsually shaped rectangle from the sheet metal. This rectangle was pushed against the concave grill surface to bend it to the contour and then placed on the face of the new grill insert and welded onto it. I had a little trimming to do on the inside and outside edges to get the width to 3/16" and then wnen inserted into the hole, here is the nearly finished product: 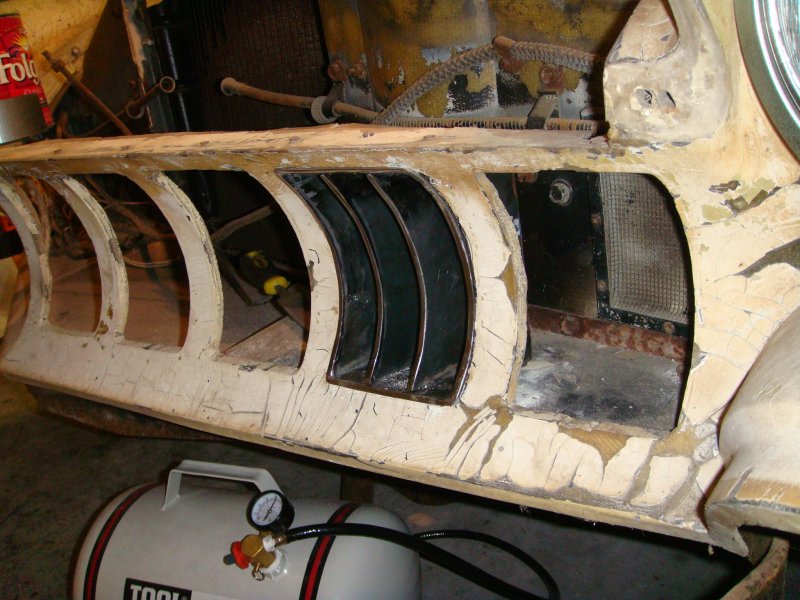
'Nearly' because it still needed to be chrome plated. The inside of the inserts will be painted flat black and only the face will be bright chrome. The rest of them went a lot faster now that I had the process figured out and I completed the other nine inserts in another 2 days. 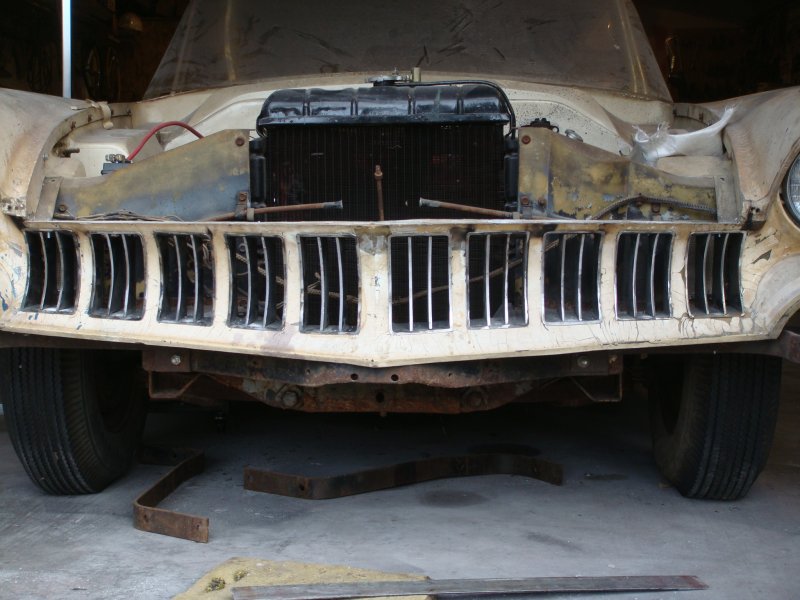
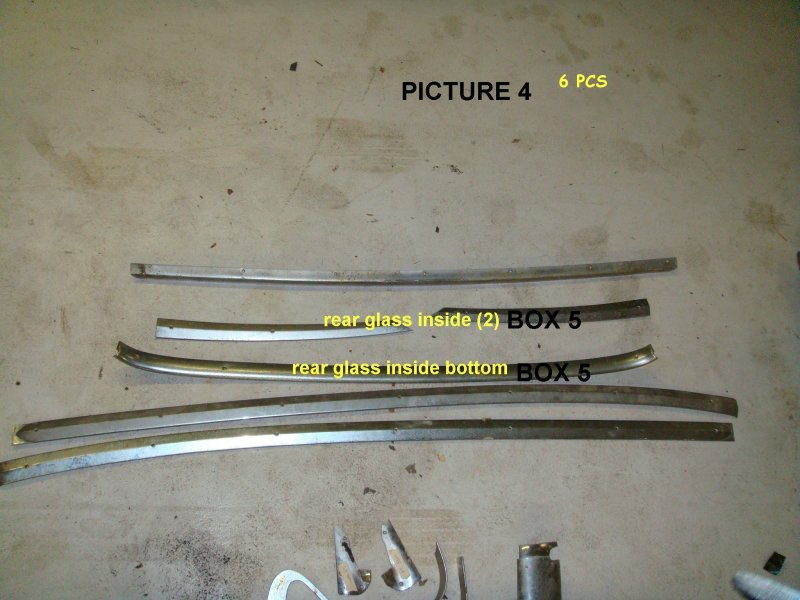
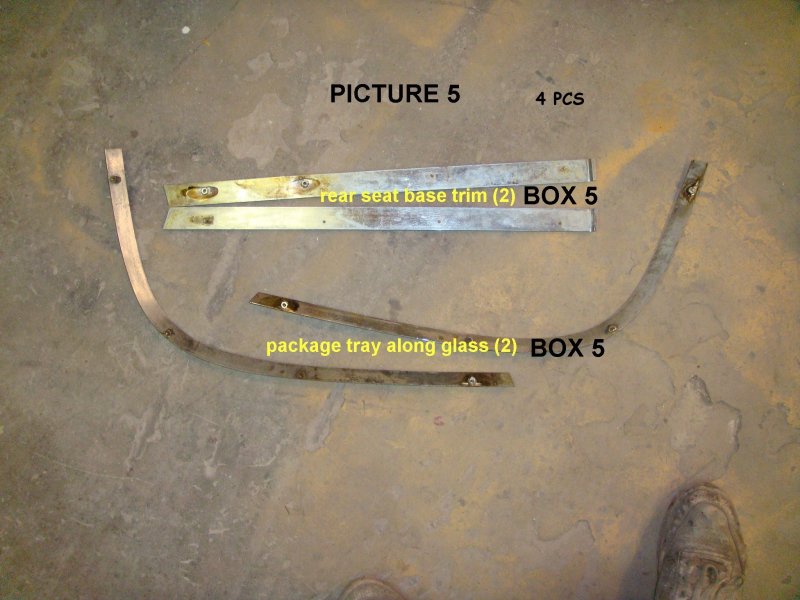
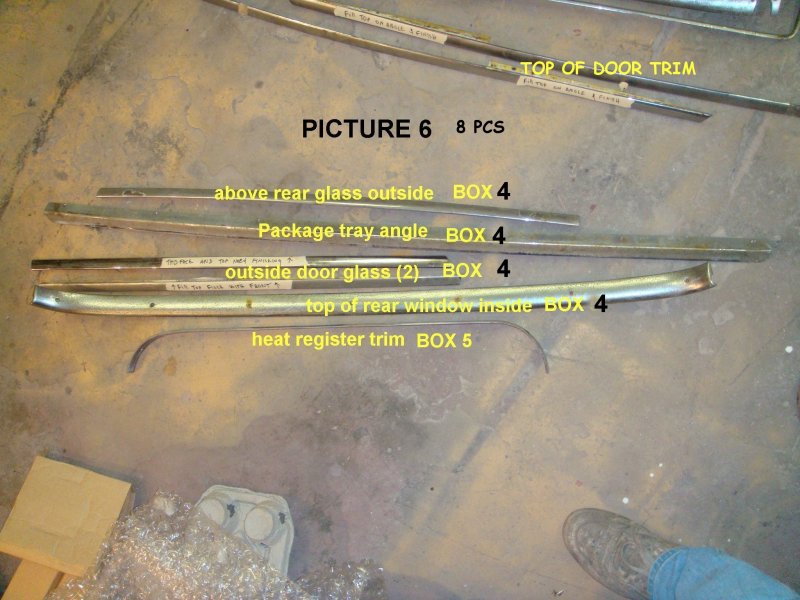
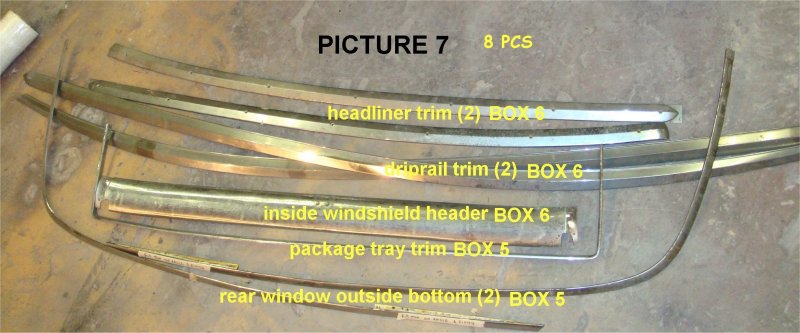
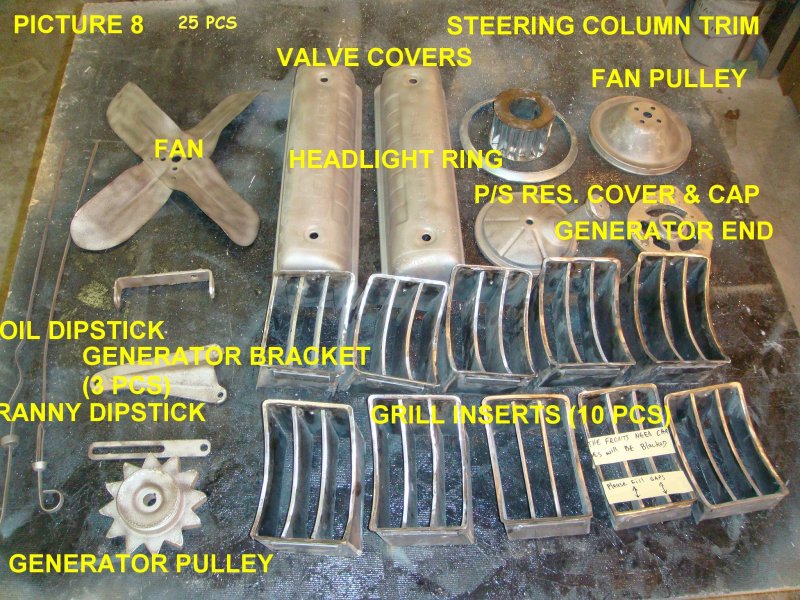
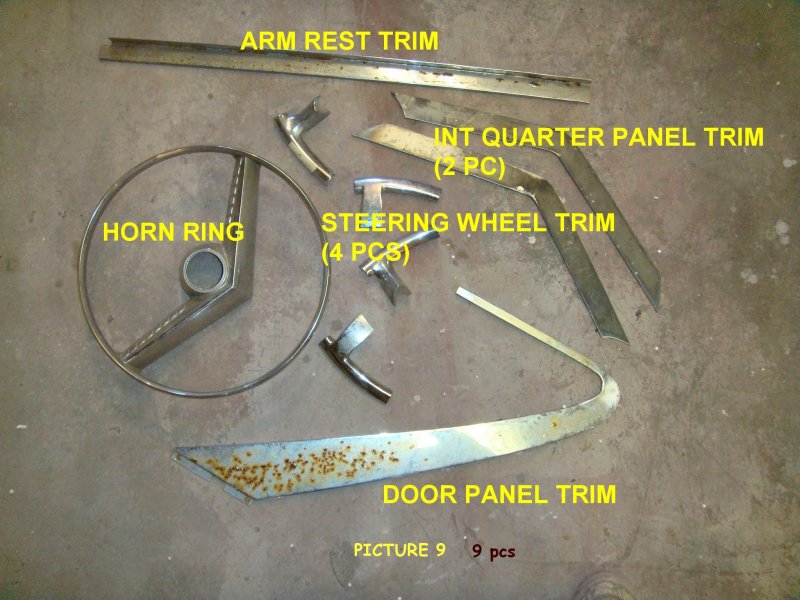
Now that the fabrications were complete I removed all of the chrome steel parts from the car. Looking at the outside there doesn't appear to be a lot of chrome on the XM-800 but on the interior and on the engine there was an abundance. In all, I sent 143 pieces to AIH Chrome Plating in Dubuque Iowa. I can't wait to see that bill. |
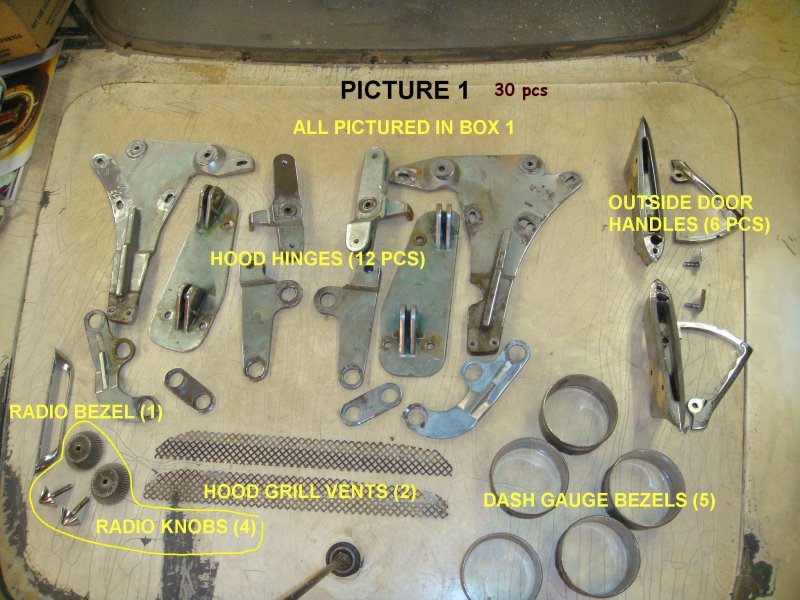
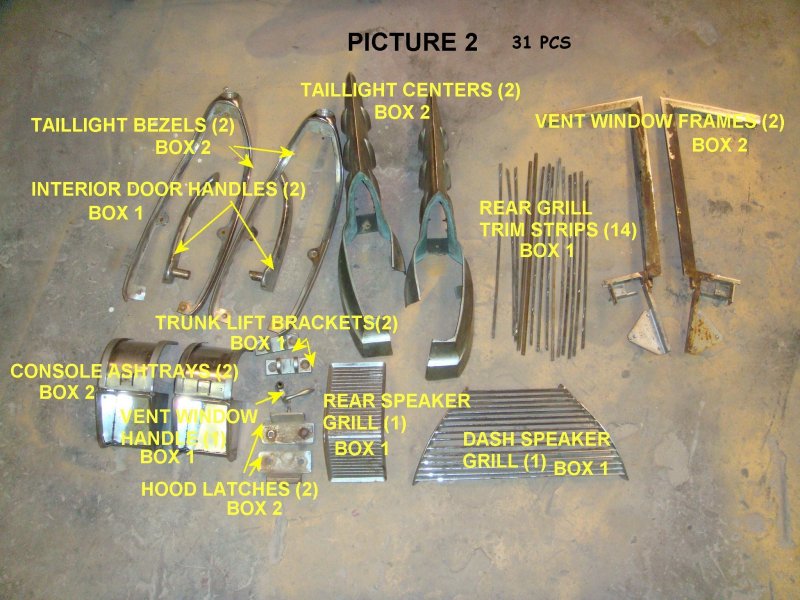 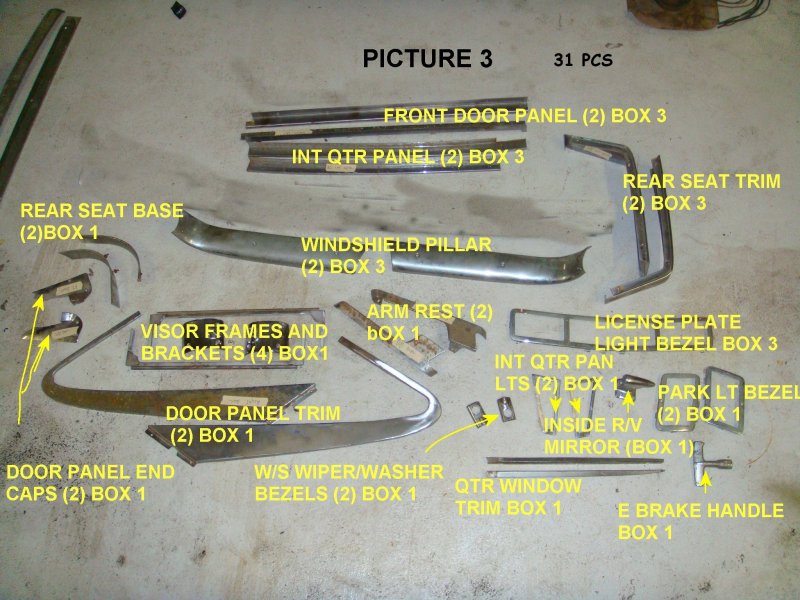
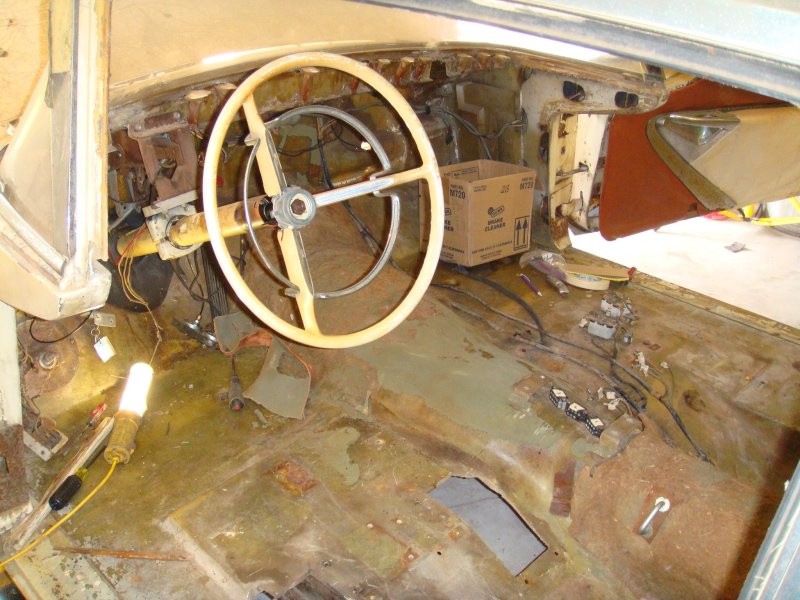
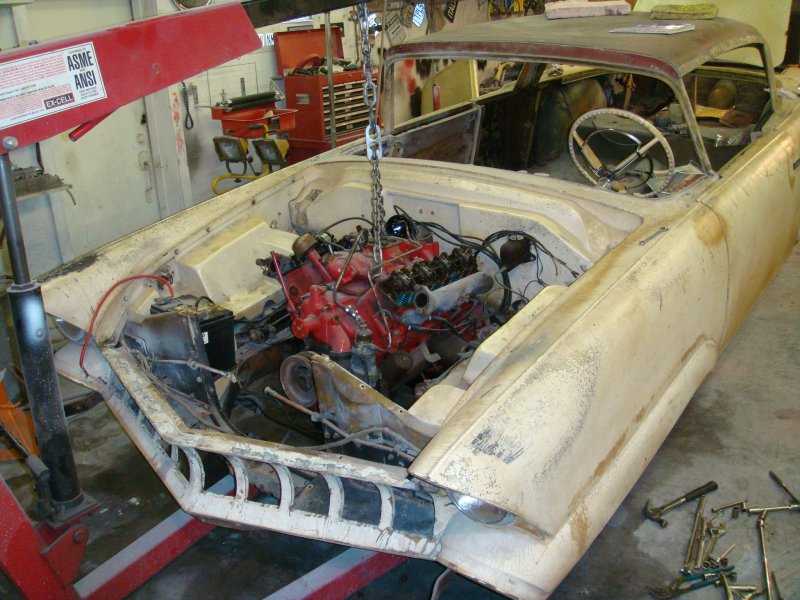
  Now on to finish taking the rest of the car apart. I removed the interior, seats, consoles and door panels. 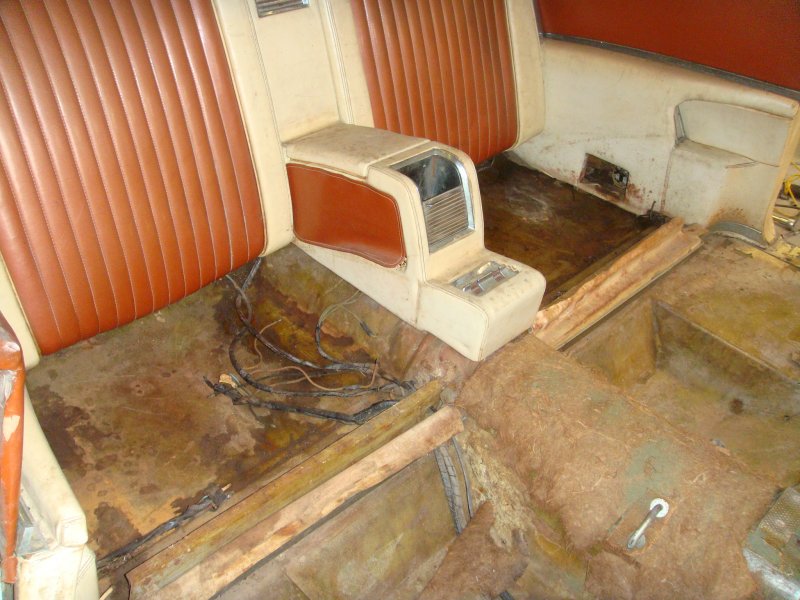
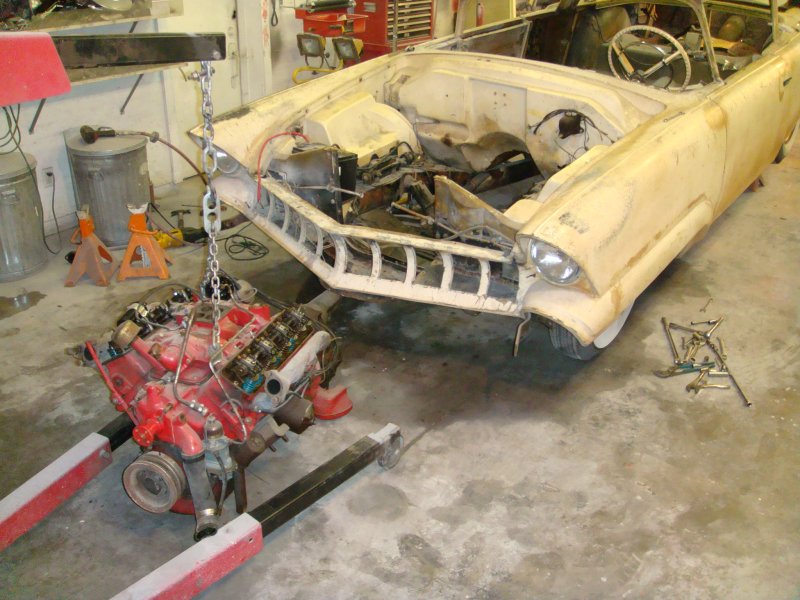
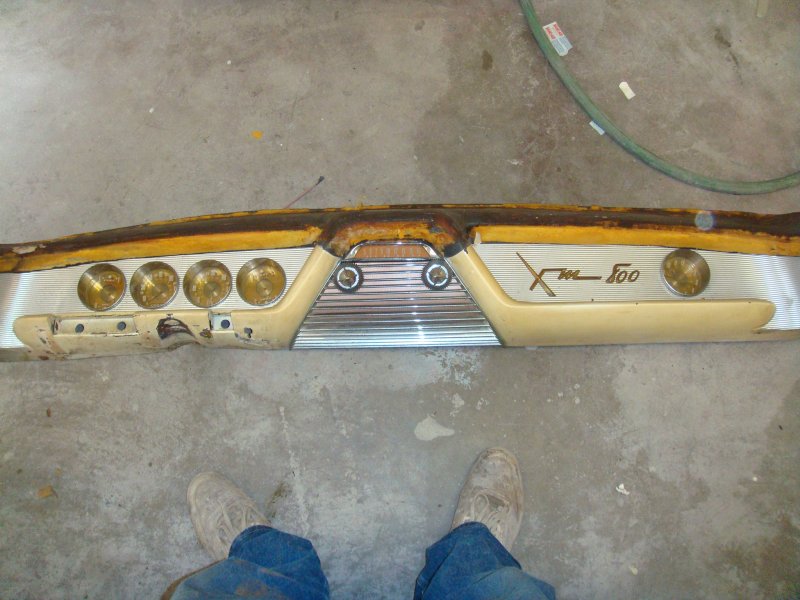  This is the control panel to open the hood and trunk and to turn on the automatic system. 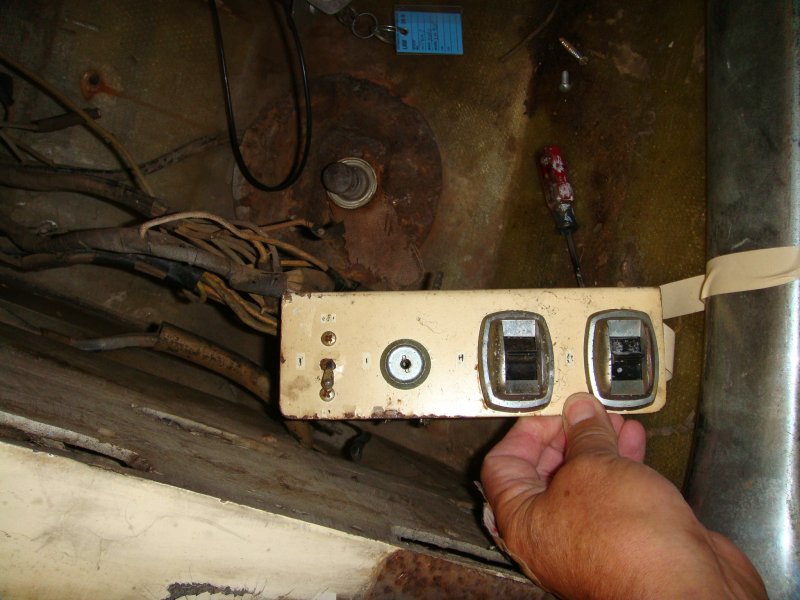 and this is the timer in the trunk that the above key turns on to start the automatic system. The timer must be plugged in to a 115V system to operate while parked in car shows. 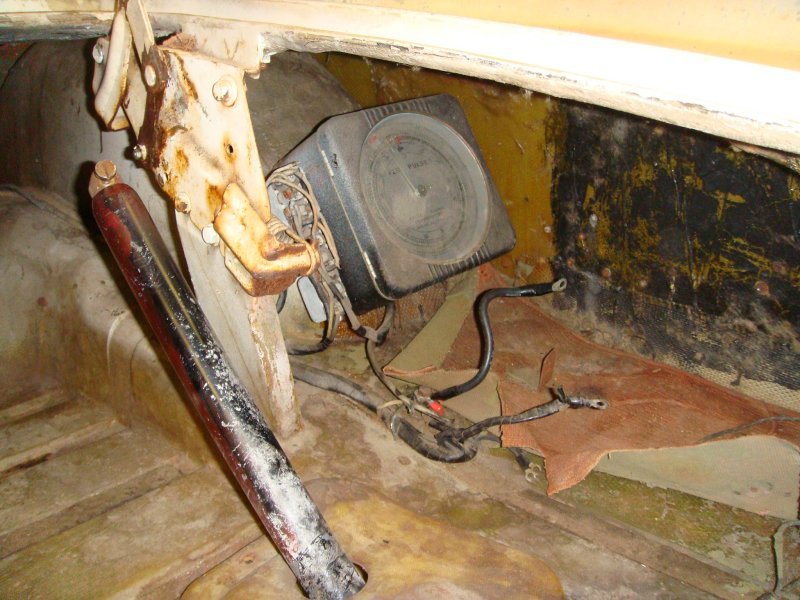 Then the engine comes out next as it generally takes a few months to get them back from the machine shop where it will get a complete rebuild. 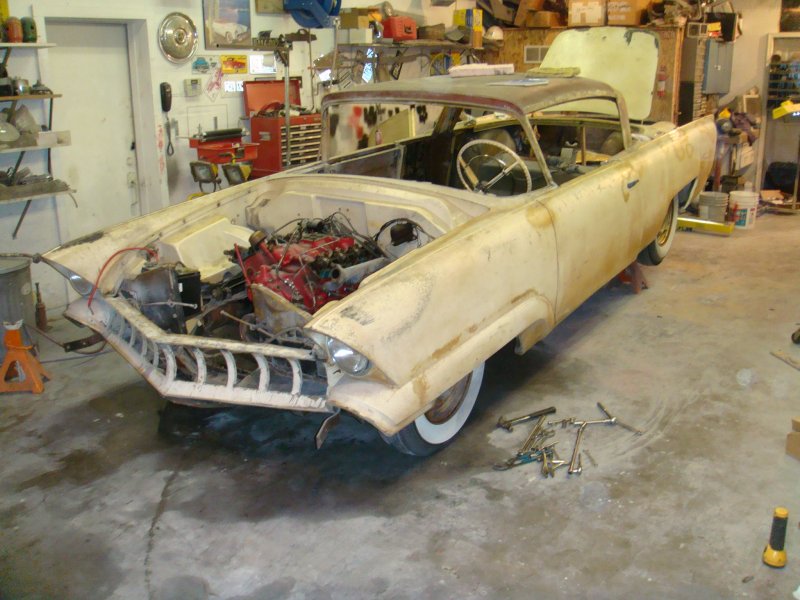
  Even though the engine has very little time on it one of the reasons it needed rebuilding is that there were some critters nesting in the heads and it was packed full of nuts! 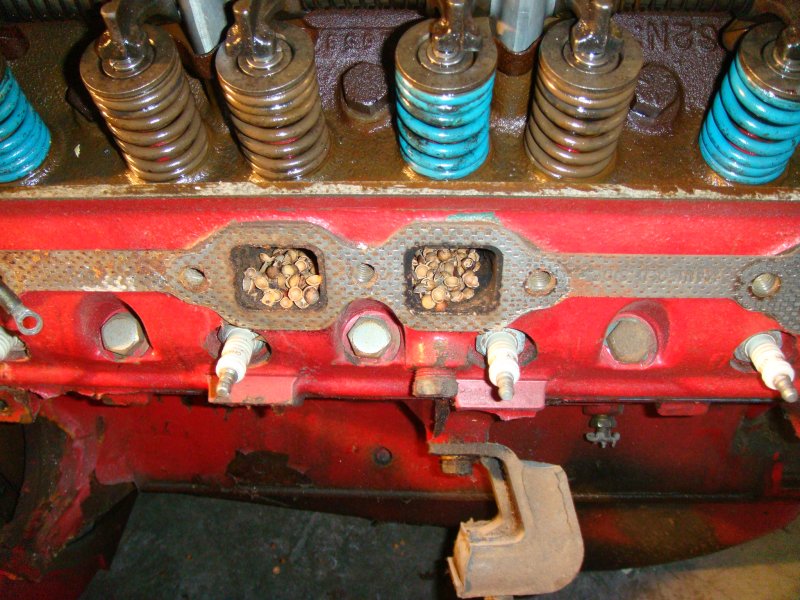 Off she goes to Midwest Engine Rebuilders in Duluth  Page 7 |