
PAGE JUMPER
XM-800 INDEX PAGE 7 PAGE 8 PAGE 9
 CONCEPT CAR
(Click on the pictures to open them in a new window)
Here I am 'driving' the XM-800 into the shop to begin work on the body 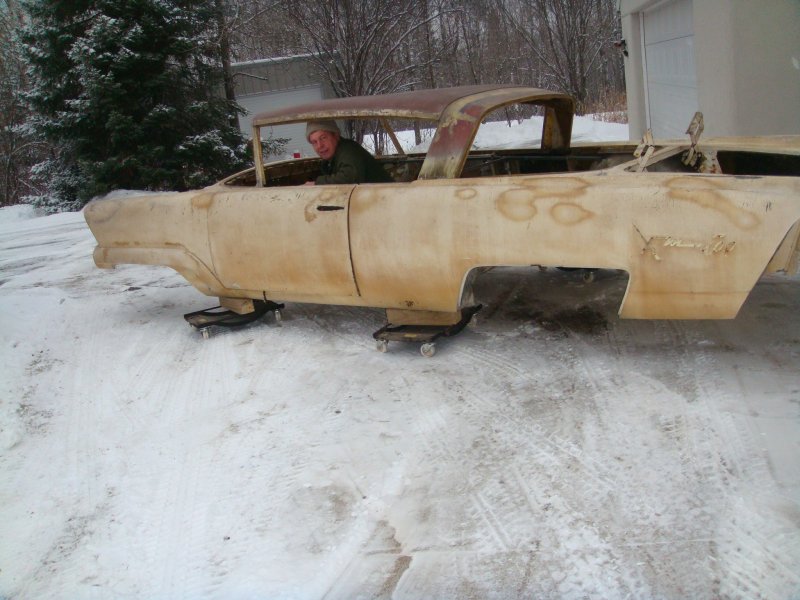 The first thing that needed doing as far as body work is a really nasty job! Removing the old paint. I used "Aircraft Stripper for Fiberglass" and it took 6-7 applications to get through all the paint on the XM-800. It appears to have first been painted a gold metallic color 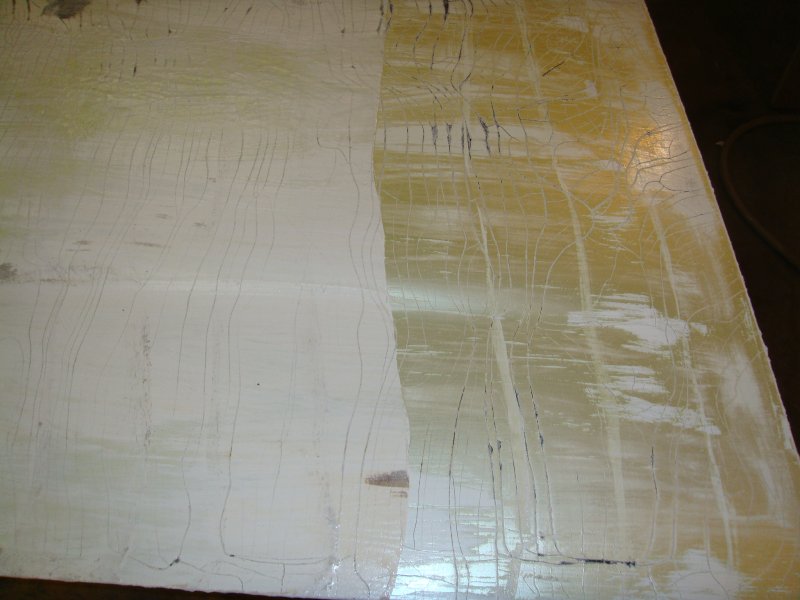 and apparently they didn't care much for that and painted it again the white pearl color. There was a lot of paint on this car, much more than I've removed off any other 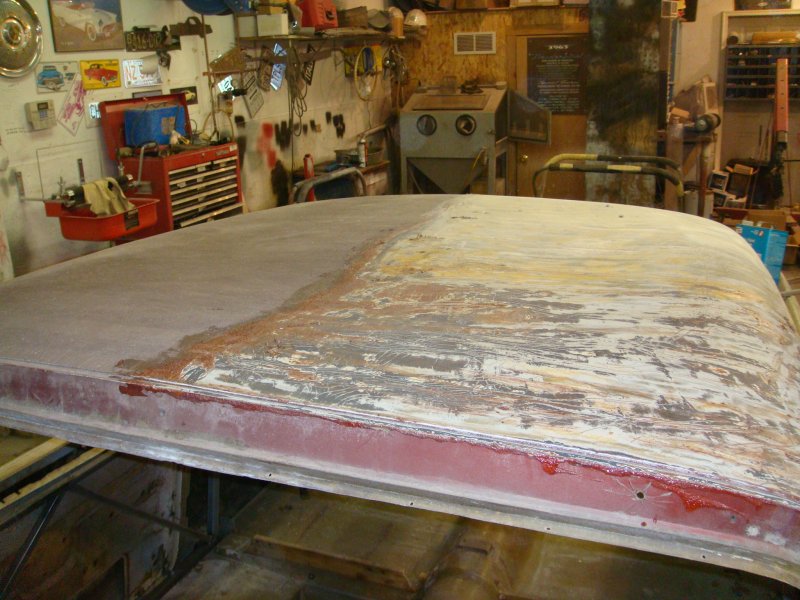 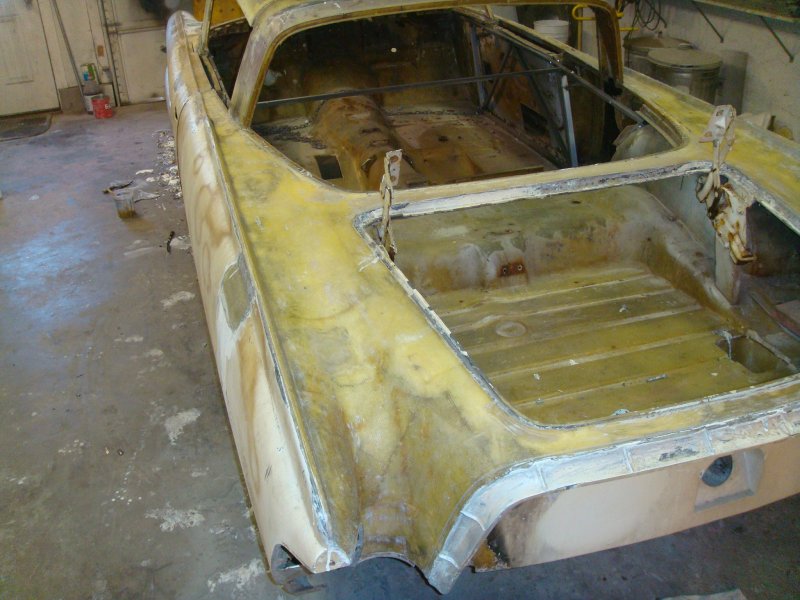 Here is is all cleaned up 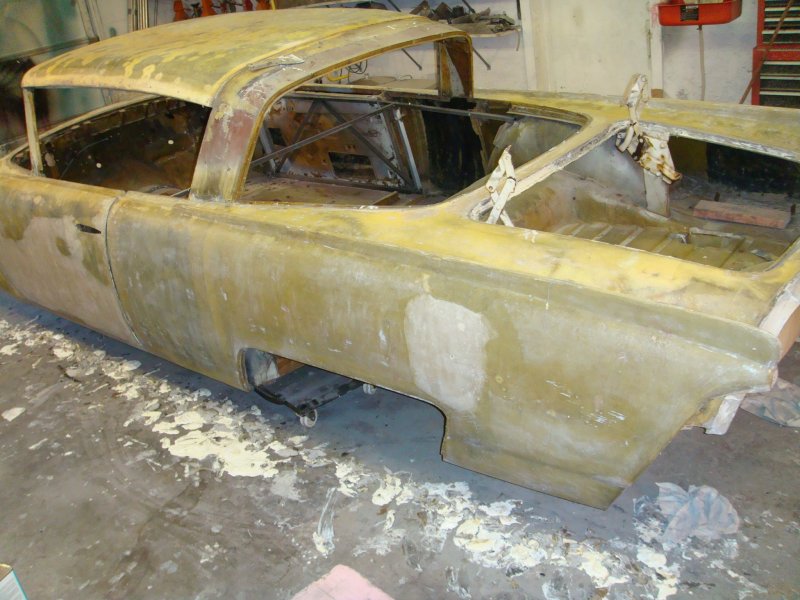 Now on to the body work, and I'll begin right at the top. Earlier I mentioned that the XM-800 sat outside alongside a barn in central Michigan. It sat there for around 19 years through all of the nasty weather we have in the midwest including winter snowfalls. The heavy accumulations of snow on the roof year after year caused the roof to partially collapse. In these pictures taken while I was unloading the XM-800 thd day I got it home you can see the sunken profile of the roof: 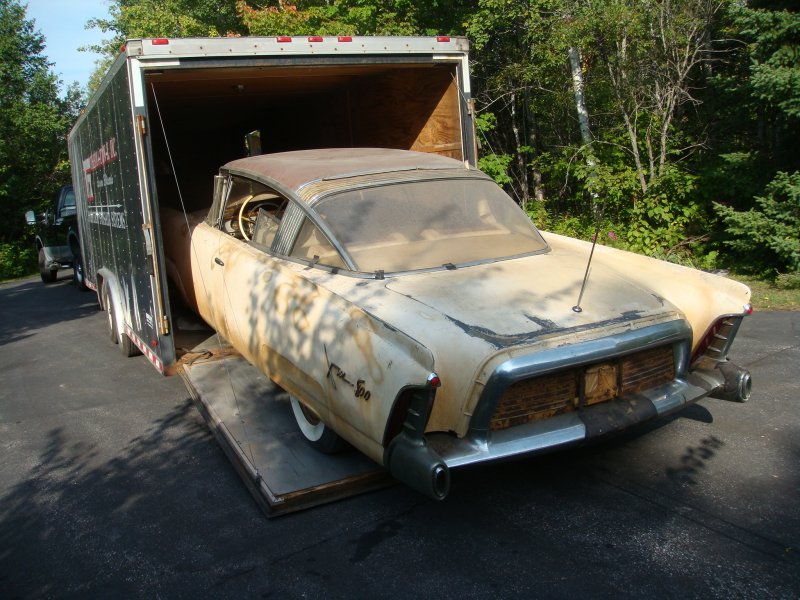 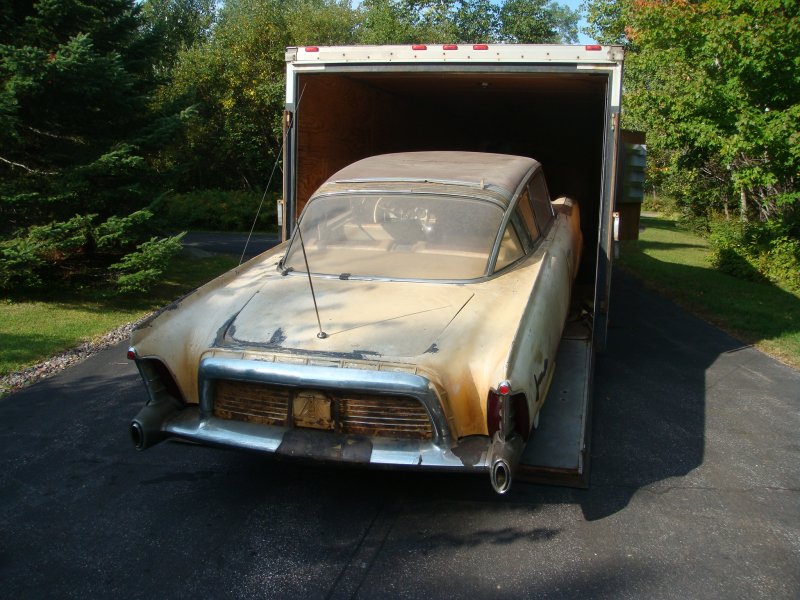 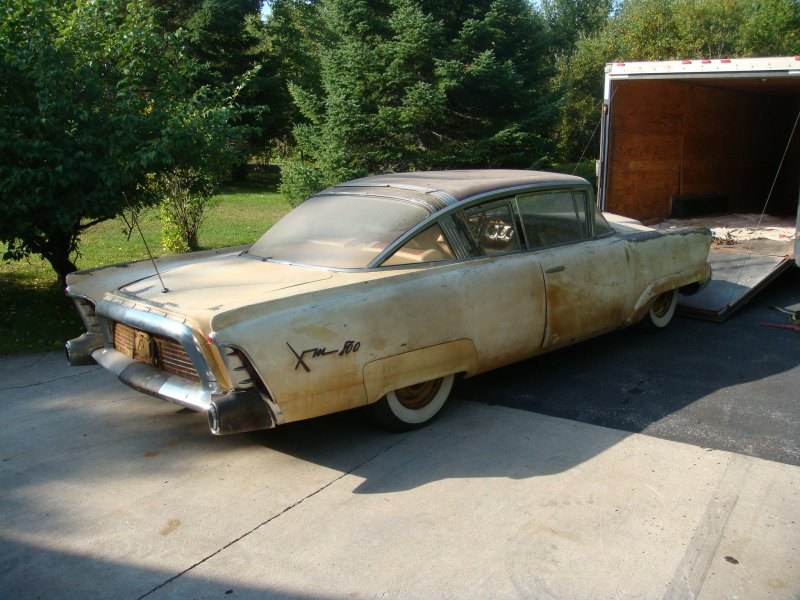 |
so the first order of business would be to get the roof back into position and keep it there. Since fiberglass is a form of plastic it can be reshaped with enough heat. The heat lamps I use for baking body filler and primers and paint also work well to heat the fiberglass up enough to reposition it. When I got it warm enough to work with, I positioned a bunch of props under it to hold it in place once it cooled Here's how I propped it up for cooling:  and when it cooled I removed the props and the roof held it's shape nicely  so the next step was to reinforce it as it was weak and I want to make sure it stays up. First off I took the belt sander and removed about 1/8"-3/16" of the old resin from the roof and then I laid on 5 layers of fiberglass matt 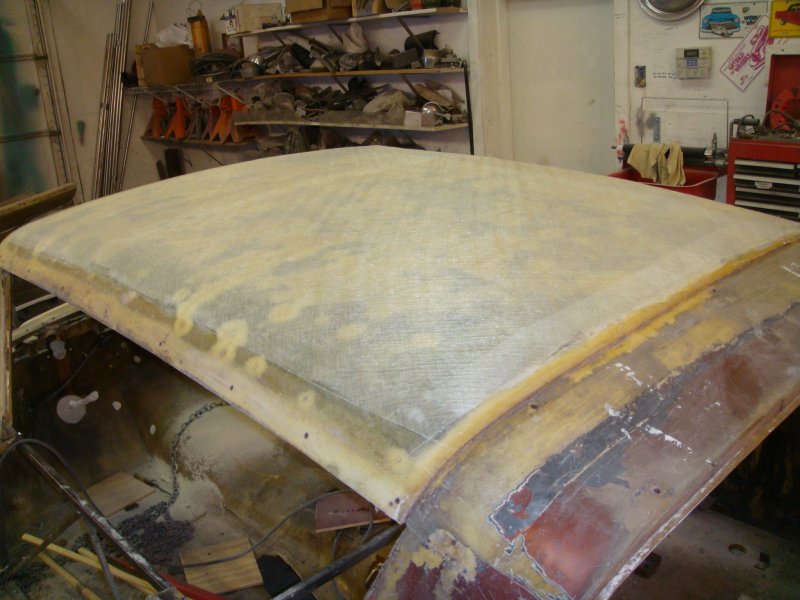 and coated each with a heavy coat of resin: 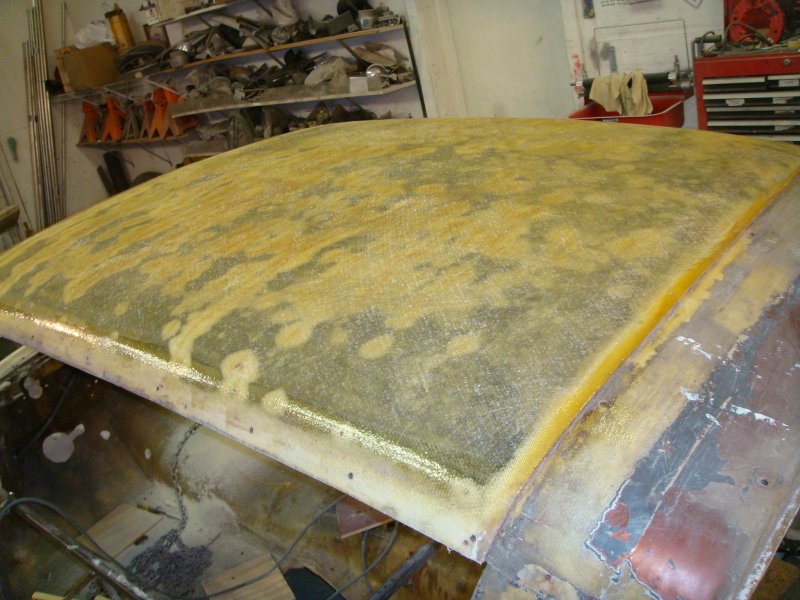 Here's how it looked when done: 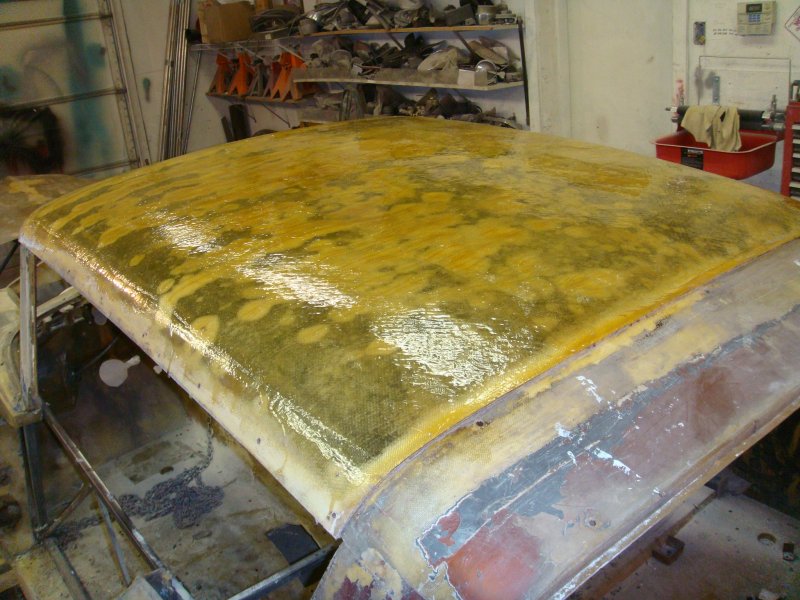 It's probably strong enough now to walk on, but don't you DARE! PAGE 9 |