Now that the car was pretty much stripped the next step was to remove the body from the frame.
I had no idea how strong the fiberglass body would be and I was a little hesitant about even taking it off the frame but I could never have done a complete restoration with the body on.
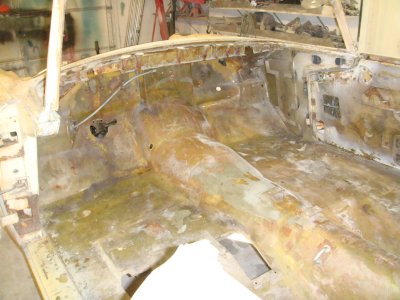
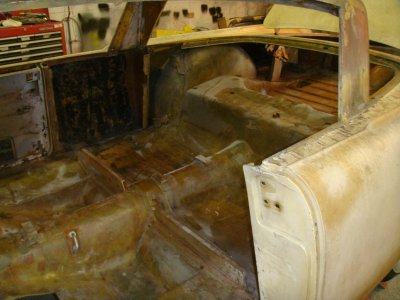
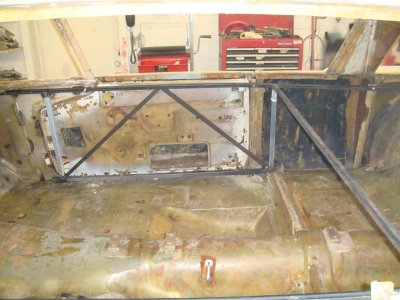
I decided to build some trusswork inside the cab to make sure everything kept in alignment but first I had to get the doors properly aligned as they had sagged over the years. In the early fiftys Mercury used hard rubber body mounts to help provide a more quite ride and solid sounding car. They were the source of the door misalignment as they had compressed significantly over the last 54 years.
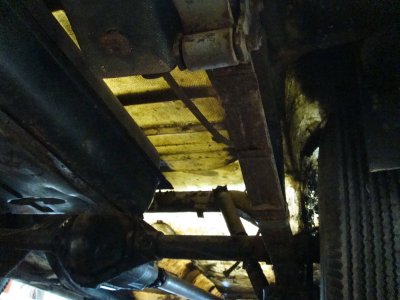
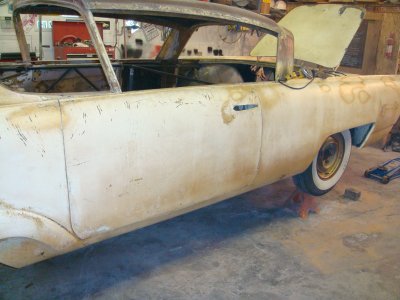
It was interesting while under the car with the interior completely removed...
that I could see light coming through the floor boards. I had seen that on many cars over the years but this is the first time the light wasn't coming through rust holes!
The underside of the XM-800 was never painted so the translucent fiberglass allowed light to shine through:
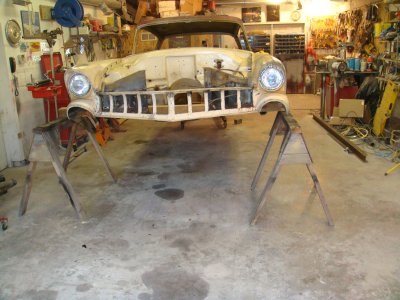
Anyway the first thing I had to do was shim the body properly to get the doors back in alignment
Then I built the trusswork inside and welded and bolted it in place
The body was now ready to remove from the frame
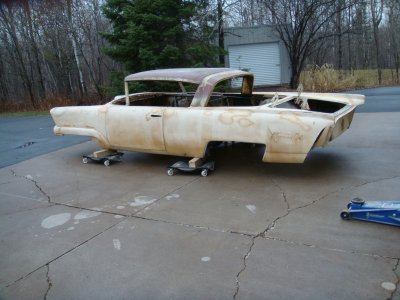
I used my cherry picker to lift the front of the body and set it on a couple sawhorses spaced far enough apart to roll the chassis out from under the body

Then I move the picker to the rear and lifted it up and let it swing as I pushed the chassis out of the way
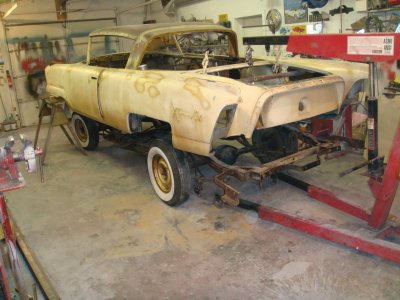
Then I lowered the body onto a set of car skates and pushed it out of the shop to store in the other side of the garage as I was going to restore the chassis first.
|
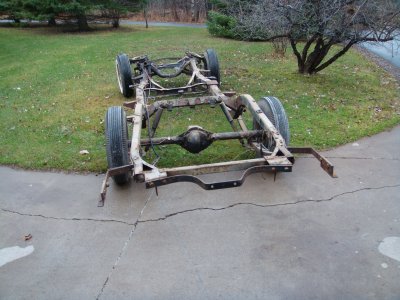
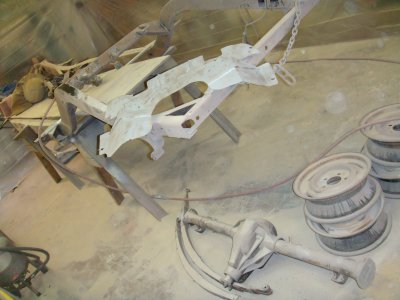
The chassis was rolled into the shop and the disassembly was completed.
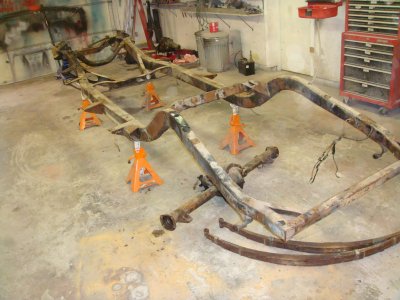
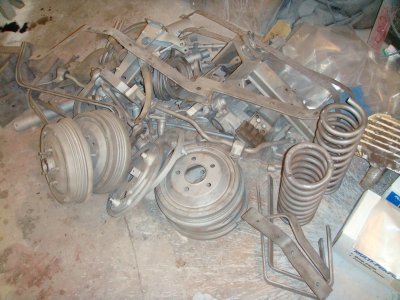
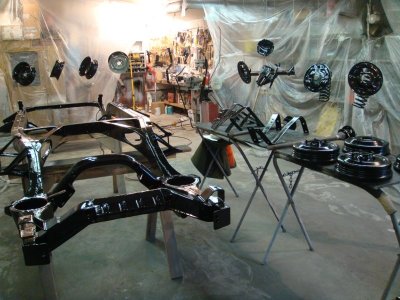
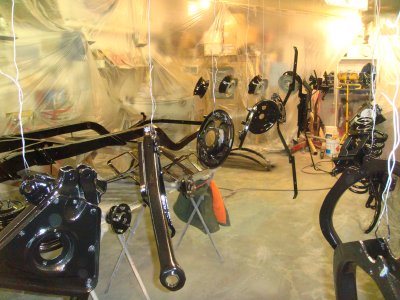
All of the front suspension including the coil springs was removed and all of these components like the control arms were stripped of their parts like the ball joints, tie rods etc so all of the pieces could be restored individually.

Then I set up a tent over the frame and parts and sandblasted away all of the old paint and surface rust.
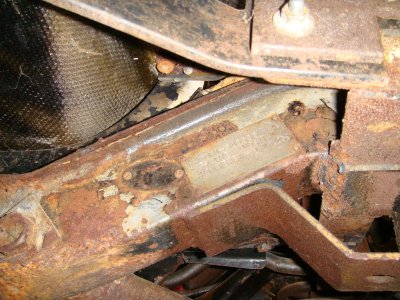
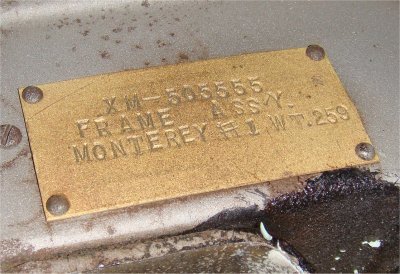
While stripping the frame I discovered a data tag riveted to the left front corner of the frame.
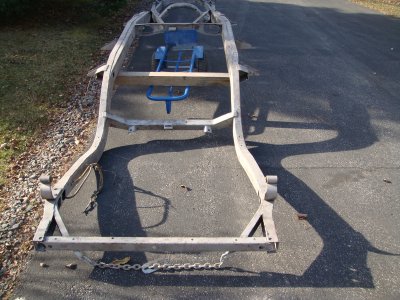
Soon all of the suspension parts were painted black
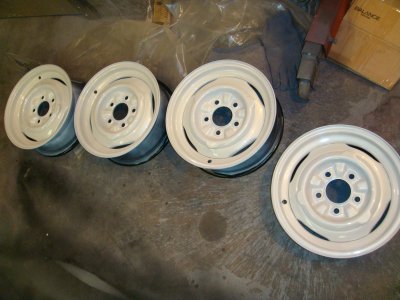
and the wheels were the first parts to get the pearl white body color
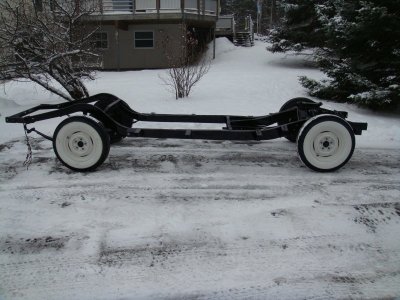
and this was followed by assembling the chassis again. Once together it was rolled out of the shop and into the storage side while the body was brought back into the shop to begin it's refinishing process.
Page 8
|

 CONCEPT CAR